
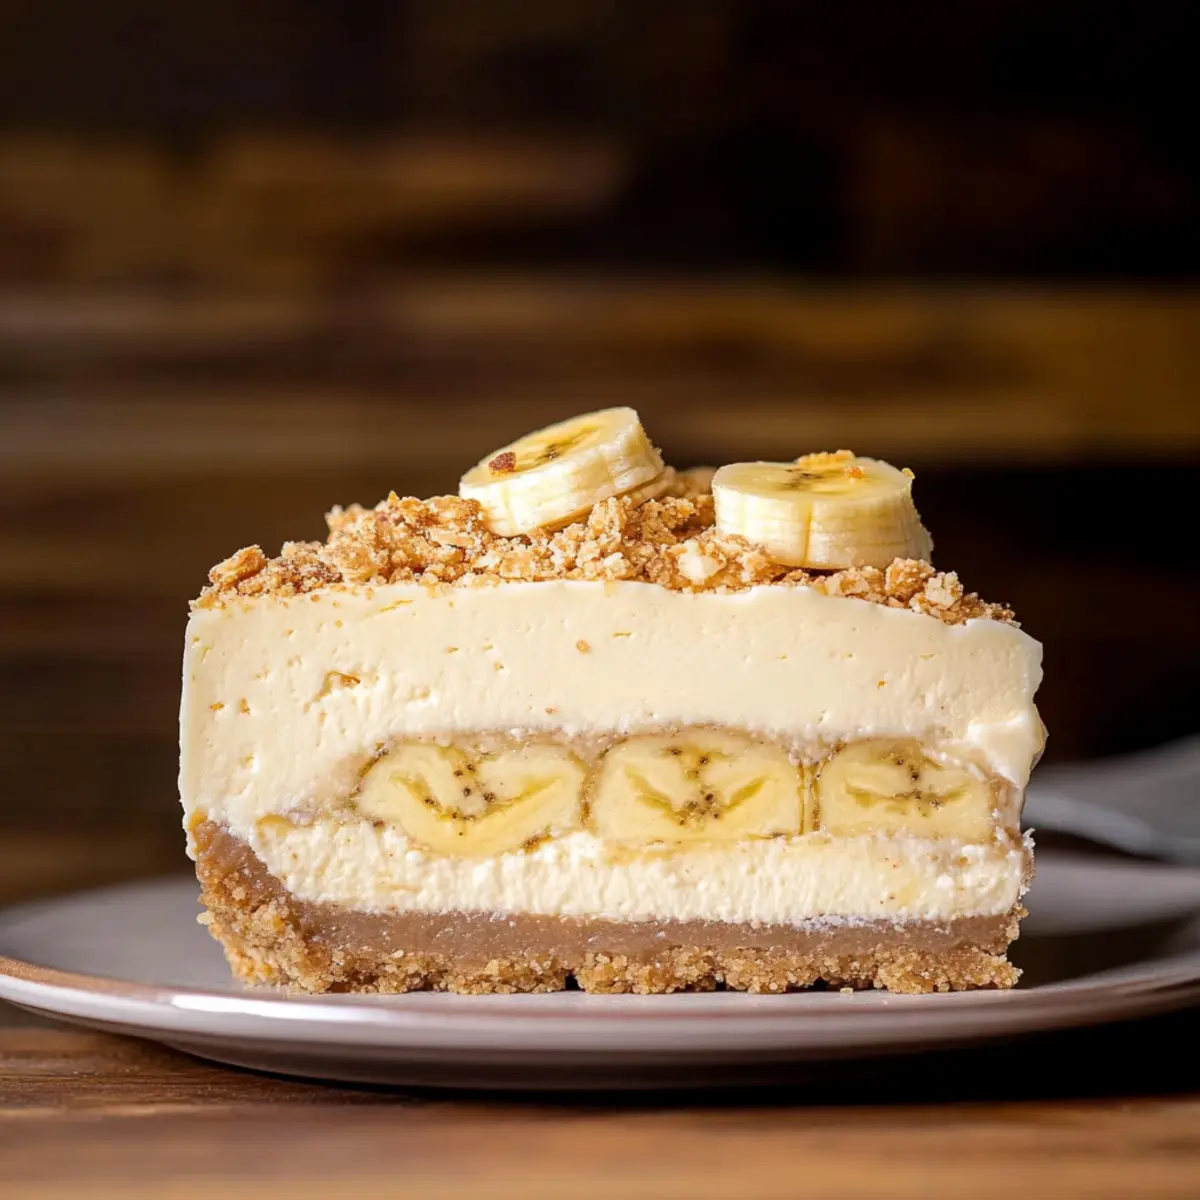
The moment that first slice of Banana Pudding Cheesecake hits your taste buds is nothing short of magical. Combining the comforting tastes of classic banana pudding with the silky richness of cheesecake, this dessert brings a beloved southern staple straight to your table. With a buttery Nilla Wafer crust that adds just the right amount of crunch and a luscious banana cheesecake filling, it’s a true crowd-pleaser that’s surprisingly simple to make. Not only is it a delightful way to satisfy your sweet tooth, but it’s also perfect for gatherings, easy to slice and serve, making every occasion feel like a celebration. Are you ready to whip up a dessert that will have everyone asking for seconds?
Why is this Banana Pudding Cheesecake a must-try?
Irresistible flavor: The magical blend of creamy cheesecake and nostalgic banana pudding flavors creates a dessert that delights every palate.
Easy to make: This recipe utilizes simple ingredients and straightforward steps, making it perfect for both beginner and seasoned bakers.
Crowd-pleaser: Serve this cheesecake at parties, and watch your guests rave about it! It’s ideal for any gathering — from casual get-togethers to festive celebrations.
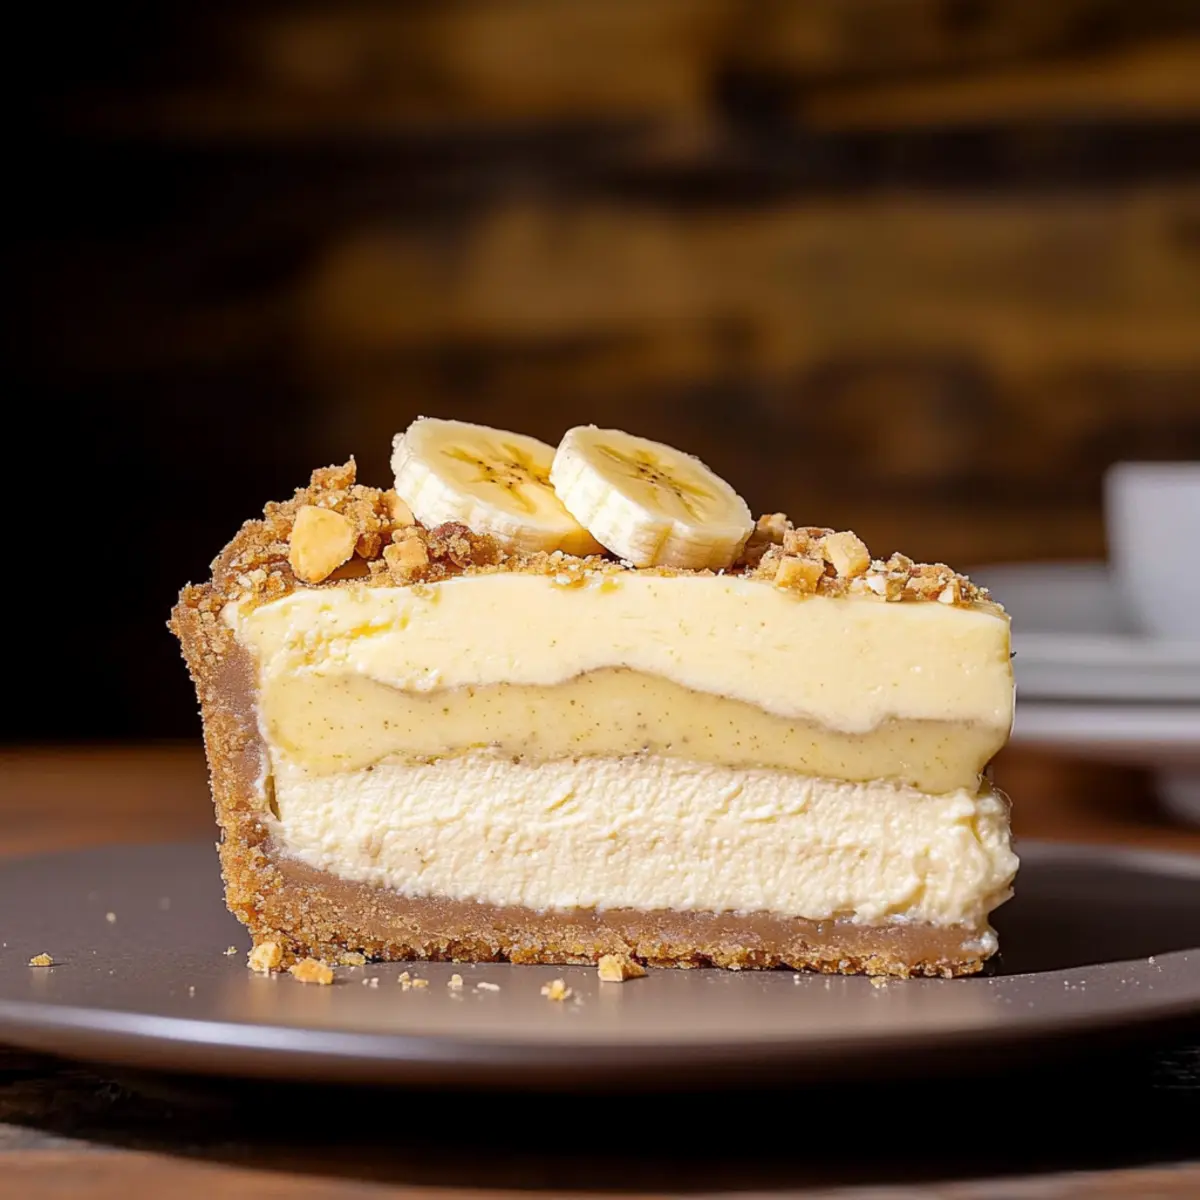
Unique layers: Enjoy the wonderful contrast of textures from the buttery Nilla Wafer crust and the fluffy pudding topping, making every bite an experience.
Make-ahead friendly: Prepare it a day in advance for the best flavor; it only gets better as it chills! For another delightful dessert, check out our Chocolate Orange Cheesecake for an indulgent twist.
Banana Pudding Cheesecake Ingredients
For the Crust
• Nilla Wafers – These provide a sweet, crumbly base that perfectly complements the cheesecake.
• Brown Sugar – Adds rich sweetness; light or dark brown sugar works interchangeably.
• Unsalted Butter – Binds the crust together for a rich flavor; make sure it is melted before mixing!
For the Cheesecake Filling
• Cream Cheese – The creamy base for the cheesecake; opt for full-fat for the best texture.
• Granulated Sugar – Sweetens the cheesecake filling; alternate sweeteners can be used if desired.
• Vanilla Extract – Enhances the overall flavor; always choose pure vanilla for authenticity.
• Bananas (mashed) – Imparts natural banana flavor and moisture; ripe bananas are key for sweetness.
• Sour Cream – Adds a creamy texture and tanginess; Greek yogurt is a good lighter substitute.
• Heavy Cream – Provides richness to the batter; ensure it’s at room temperature for easier mixing.
• Eggs – Give structure and stability to the cheesecake; they should be at room temperature for even mixing.
• Crushed Nilla Wafers – Adds texture and can be used for garnish on top of the cheesecake.
For the Topping
• Instant Vanilla Pudding Mix – Creates a creamy and stable topping; make sure it’s the instant variety.
• Milk – Used to prepare the pudding, with whole milk recommended for extra creaminess.
• Heavy Cream (for topping) – Whipped for a light, airy texture on top; using cold cream helps during whipping.
Each of these ingredients plays a vital role in crafting a delicious Banana Pudding Cheesecake that’s perfect for any occasion!
Step‑by‑Step Instructions for Banana Pudding Cheesecake
Step 1: Preheat the Oven
Begin by preheating your oven to 325°F (160°C). While the oven warms up, grab a 9-inch springform pan, generously spray it with non-stick cooking spray, and line the bottom with parchment paper for easy removal later on. This preparation ensures that your Banana Pudding Cheesecake will bake evenly and come out perfectly.
Step 2: Make the Crust
In a food processor, combine the Nilla Wafers, brown sugar, and melted unsalted butter. Pulse until the mixture resembles coarse crumbs. Once ready, evenly press this mixture into the bottom of your prepared springform pan, creating a compact crust. Bake in the preheated oven for 11 minutes, until lightly golden and fragrant, then set aside to cool.
Step 3: Prepare the Cheesecake Filling
In a large mixing bowl, beat the cream cheese and granulated sugar together until smooth and creamy, about 2-3 minutes. Next, add in the mashed bananas, vanilla extract, sour cream, and heavy cream. Mix until fully combined and velvety. This cheesecake filling is a crucial part of your Banana Pudding Cheesecake, so ensure there are no lumps for a silky texture.
Step 4: Incorporate the Eggs
Gently add the eggs to your cheesecake mixture, mixing one at a time on low speed until just combined. Be careful not to overmix; you want to keep air bubbles to a minimum for a dense, smooth cheesecake. The eggs provide the structure and stability essential for your Banana Pudding Cheesecake to hold its shape once baked.
Step 5: Layer the Filling
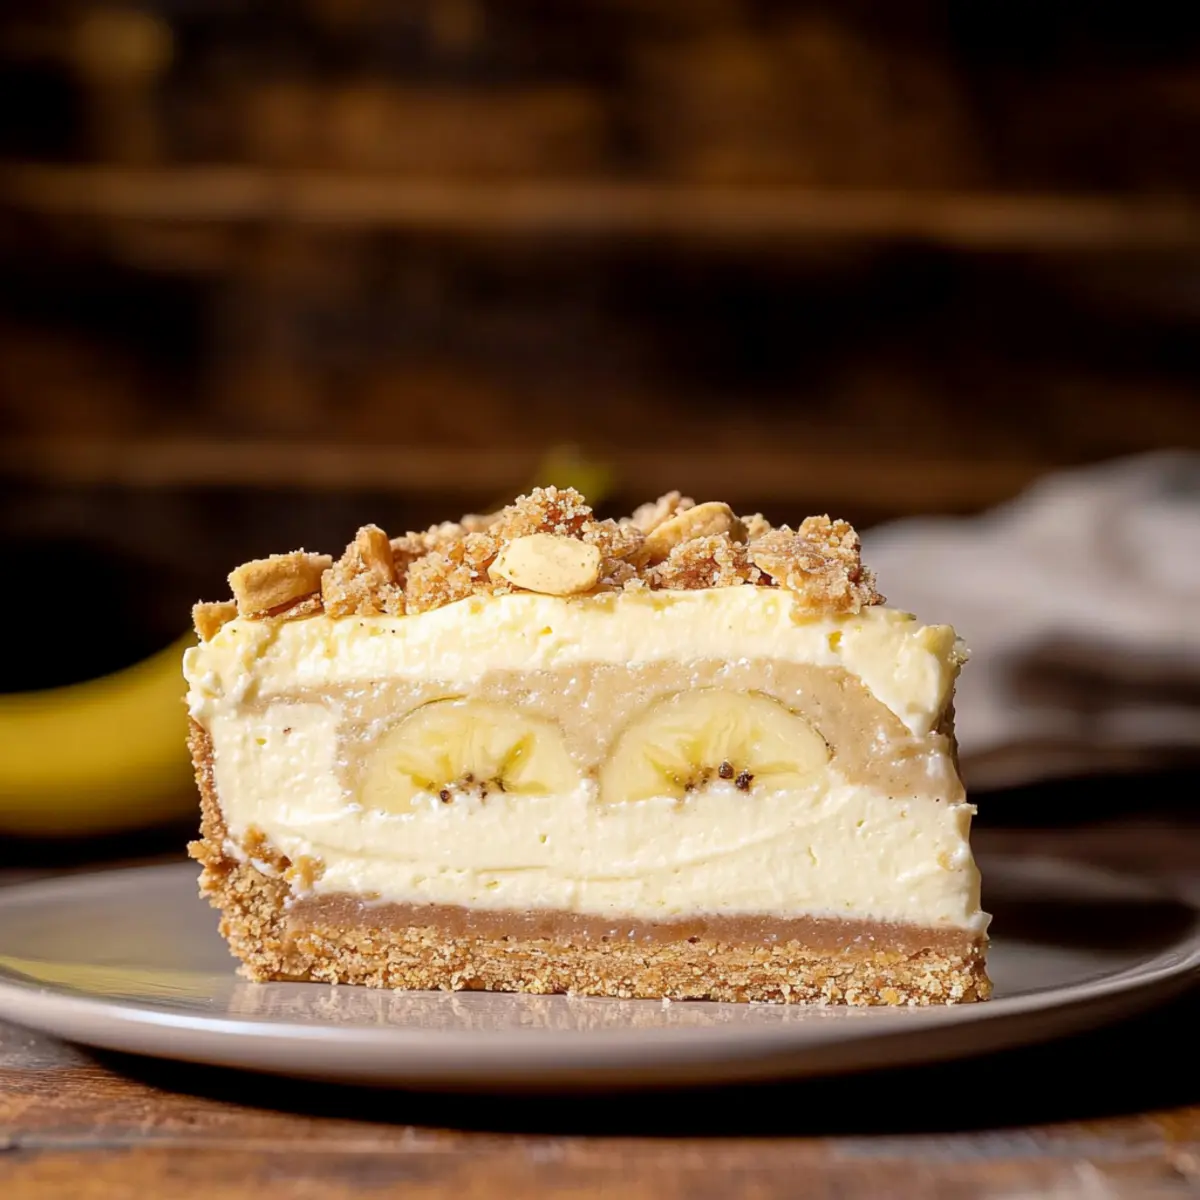
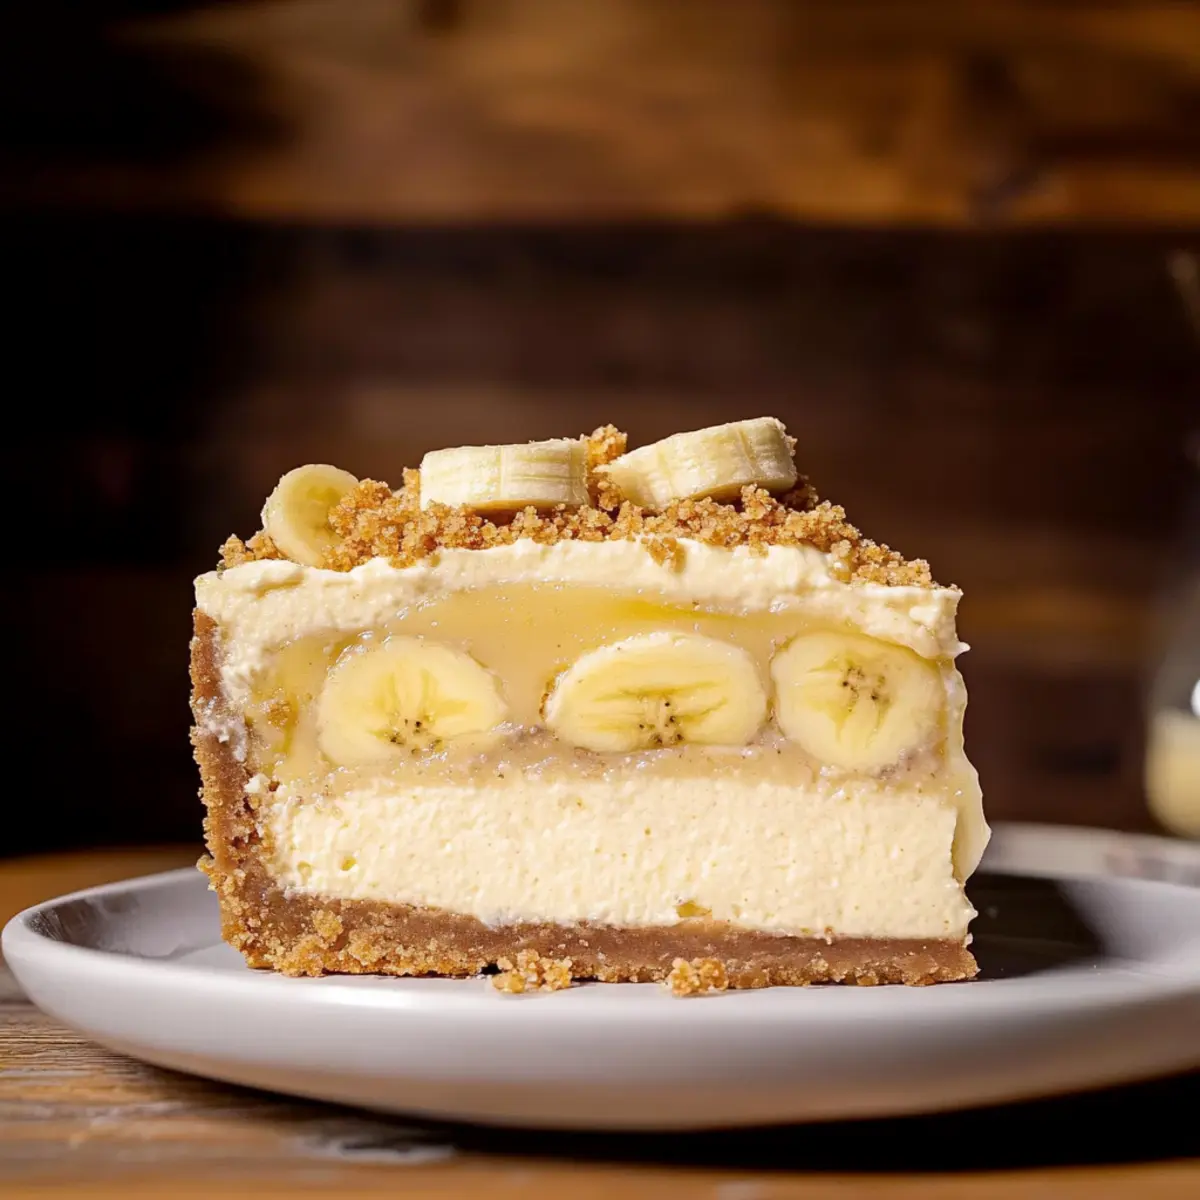
Pour half of the cheesecake filling into the cooled crust, smoothing it out evenly. Next, arrange sliced bananas and a sprinkle of crushed Nilla Wafers over the layer for added flavor and texture. Finish by pouring the remaining filling on top, ensuring everything is neat and has no air pockets. This layered approach enhances the overall experience of your delightful dessert!
Step 6: Bake Using a Water Bath
To prevent cracking, prepare a water bath. Place the springform pan in a larger baking dish, then fill the outer dish with hot water halfway up the sides of the pan. Bake for 80-90 minutes or until the center of the Banana Pudding Cheesecake jiggles slightly but appears set. A gentle jiggle is perfectly fine; this indicates it’s done!
Step 7: Cool and Chill
Once done baking, turn off the oven and crack the door open, letting the cheesecake cool inside for about 30 minutes. This gradual cooling helps maintain its texture. Afterward, wrap the cheesecake in plastic wrap and refrigerate for at least 6 hours, but preferably overnight. Chilling enhances the flavors and sets the cheesecake beautifully for serving.
Step 8: Prepare the Topping
While the cheesecake chills, prepare the topping by whisking together the instant vanilla pudding mix and milk in a mixing bowl until smooth. Then, fold in the whipped heavy cream gently until combined. This fluffy topping will crown your already glorious Banana Pudding Cheesecake, adding an extra layer of creaminess.
Step 9: Assemble and Serve
Once the cheesecake is fully chilled, remove it from the springform pan. Spread the pudding mixture evenly over the top, ensuring it covers the entire surface. Finally, garnish with additional crushed Nilla Wafers for a delightful crunch. Slice the cheesecake, serve chilled, and watch as everyone enjoys this creamy Banana Pudding Cheesecake masterpiece!
What to Serve with Banana Pudding Cheesecake
Create the ultimate meal experience with these delightful side dishes and treats.
-
Fresh Fruit Salad: A vibrant mix of seasonal fruits adds a refreshing contrast to the rich cheesecake, enhancing its indulgence.
-
Cool Whipped Cream: A dollop of freshly whipped cream brings an airy texture, perfectly complementing the creamy layers of your cheesecake.
-
Chocolate Drizzle: Drizzling melted chocolate over the cheesecake or dessert plates adds a rich, decadent flair that your guests will adore.
-
Mint Leaves: A few fresh mint leaves provide a pop of color and a refreshing burst that enhances the banana flavor.
-
Classic Vanilla Ice Cream: Serve up a scoop alongside the cheesecake for a warm-cold experience that’s irresistibly comforting.
-
Spiced Nuts: Crunchy, spiced nuts offer a satisfying contrast in texture, bringing a delightful nutty flavor to balance the sweetness.
Indulge in this heavenly combination, and watch your loved ones revel in the joy of these pairings!
Storage Tips for Banana Pudding Cheesecake
Fridge: Store leftover Banana Pudding Cheesecake in the refrigerator, tightly covered, for up to 5 days to maintain its freshness and creamy texture.
Freezer: If you wish to freeze the cheesecake, wrap it well in plastic wrap and aluminum foil to prevent freezer burn. It will keep for 2-3 months.
Thawing: To enjoy frozen cheesecake, transfer it to the fridge to thaw overnight before serving. This allows for the best texture and flavor.
Reheating: While it’s typically best enjoyed chilled, if you prefer it at room temperature, simply let it sit out for about 30 minutes before serving.
Expert Tips for Banana Pudding Cheesecake
-
Room Temperature Ingredients: Make sure all dairy ingredients are at room temperature before mixing. This helps achieve a creamy, lump-free filling for your Banana Pudding Cheesecake.
-
Water Bath Magic: Always bake your cheesecake in a water bath to prevent it from cracking. This ensures even cooking and a smooth, beautiful surface.
-
Smooth Cream Cheese: Beat the cream cheese until it’s completely smooth before adding other ingredients. This step will help you avoid any lumps in the final cheesecake.
-
Chill Well: For optimal flavor and texture, chill your Banana Pudding Cheesecake overnight. This waiting time allows the flavors to meld beautifully.
-
Don’t Rush the Cooling: After baking, let the cheesecake cool gradually in the oven with the door ajar for about 30 minutes. This method helps prevent cracking by reducing temperature shock.
Make Ahead Options
These Banana Pudding Cheesecake delights are perfect for busy weeknights and gatherings! You can prepare the crust and filling up to 24 hours in advance. Simply make the Nilla Wafer crust, fill it with the cheesecake mixture, and bake as instructed. To maintain the cheesecake’s creamy texture, allow it to cool fully before wrapping it tightly in plastic wrap and refrigerating. When ready to serve, finish by preparing the pudding topping and spreading it over the chilled cheesecake. This simple prep makes your indulgent dessert accessible and allows the flavors to marinate beautifully, ensuring each slice is just as delicious as if made fresh!
Banana Pudding Cheesecake Variations
Feel free to tailor this delightful Banana Pudding Cheesecake to your taste by experimenting with these fun variations!
-
Chocolate Twist: Mix cocoa powder into the cheesecake batter for a decadent chocolate version. Chocolate lovers will surely delight in this rich twist!
-
Berry Delight: Substitute mashed bananas with fresh strawberries or blueberries for a fruity spin. The tartness of berries creates a refreshing contrast to the creamy cheesecake.
-
Nutty Crunch: Fold in crushed walnuts or pecans into the filling for added texture. This nutty flavor enhances the dessert and brings comforting warmth to every bite.
-
Lighter Option: Swap sour cream for Greek yogurt and use reduced-fat cream cheese for a lighter version. This way, you can indulge without sacrificing health!
-
Mini Cheesecakes: For single servings, layer the cheesecake mixture and crust in mason jars or muffin tins. These adorable portions make for perfect party treats.
-
Additional Flavoring: Infuse the cheesecake with almond or coconut extract for an exciting flavor profile. Just a teaspoon can elevate the dessert beautifully.
-
Tropical Twist: Add coconut flakes and diced pineapple to the filling for an island-inspired dessert. It adds brightness and transports your senses straight to a sunny beach.
Does this delicious Banana Pudding Cheesecake inspire you? For another delightful dessert, don’t forget to explore our Brownie Bottom Mini Cheesecakes for a sweet treat that’ll wow your guests!
Banana Pudding Cheesecake Recipe FAQs
What kind of bananas should I use for the cheesecake?
Absolutely, for the best flavor and sweetness, use ripe bananas that have a few brown spots. They should be soft, which makes them easy to mash and incorporate into the cheesecake filling.
How should I store leftover Banana Pudding Cheesecake?
Store your leftover cheesecake in the refrigerator, tightly covered. It will stay fresh for up to 5 days. Make sure to keep it well-sealed to prevent it from absorbing any odors from the fridge.
Can I freeze Banana Pudding Cheesecake?
Yes, you can! To freeze, wrap the cheesecake tightly in plastic wrap and then in aluminum foil to prevent freezer burn. It should retain its best quality for 2-3 months. When you’re ready to enjoy it, thaw it in the fridge overnight for the best texture and flavor.
What can I do if my cheesecake cracks while baking?
Don’t worry! If your cheesecake cracks, it’s usually due to sudden temperature changes. To avoid this in the first place, always bake in a water bath and avoid overmixing your batter. If it does crack, consider topping it with whipped cream and crushed Nilla Wafers; it’ll still taste delicious!
Is this cheesecake safe for people with nut allergies?
Yes, this Banana Pudding Cheesecake does not contain any nuts, making it a great choice for those with nut allergies. Just double-check all ingredient labels to ensure there are no cross-contamination concerns.
Creamy Banana Pudding Cheesecake to Wow Your Taste Buds
Ingredients
Equipment
Method
- Preheat your oven to 325°F (160°C) and prepare a 9-inch springform pan.
- In a food processor, combine the Nilla Wafers, brown sugar, and melted unsalted butter and pulse until crumbly. Press into the bottom of the pan. Bake for 11 minutes.
- In a mixing bowl, beat together the cream cheese and sugar until smooth. Add mashed bananas, vanilla, sour cream, and heavy cream. Mix until combined.
- Gently mix in the eggs one at a time on low speed.
- Pour half the cheesecake filling into the crust, add sliced bananas and crushed Nilla Wafers, then pour the remaining filling on top.
- Prepare a water bath and bake for 80-90 minutes or until the center jiggles slightly.
- Cool in the oven for 30 minutes, then chill in the refrigerator for at least 6 hours or overnight.
- Whisk together the pudding mix and milk, then fold in whipped heavy cream for the topping.
- Spread the pudding mixture over the chilled cheesecake and garnish with crushed Nilla Wafers before serving.
Leave a Reply