
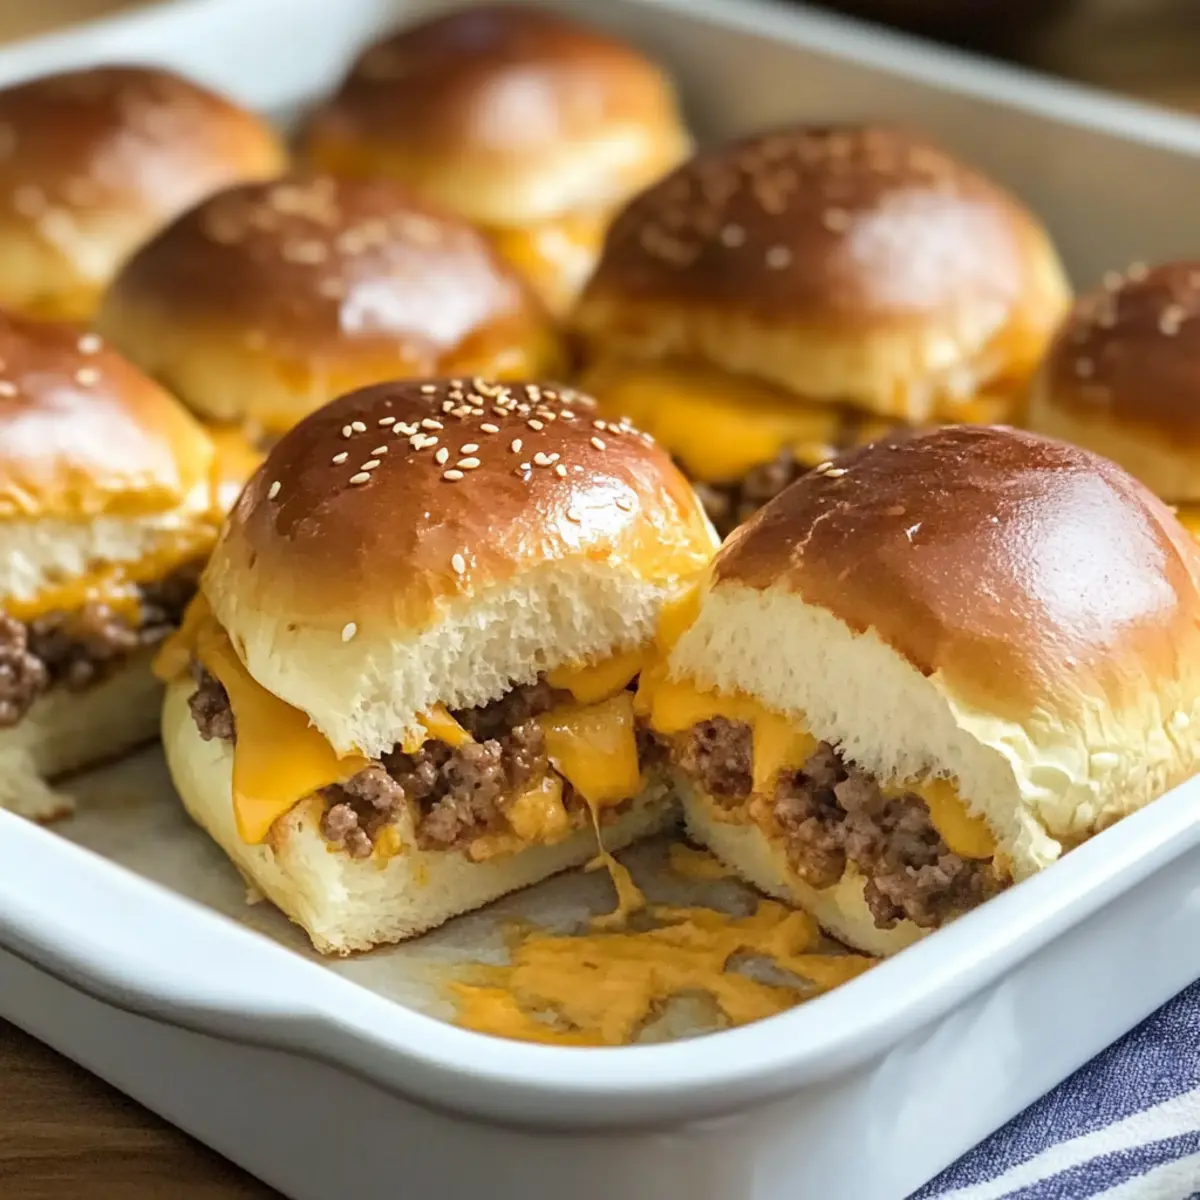
As I opened my fridge last week, the sight of those lonely slider buns sparked a craving that took me back to simpler times, when messy burgers ruled summer cookouts. Imagine a platter of Kid-Friendly Cheeseburger Sliders ready in just 30 minutes, transforming any hectic weekday into a delightful culinary adventure. These mini marvels not only please the little ones but also offer a nostalgic nod to adult tastes, making them the perfect addition to any gathering. Plus, they’re customizable—whether you opt for halal-friendly beef or a veggie twist, your guests will be clamoring for seconds. Ready to whip up some smiles at your next family dinner or birthday bash? Let’s dive into this fun and easy recipe!
Why Are These Sliders So Appealing?
Versatile Customization: Whether you prefer classic beef, turkey, or a veggie option, these sliders can easily accommodate any dietary preference—from halal-friendly to gluten-free options.
Quick Preparation: Whipping up a batch takes only 30 minutes, making it an effortless choice for busy weeknights or last-minute gatherings.
Crowd-Pleasing Fun: Kids and adults alike will love these bite-sized delights, turning any meal or party into a festive occasion.
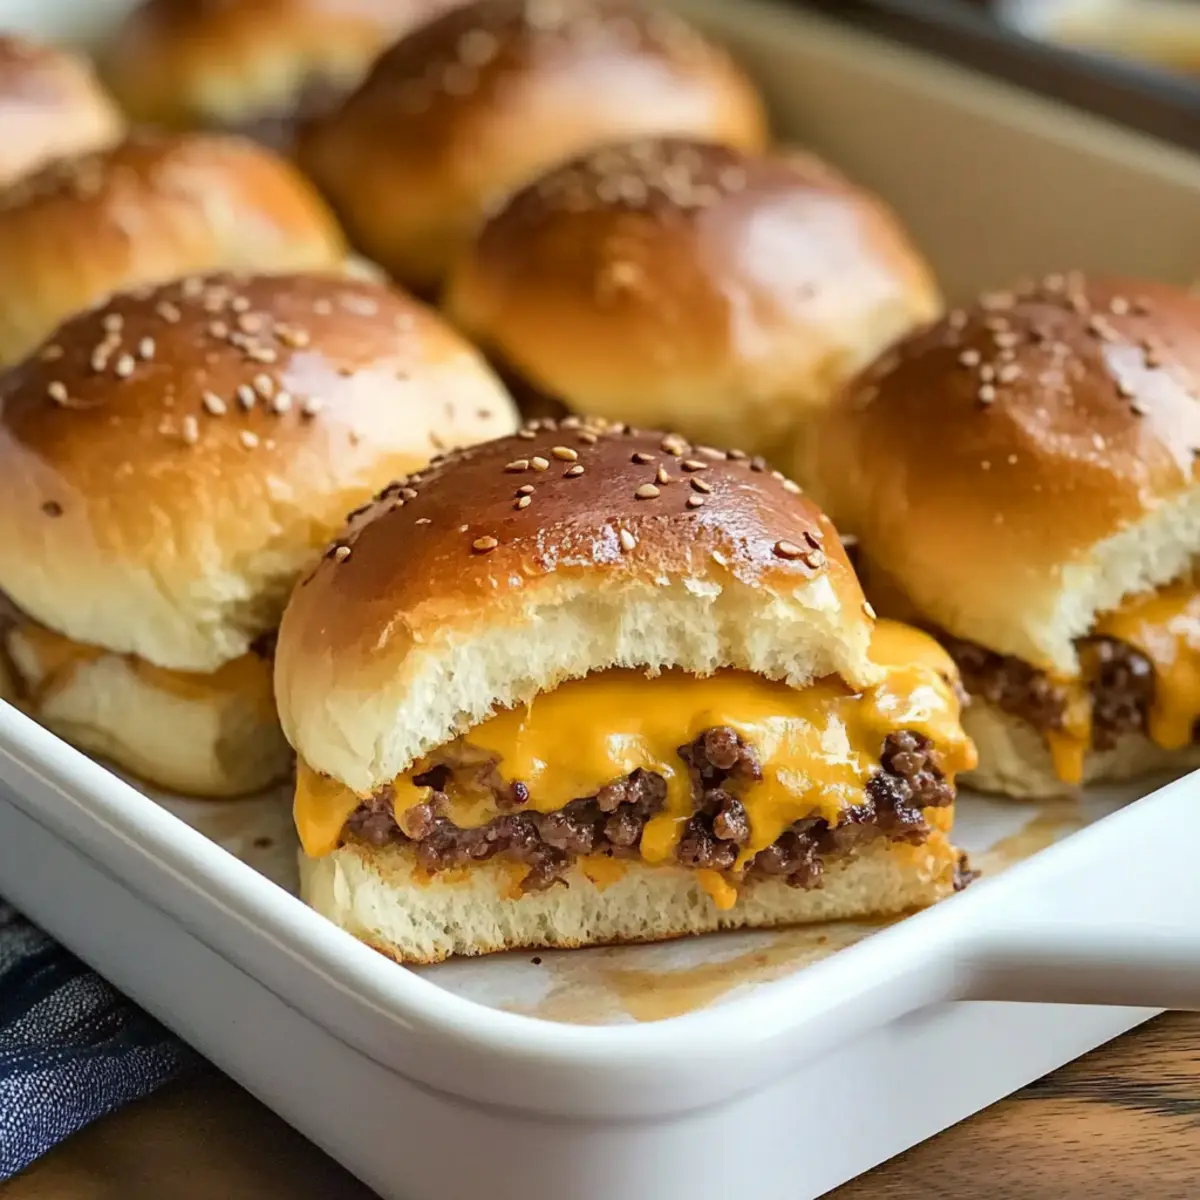
Comfort in Every Bite: With melty cheese and juicy beef bundled in a fluffy bun, each slider offers a comforting taste that brings back childhood memories, perfect for family dinners.
Make-Ahead Convenience: Assemble sliders in advance and store them, allowing for an easy baking session when hunger strikes—just add a bit of extra time if chilled.
Kid-Friendly Cheeseburger Slider Ingredients
For the Sliders
- Lean Ground Beef – Provides protein and structure; feel free to swap with ground turkey or chicken for a lighter option.
- Small Yellow Onion – Adds sweetness and depth of flavor; can be omitted if you prefer a simpler taste.
- Garlic Powder – Enhances flavor beautifully; fresh minced garlic may be used for a punchier taste.
- Salt – Essential for balancing flavors; adjust according to your taste and dietary needs.
- Black Pepper – Provides mild heat; white pepper can be a nice alternative for a different flavor note.
- Slider Buns – The perfect base for your sliders, keeping everything together; substitute with dinner rolls for a bigger bite.
- Cheddar Cheese – Melts wonderfully, unifying flavors; any kid-friendly melting cheese works too, or omit for a dairy-free option.
For the Toppings
- Optional Condiments – Pickles, ketchup, mustard, and burger sauce offer extra burst of flavor; customize based on your family’s preferences.
- Melted Butter – For brushing on the buns, adding richness; swap it for olive oil for a lighter choice.
- Sesame Seeds – Just for visual appeal; they’re optional but lend an extra crunch that kids love.
These Kid-Friendly Cheeseburger Sliders promise to be a hit at any table, from family dinners to lively parties!
Step‑by‑Step Instructions for Kid-Friendly Cheeseburger Sliders
Step 1: Preheat the Oven
Begin by preheating your oven to 350°F (175°C). While the oven heats up, take a moment to grease a 9×13-inch baking dish with a light coating of cooking spray or butter. This will ensure that your Kid-Friendly Cheeseburger Sliders don’t stick, allowing for easy removal when they are perfectly baked.
Step 2: Sauté the Onion
In a large skillet over medium heat, add diced yellow onion and sauté for about 3-4 minutes. Stir occasionally until the onions become soft and translucent, releasing their sweet aroma. This step builds an essential flavor base for your sliders, adding depth to the overall taste.
Step 3: Brown the Beef
Next, add the lean ground beef, garlic powder, salt, and black pepper to the skillet. Use a wooden spoon to break the beef apart as it cooks, allowing it to brown evenly for about 5-7 minutes. Make sure the meat is fully cooked with no pink visible, and then drain any excess fat for a healthier slider filling.
Step 4: Prepare the Buns
While the beef is cooking, slice the slider buns horizontally, keeping the tops connected. Carefully place the bottom half of the buns in the greased baking dish. This will create a stable base for assembling your Kid-Friendly Cheeseburger Sliders.
Step 5: Layer the Ingredients
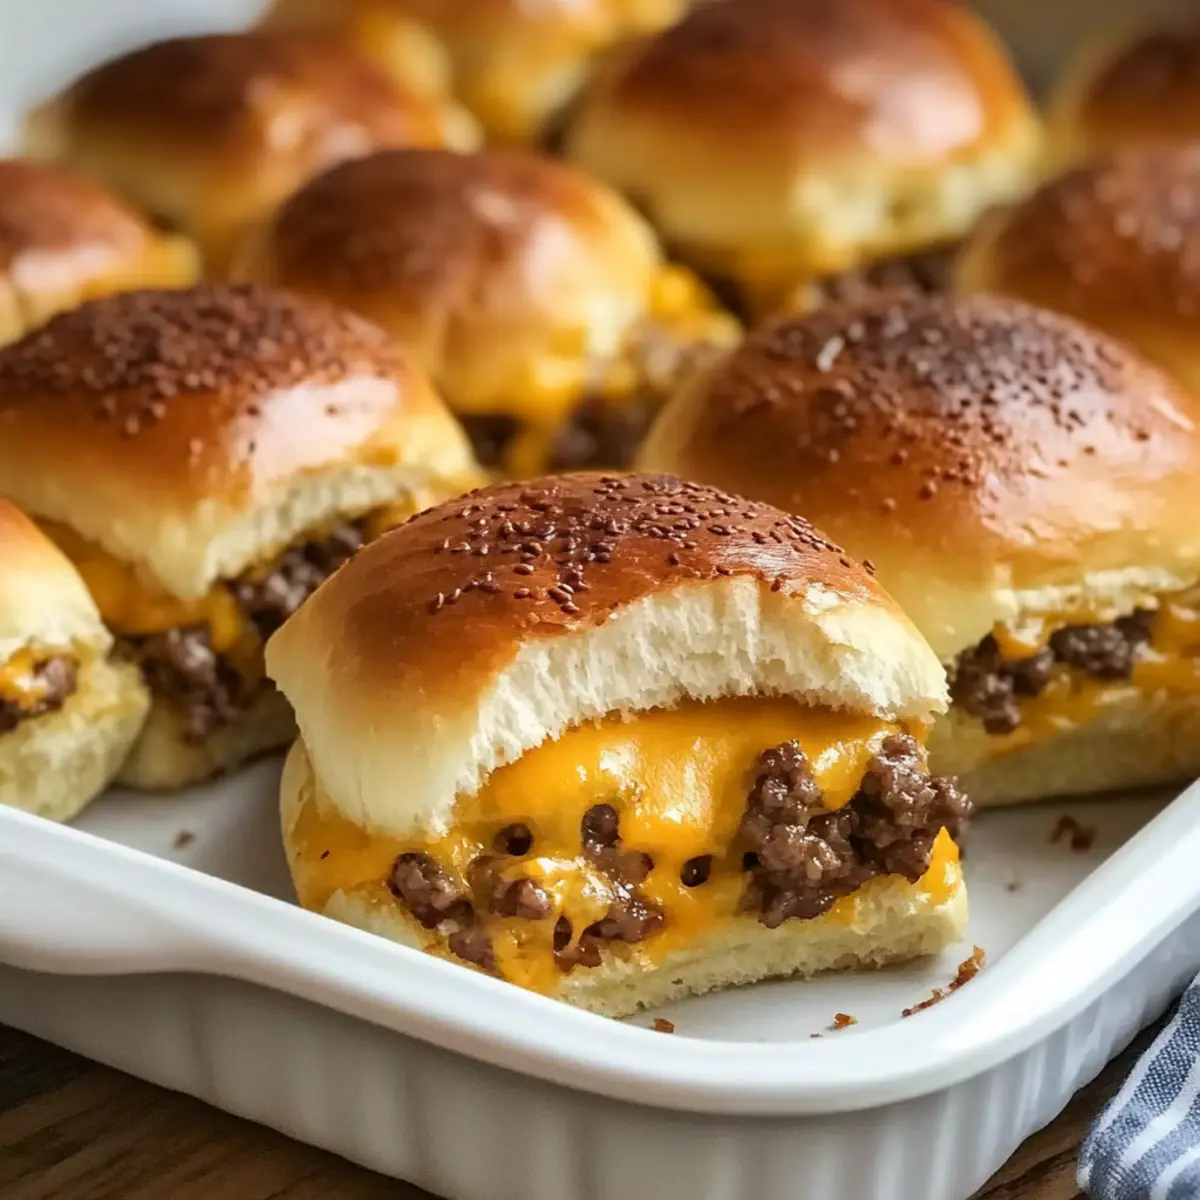
Now it’s time to build your sliders! Start by layering half of the cheddar cheese over the bottom buns, ensuring an even coating. Then, spoon the cooked beef mixture on top, spreading it out to cover the cheese evenly. Finish off this layer by adding the remaining cheese on top of the beef, making these sliders extra melty.
Step 6: Complete the Sliders
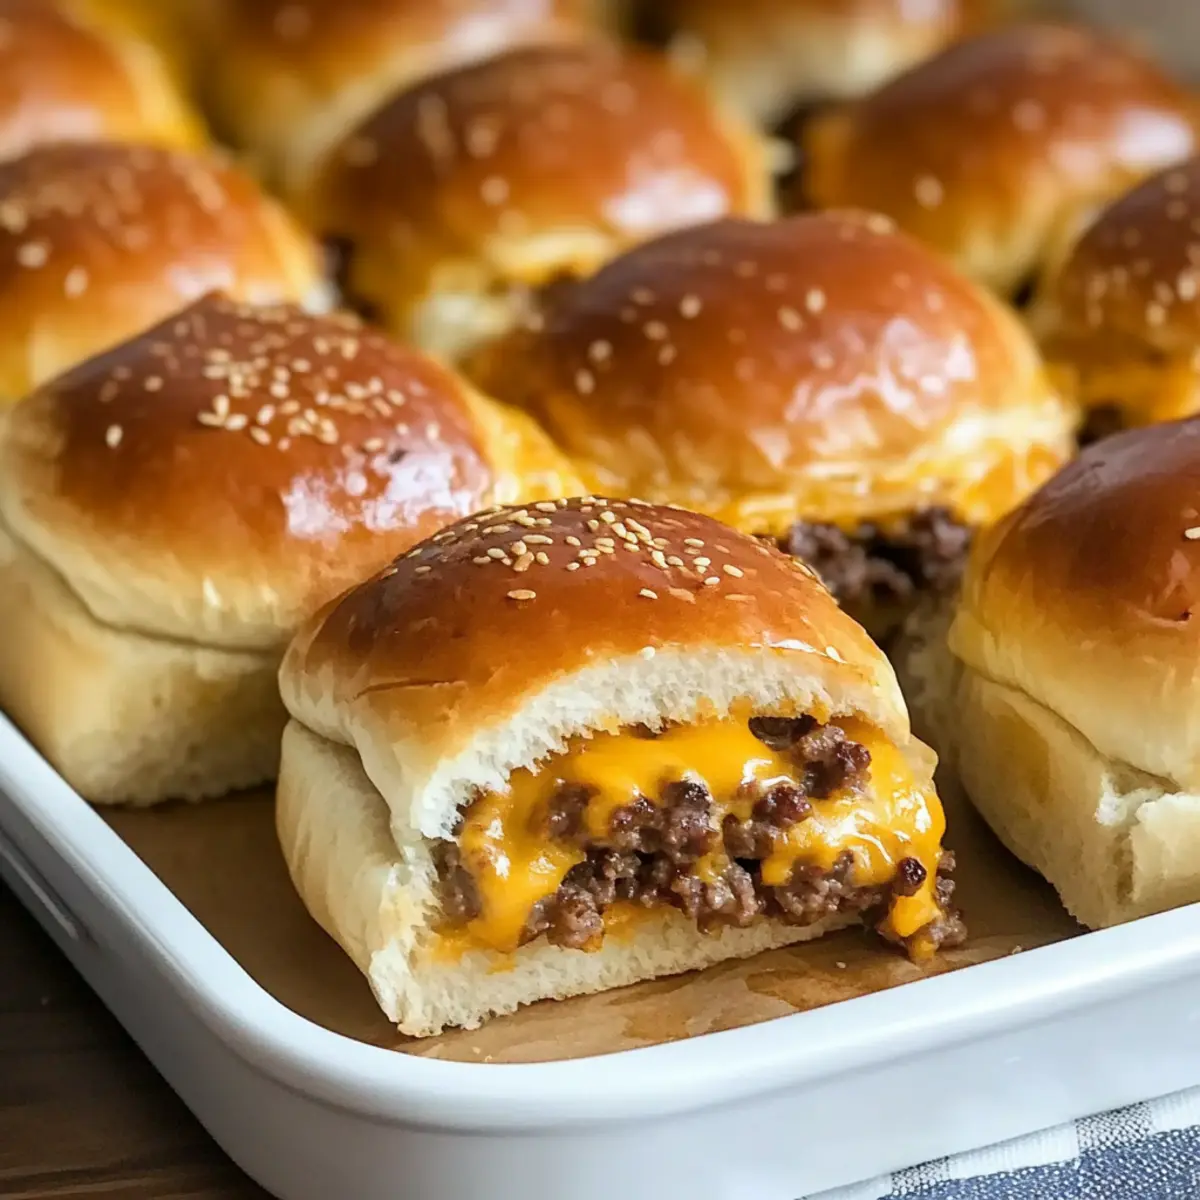
Position the top halves of the slider buns over the assembled filling, gently pressing down to secure everything. Brush the tops of the buns with melted butter, allowing for that golden finish. Sprinkle sesame seeds over the buttered buns for an inviting crunch and visual appeal.
Step 7: Bake to Perfection
Cover the baking dish with aluminum foil to retain moisture while baking. Place it in the preheated oven and bake for 10 minutes. Afterward, remove the foil and continue baking for an additional 5-7 minutes until the tops are golden and the cheese is visibly melted, creating a beautiful, appetizing sight.
Step 8: Slice and Serve
Once baked, take the Kid-Friendly Cheeseburger Sliders out of the oven and let them cool for a few minutes. Use a sharp knife to slice through the sliders along the seams, creating individual portions. Serve these delightful mini sliders warm, pairing them with your favorite condiments and toppings for maximum enjoyment!
Expert Tips for Kid-Friendly Cheeseburger Sliders
- Prep Ahead: Assemble the Kid-Friendly Cheeseburger Sliders a day in advance, storing them in the fridge, adding just a few minutes to the baking time for easy serving.
- Cheese Barrier: To prevent sogginess, layer cheese on both the top and bottom of the beef mixture; this keeps the buns perfectly fluffy.
- Proper Storage: Use an airtight container to store leftovers in the refrigerator for up to 3 days, maintaining freshness after your slider feast.
- Freezing Option: For long-term storage, assemble unbaked sliders, wrap well, and freeze; simply thaw overnight and follow the baking instructions when ready.
- Guest Considerations: Always consider dietary needs—offering gluten-free or vegetarian options can make your sliders enjoyable for everyone.
Make Ahead Options
These Kid-Friendly Cheeseburger Sliders are perfect for meal prep enthusiasts! You can assemble the sliders up to 24 hours in advance by layering everything in the baking dish and covering it tightly with plastic wrap to keep the moisture in. The cooked beef mixture can also be refrigerated for up to 3 days before using, so feel free to prepare that ahead of time as well. When you’re ready to serve, simply pop the assembled sliders in the oven, adding a few extra minutes to the baking time if they’re chilled. With these make-ahead options, you’ll have delicious, ready-to-bake sliders waiting for you, saving time on busy weeknights!
What to Serve with Kid-Friendly Cheeseburger Sliders
Imagine a joyful family gathering, with laughter and delicious aromas filling the air, as you prepare to serve a feast that delights both the young and young at heart.
-
Crispy French Fries: The classic pairing adds a satisfying crunch that perfectly complements the sliders’ gooeyness. Serve them hot with a sprinkle of salt for that nostalgic touch.
-
Refreshing Coleslaw: A bright and crunchy side, coleslaw offers a zesty contrast, making each bite refreshing and balancing the savory richness of the sliders. The creamy dressing will have everyone coming back for more!
-
Fruit Skewers: Bright, colorful fruit skewers bring a fresh element that lightens the meal beautifully. They’re a fun and healthy option, perfect for kids to munch on between bites of hearty sliders.
-
Mozzarella Sticks: For an extra cheesy treat, serve hot, crispy mozzarella sticks alongside marinara sauce. The cheesy goodness pairs delightfully with the sliders, ensuring there’s something for everyone!
-
Sweet Potato Wedges: Roasted sweet potato wedges provide a sweeter, healthier alternative. Their natural sweetness complements the savory flavors of the sliders, adding diversity to your meal.
-
Sparkling Lemonade: Offer a refreshing drink like sparkling lemonade to quench thirst. It’s bright and bubbly, enhancing the overall dining experience while appealing to both kids and adults.
-
Chocolate Chip Cookies: For a sweet finish, serve chocolate chip cookies as a delightful dessert. Their warm, gooey texture adds a comforting end to the meal, leaving everyone with smiles.
How to Store and Freeze Kid-Friendly Cheeseburger Sliders
Fridge: Store any leftovers in an airtight container for up to 3 days. Reheat in the oven at 350°F (175°C) for about 10 minutes to regain that fresh, melty goodness.
Freezer: For long-term storage, assemble unbaked sliders and wrap tightly in plastic wrap. They can be frozen for up to 2 months. Thaw overnight in the fridge before following baking instructions.
Make-Ahead: You can prepare sliders a day in advance and keep them in the fridge. Just add a few extra minutes to the baking time when ready to enjoy.
Reheating: Warm up cooked sliders in the oven or microwave. For the best texture, an oven reheating method is advised, maintaining that delightful bun crispness.
Kid-Friendly Cheeseburger Sliders Variations & Substitutions
Feel free to get creative with your sliders and tailor them to suit your family’s flavor preferences and dietary needs!
-
Turkey Sliders: Swap out ground beef for lean ground turkey for a lighter, healthier option that’s just as satisfying. These sliders remain juicy and flavorful while accommodating those seeking a lower-fat meal.
-
Vegetarian Sliders: Use plant-based ground meat or a mixture of seasoned lentils, offering a hearty, meatless alternative that’s rich in protein and perfect for non-meat eaters. They’ll surprise you with their deliciousness!
-
Mini Pizza Sliders: Add marinara sauce and mozzarella cheese to create a fun pizza-inspired twist that kids will adore. Top with oregano or basil for a hint of Italian flavor that enhances every bite.
-
BBQ Sliders: Mix in some BBQ sauce with the beef for a sweet and tangy flavor explosion. Topped with coleslaw, these sliders become a summer picnic favorite that everyone will love.
-
Spicy Jerk Sliders: Incorporate jerk seasoning or diced jalapeños to add a kick of heat! This variation provides an exciting twist that appeals to those who crave a bit of spice in their meals.
-
Dairy-Free Version: Skip the cheese altogether or replace it with a vegan cheese option for a dairy-free experience everyone can enjoy. They’ll still be flavorful and satisfying without compromising on enjoyment.
-
Pulled Pork Sliders: For a twist on classic cheeseburgers, use shredded pulled pork tossed in BBQ sauce. Serve with tangy pickles and coleslaw for a Southern-inspired feast that’s sure to impress!
-
Gluten-Free Buns: Substitute regular slider buns with gluten-free options for those with dietary restrictions. Many varieties are available, ensuring everyone can indulge in tasty sliders without worry.
Exploring these variations can enhance your culinary adventure—why not try a few at your next gathering? For further delicious inspiration, check out how to create Veggie Sliders or experiment with Pulled Pork Variations!
Kid-Friendly Cheeseburger Sliders Recipe FAQs
What type of ground beef is best for sliders?
Absolutely! I recommend using lean ground beef for a healthier option, balancing flavor with lower fat content. Ground turkey or chicken can also be great substitutes for a lighter take, while still keeping them kid-friendly.
How do I store leftover Kid-Friendly Cheeseburger Sliders?
For best results, store leftover sliders in an airtight container in the refrigerator for up to 3 days. To reheat, simply place them in the oven at 350°F (175°C) for about 10 minutes, ensuring they maintain their melty goodness.
Can Kid-Friendly Cheeseburger Sliders be frozen?
Very much so! Assemble the sliders unbaked, ensuring they’re wrapped tightly in plastic wrap. You can freeze them for up to 2 months. When you’re ready to enjoy them, thaw overnight in the fridge and bake according to the original instructions—the sliders will taste freshly made.
What can I do if my sliders come out soggy?
To avoid that soggy texture, make sure to layer cheese on both the top and bottom of the beef mixture during assembly. This acts as a barrier. If they still turn out soggy, consider reducing the cooking time slightly next time, as overcooking can also contribute to excess moisture in the buns.
Are there any allergy considerations for this recipe?
Absolutely! Be mindful of guests with dairy allergies—use dairy-free cheese or omit it altogether. Also, check for any gluten sensitivities with the slider buns. Gluten-free bread can be a fantastic substitute, ensuring everyone can enjoy these tasty Kid-Friendly Cheeseburger Sliders!
Kid-Friendly Cheeseburger Sliders for Fun Family Feasts
Ingredients
Equipment
Method
- Preheat your oven to 350°F (175°C) and grease a 9x13-inch baking dish.
- In a large skillet, sauté diced yellow onion over medium heat for about 3-4 minutes until soft.
- Add lean ground beef, garlic powder, salt, and black pepper, and brown for 5-7 minutes. Drain excess fat.
- Slice slider buns horizontally and place the bottom half in the greased baking dish.
- Layer half of the cheddar cheese over the bottom buns, then spoon the cooked beef mixture on top.
- Finish with the remaining cheese on top of the beef before placing the top halves of the slider buns.
- Brush the tops of the buns with melted butter and sprinkle sesame seeds on top.
- Cover with aluminum foil and bake for 10 minutes, then remove foil and bake for an additional 5-7 minutes until golden.
- Let cool, slice through the seams, and serve warm with your favorite condiments.
Leave a Reply