
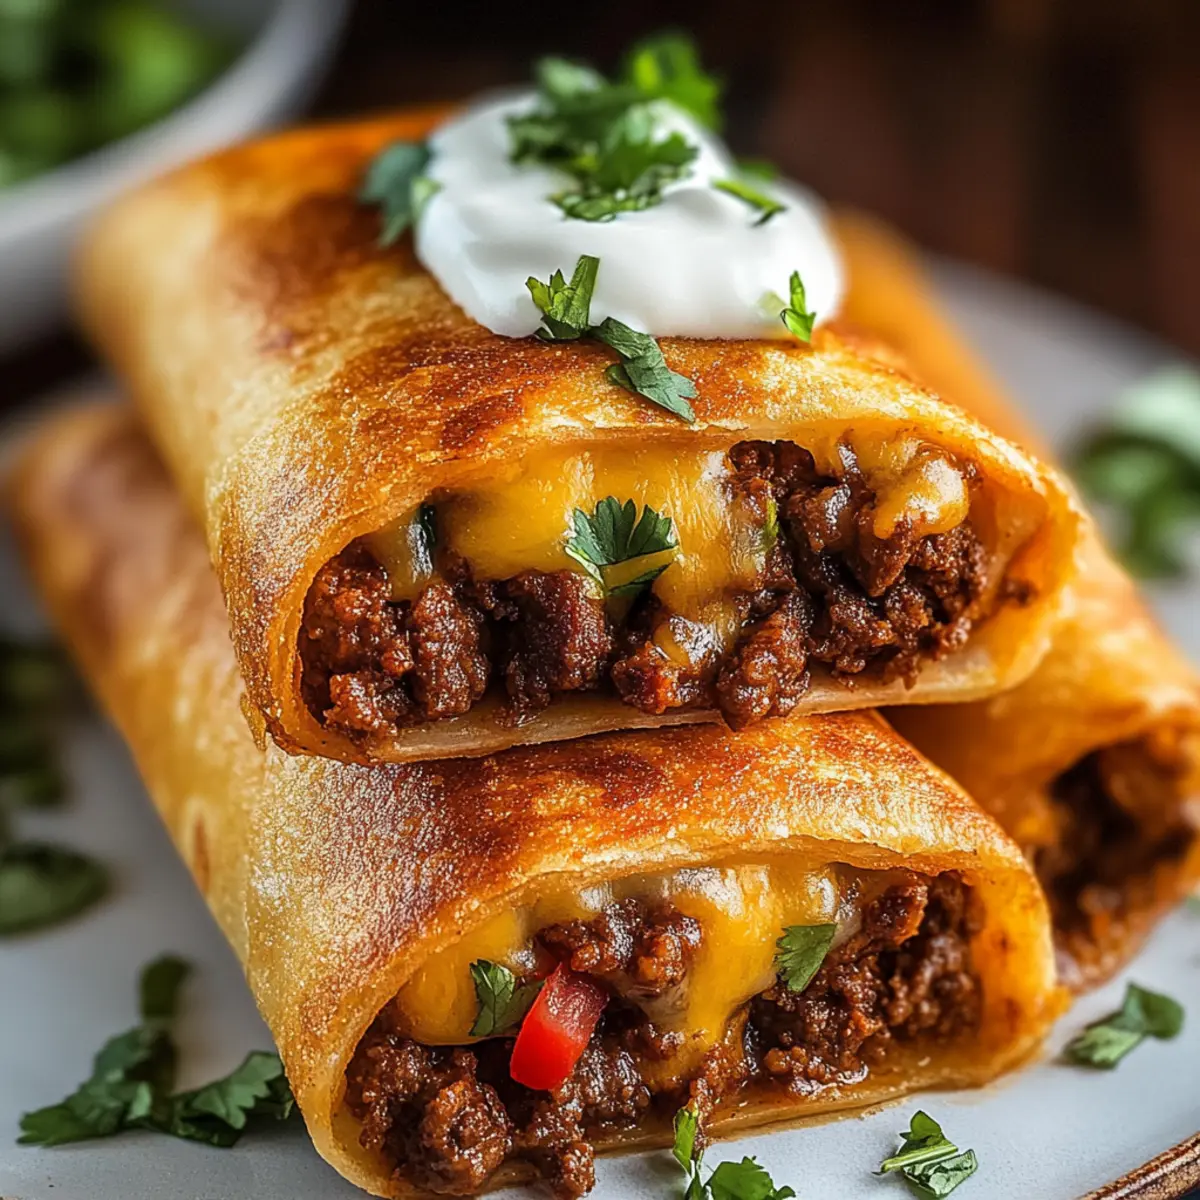
As I reached into the fridge for a late-night snack, a delightful idea popped into my head—Crispy Beef and Cheese Chimichangas. The blend of savory ground beef, melted cheese, and a pinch of Tex-Mex magic always satisfies those late-night cravings! What I love about this dish is its versatility; whether you prefer it fried for that golden crunch or baked for a healthier twist, this recipe is a straightforward solution for busy weeknight dinners. In just about 40 minutes, you can whip up these customizable, freezer-friendly beauties that your whole family will adore. Ready to dive into the world of Chimichangas and discover how to elevate dinner time? Let’s get cooking!

Why Are Beef and Cheese Chimichangas Irresistible?
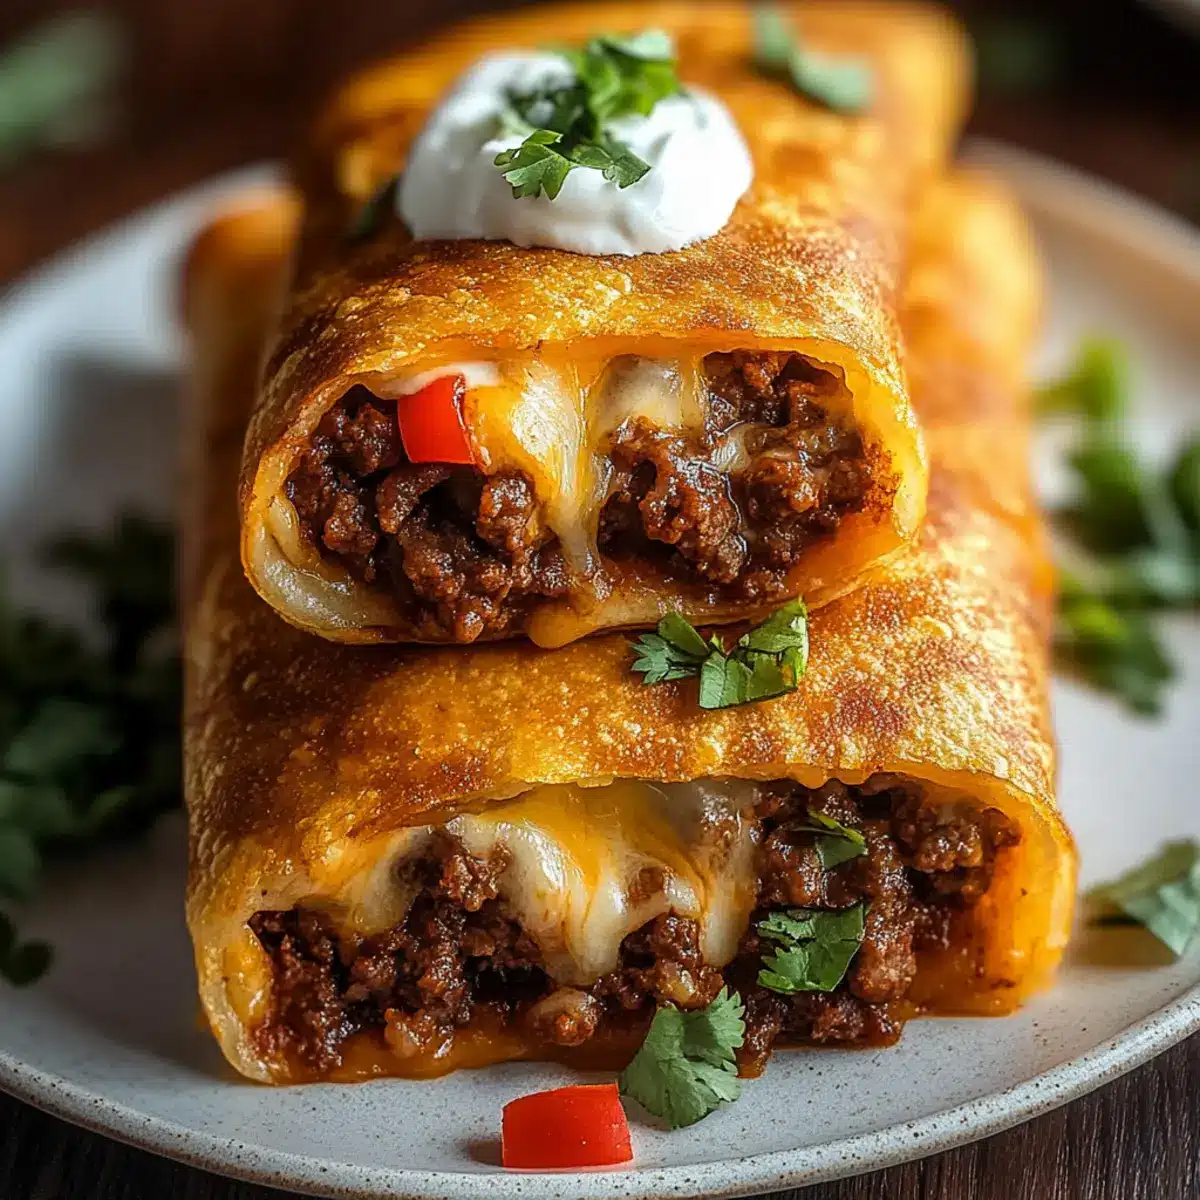
Crispy texture: Baked or fried, these chimichangas deliver a crunch that’s hard to resist.
Savory goodness: With a delicious filling of ground beef and melty cheese, each bite packs a flavor punch.
Customizable options: Switch up ingredients for various diets—think chicken, vegetarian fillings, or even breakfast versions!
Make-ahead ease: Perfect for busy nights, they can be frozen and cooked straight from the freezer.
Family favorite: Packed with bold Tex-Mex flavors, these chimichangas are sure to delight everyone at the table. For more delicious twists, check out our Mini Grilled Cheese or serve with a tasty Pumpkin Cheese Ball on the side.
Beef and Cheese Chimichangas Ingredients
• Can’t wait to make these scrumptious chimichangas? Let’s gather the essentials!
For the Filling
• Ground Beef – The main protein source; opt for lean beef to keep it juicy but not greasy.
• Small Onion – Sautéing adds a sweet depth of flavor that really enhances the filling.
• Garlic – This essential ingredient enhances the savory profile; fresh or minced works beautifully.
• Taco Seasoning – Delivers that signature Tex-Mex flavor; feel free to use store-bought or homemade for a personal touch.
• Salsa – Adds moisture and a burst of flavor; use your favorite variety to spice things up!
• Refried Beans – Provides creaminess and binds the filling together; optional for a meatier chimichanga.
• Shredded Cheese (Cheddar/Mexican blend) – Melts beautifully for that gooey center; try Pepper Jack for an extra kick.
For Assembling
• Large Flour Tortillas – Essential for wrapping; 10-inch tortillas make folding a breeze.
• Vegetable Oil – Used for frying or to brush over for baking; olive oil can be a healthier alternative for baking.
Dive into the flavor-forward world of Beef and Cheese Chimichangas, and let your culinary creativity shine!
Step‑by‑Step Instructions for Beef and Cheese Chimichangas
Step 1: Prepare the Filling
In a large skillet over medium heat, brown 1 pound of ground beef and 1 small diced onion until the meat is no longer pink, about 5-7 minutes. Drain any excess grease, then stir in 2 cloves of minced garlic, 2 tablespoons of taco seasoning, and ½ cup of salsa. Allow this mixture to simmer for 2-3 minutes until fragrant and well combined, creating a delicious filling for your Beef and Cheese Chimichangas.
Step 2: Assemble the Chimichangas
Lay out 4 large flour tortillas on a clean surface and spread a layer of refried beans (optional) over each. Spoon a generous amount of the beef mixture onto the center of each tortilla, then sprinkle with a handful of shredded cheese. Fold in the sides of the tortilla and roll it tightly from the bottom up, ensuring the filling is well enclosed. You want them snug and secure to prevent any spillage while cooking.
Step 3: Choose Your Cooking Method
For frying, heat vegetable oil in a deep skillet or fryer to 350°F (175°C). Carefully place the chimichangas seam-side down into the hot oil and fry for 2-3 minutes on each side until golden brown and crispy. If baking, preheat your oven to 400°F (200°C), brush each chimichanga lightly with oil, and place them seam-side down on a baking sheet. Bake for 20-25 minutes until they are crisp and golden.
Step 4: Serve and Enjoy
Once your Beef and Cheese Chimichangas are done, let them rest for a couple of minutes before serving. This brief resting time helps keep the filling warm. Serve them with toppings like sour cream, guacamole, or fresh salsa for an added burst of flavor, making your Tex-Mex meal truly irresistible.
How to Store and Freeze Beef and Cheese Chimichangas
- Room Temperature: Enjoy your chimichangas immediately after cooking; they are best fresh and crispy right from the fryer or oven.
- Fridge: Store cooked chimichangas in an airtight container for up to 3 days. Reheat in the oven at 350°F (175°C) for about 10-15 minutes to regain crispness.
- Freezer: Freeze assembled (but uncooked) chimichangas by wrapping them tightly in plastic wrap and then in foil for up to 2 months. Bake or fry them directly from the freezer, adding extra cooking time as needed.
- Reheating: If reheating cooked chimichangas, use the oven for best results. Place them on a baking sheet, cover with foil, and heat at 350°F (175°C) until warmed through, which usually takes about 15-20 minutes.
What to Serve with Beef and Cheese Chimichangas
Elevate your dinner experience with delightful sides and drinks that perfectly complement the crispy goodness of chimichangas.
-
Spanish Rice: The fluffy, seasoned rice adds a comforting base that balances the richness of the chimichangas.
-
Refried Beans: Creamy and hearty, these beans not only enhance flavor but also provide a satisfying contrast to the crispy texture.
-
Fresh Guacamole: This fresh, creamy topping bursts with flavor and freshness, making every bite even more irresistible.
-
Sour Cream: A dollop of sour cream adds a cool, tangy touch, perfectly cutting through the savory intensity of the beef filling.
-
Zesty Coleslaw: Crunchy and tangy, coleslaw adds a refreshing element that complements the warm, crispy chimichangas beautifully.
-
Pico de Gallo: This vibrant salsa of diced tomatoes, onion, and cilantro brings brightness and acidity, enhancing the overall flavor profile.
-
Cilantro Lime Rice: The fragrant lime and fresh cilantro elevate the rice, making it a bright companion to the chimichangas.
-
Margaritas: A refreshing margarita is the perfect drink pairing, adding a zesty cocktail option that echoes the Tex-Mex theme wonderfully.
-
Churros: For a sweet finish, serve crispy churros with chocolate sauce; their sugary crunch contrasts perfectly with the savory chimichangas.
Expert Tips for Beef and Cheese Chimichangas
-
Seal It Well: Ensure the seam of the chimichangas is tightly folded to prevent them from opening during cooking.
-
Cooking Method Matters: Frying offers a classic crispy texture while baking provides a healthier alternative. Choose based on your preference!
-
Control the Grease: Use lean ground beef to keep your filling juicy but not greasy, ensuring a delicious bite every time.
-
Flavor Boost: Consider adding jalapeños or different cheese varieties into your filling for a flavor enhancement in your Beef and Cheese Chimichangas.
-
Avoid Sogginess: If baking, flip the chimichangas halfway through for even crispness and to prevent sogginess on one side.
-
Freezer-Friendly: Assemble chimichangas ahead of time and freeze them. Cook from frozen, just adding a few extra minutes to the cooking time.
Beef and Cheese Chimichangas Variations
Feel free to get creative and adjust this recipe to fit your taste preferences and dietary needs!
- Chicken or Pork: Swap the beef for shredded chicken or pork for a different flavor profile. It’s a fantastic way to cater to your favorites!
- Vegetarian Delight: Replace meat with sautéed bell peppers, zucchini, and black beans for a vibrant vegetarian option that maintains the essence of the dish.
- Breakfast Chimichangas: Use scrambled eggs and a blend of cheeses instead of beef for a fantastic breakfast twist that will have everyone racing to the table.
- Spicy Kick: Stir in some jalapeños or diced green chilies into your filling for an extra burst of heat that will awaken your taste buds!
- Smothered Style: After baking, drizzle with enchilada sauce or melted queso for a rich, indulgent chimichanga experience that is sure to impress.
- Dairy-Free: Use dairy-free cheese and omit refried beans for a vegan-friendly chimichanga that’s packed with flavor!
- Taco-Inspired: Swap out salsa for your favorite pico de gallo to give your filling a fresh, zesty flair reminiscent of crunchy tacos.
- Savory Sweet: Add a handful of corn or diced sweet potatoes to the filling for a delightful contrast of sweet and savory in every bite.
For even more delicious ideas, consider pairing these chimichangas with a rich Honey Cream Cheese dip or serve alongside a refreshing Orange Cream Cheese for a delightful twist!
Make Ahead Options
These Beef and Cheese Chimichangas are perfect for meal prep enthusiasts! You can assemble the chimichangas up to 24 hours in advance, wrapping them tightly in plastic wrap after preparation. This not only saves you time on busy weeknights but keeps the filling fresh and flavorful. Alternatively, if you’d like to prep even further in advance, you can freeze them for up to 2 months—just make sure to place parchment paper between layers to prevent sticking. When you’re ready to enjoy, bake or fry them directly from frozen, adding a few extra minutes to your cooking time for that crispy, golden outcome. Enjoy these delicious chimichangas just as you would made-to-order!

Beef and Cheese Chimichangas Recipe FAQs
What kind of ground beef should I use for my Beef and Cheese Chimichangas?
I recommend using lean ground beef to keep your chimichangas juicy without being greasy. If you’re looking for alternatives, ground turkey or shredded chicken works beautifully too—just adjust the seasoning accordingly!
How do I store leftover Beef and Cheese Chimichangas?
Place any leftovers in an airtight container in the fridge for up to 3 days. When you’re ready to enjoy them again, simply reheat in the oven at 350°F (175°C) for about 10-15 minutes to bring back that delightful crispiness.
Can I freeze Beef and Cheese Chimichangas?
Absolutely! To freeze, wrap your assembled (but uncooked) chimichangas tightly in plastic wrap, then in foil. They can be stored for up to 2 months. When ready to cook, you can bake or fry them straight from the freezer—just adjust the cooking time slightly, adding about 5-10 minutes to ensure they’re heated through.
What should I do if my chimichangas open while cooking?
To avoid this, make sure you seal them tightly when rolling. If they do open, don’t fret! Just carefully flip them so they fry or bake evenly. An extra sprinkle of cheese on top can also help hold them together while they cook.
Are there any dietary considerations for Beef and Cheese Chimichangas?
Yes, for those with dietary restrictions, you can make a vegetarian version by substituting the beef with sautéed bell peppers, zucchini, and black beans. Additionally, use gluten-free tortillas to cater to gluten sensitivities. Always check ingredient labels if there’s a concern about allergens.
How do I know when the chimichangas are fully cooked?
For frying, they should be golden brown, typically 2-3 minutes per side. If baking, a beautiful crisp outside and a temperature of at least 165°F (74°C) in the center indicates they’re ready. Just let them rest for a minute before enjoying!
Satisfy Your Cravings with Beef and Cheese Chimichangas
Ingredients
Equipment
Method
- In a large skillet over medium heat, brown the ground beef and diced onion until meat is no longer pink, about 5-7 minutes. Drain excess grease, add garlic, taco seasoning, and salsa. Simmer for 2-3 minutes.
- Lay out the tortillas on a clean surface and spread a layer of refried beans (if using) over each. Spoon beef mixture onto the center of each tortilla, sprinkle with shredded cheese, fold in sides, and roll tightly from the bottom up.
- For frying, heat oil to 350°F (175°C) and fry chimichangas seam-side down for 2-3 minutes on each side until golden. For baking, preheat oven to 400°F (200°C), brush with oil, and bake for 20-25 minutes.
- Let chimichangas rest for a few minutes before serving. Top with sour cream, guacamole, or fresh salsa as desired.
Leave a Reply