
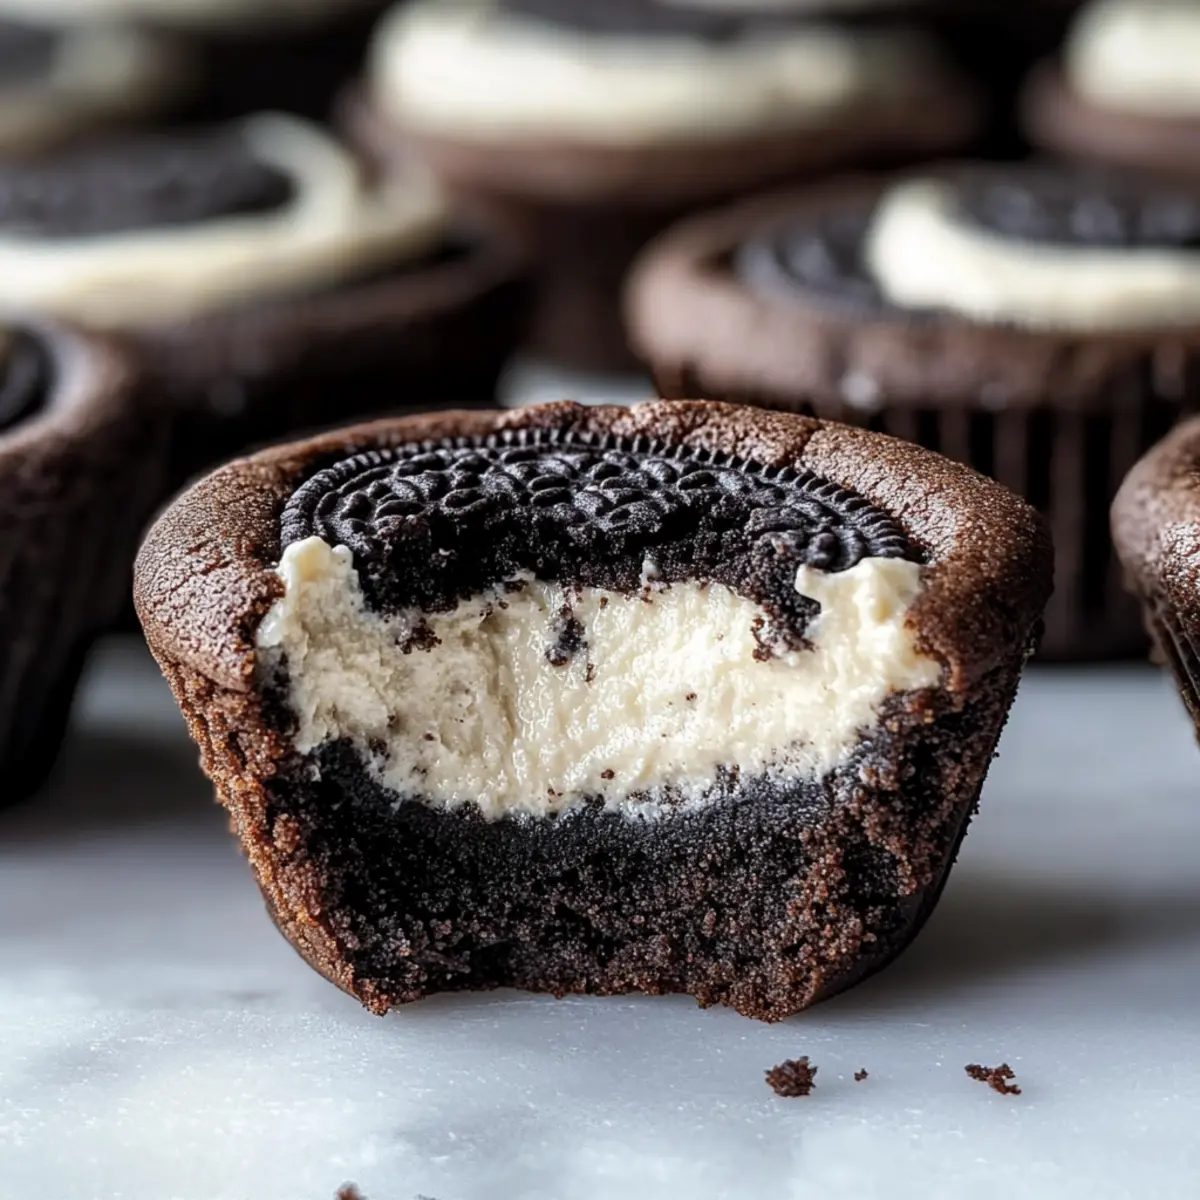
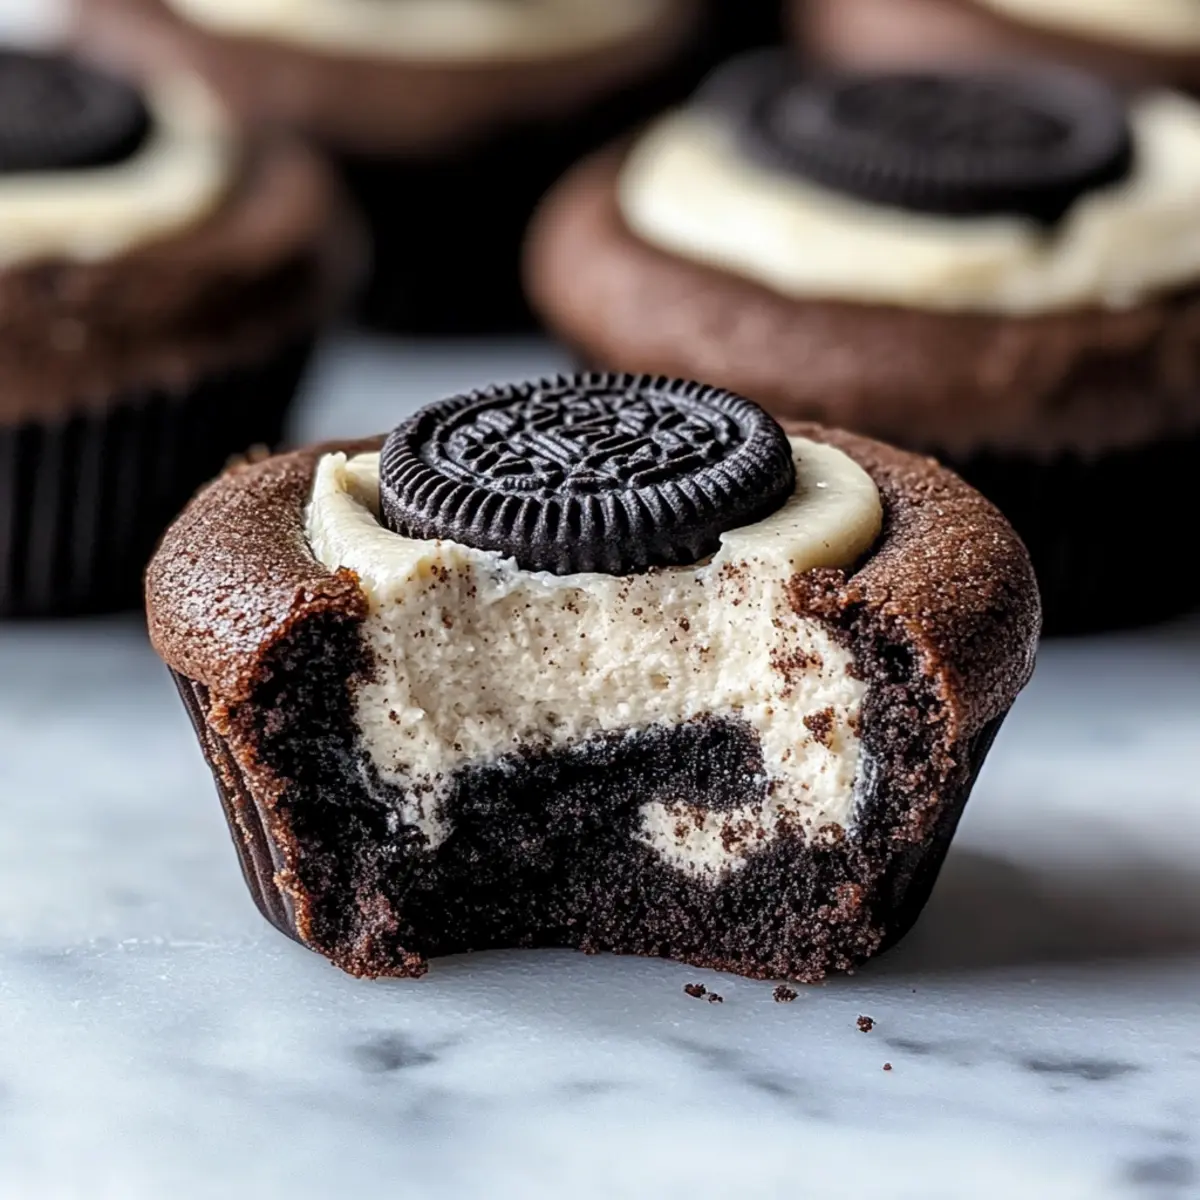
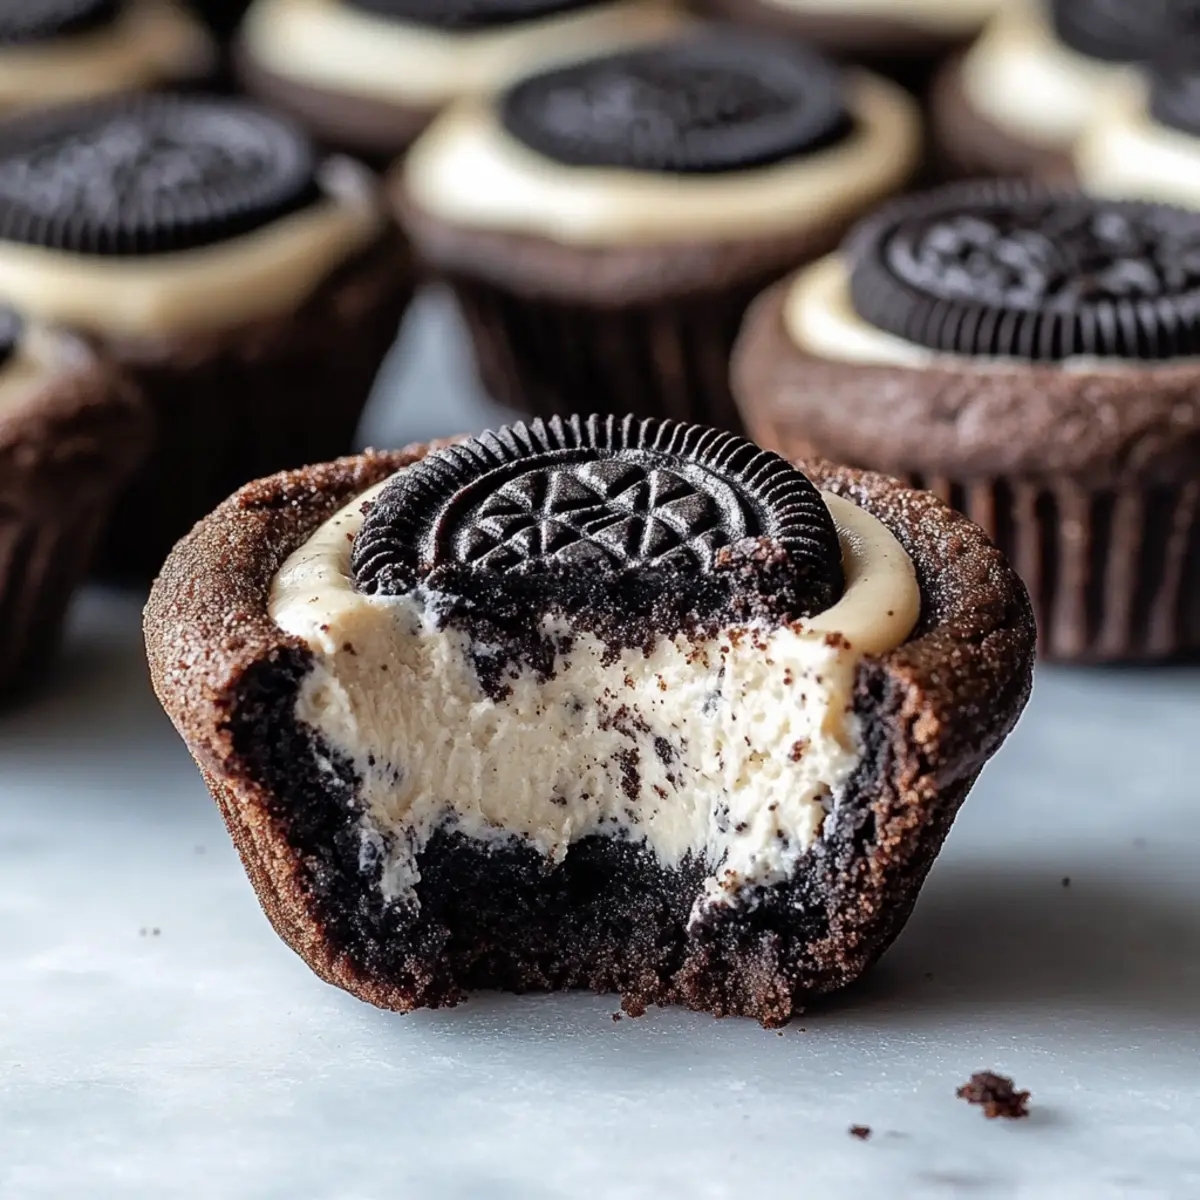
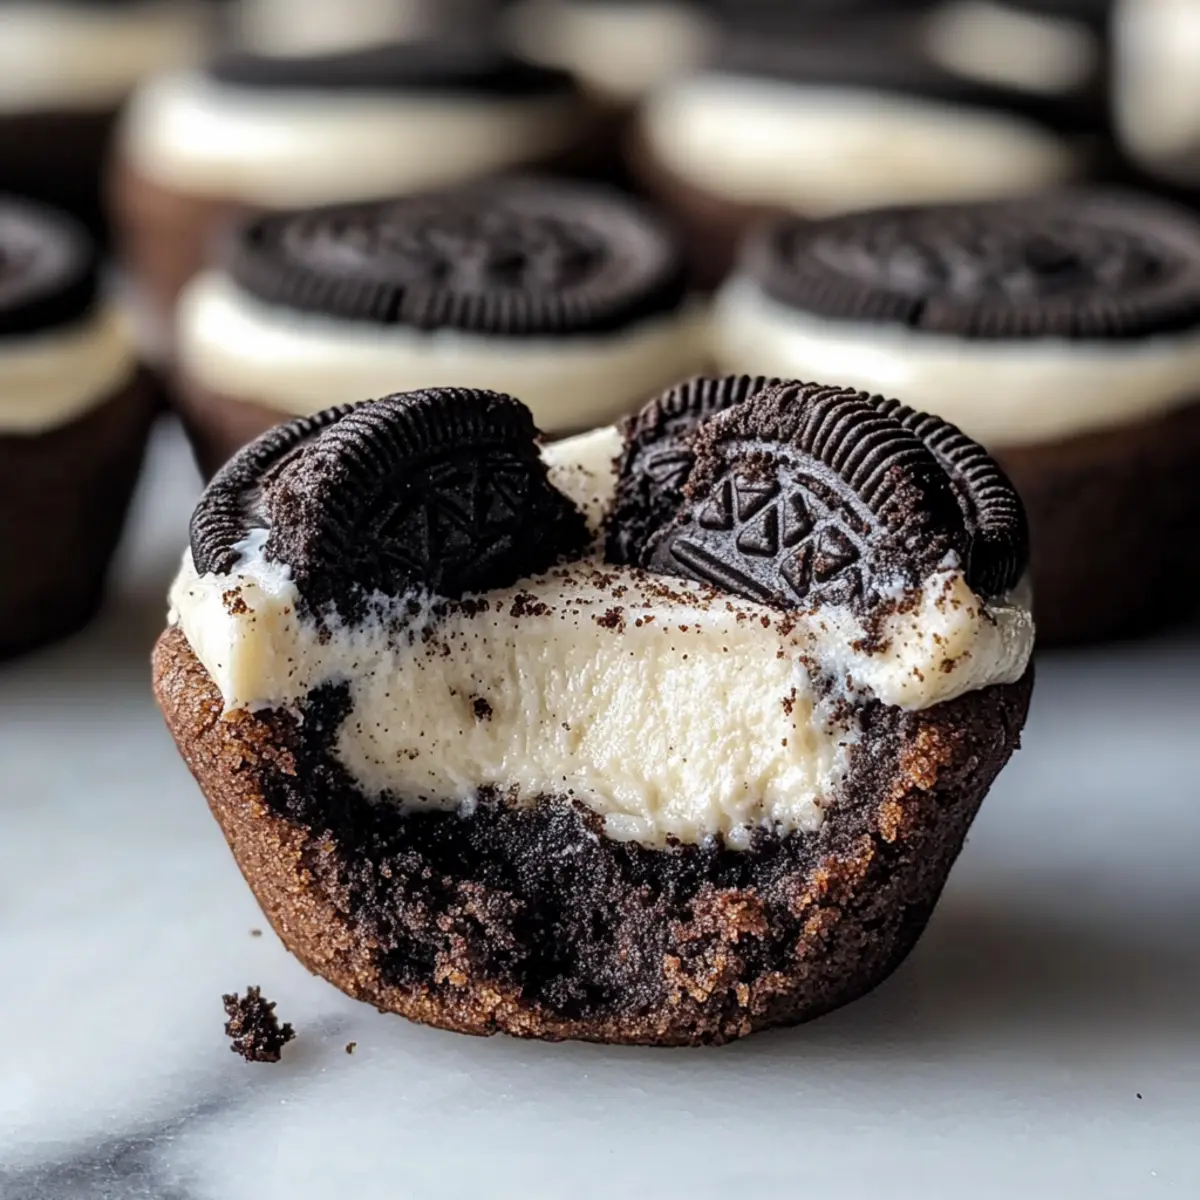
While rummaging through my pantry last weekend, I stumbled upon a forgotten box of Oreos, and a delightful idea sparked—what if I transformed them into something extra special? Enter these Oreo Cheesecake Cookie Cups, the perfect marriage of chocolatey crunch and creamy bliss. Crafted with a rich chocolate cookie base and light, fluffy Oreo cheesecake filling, these delightful mini treats are not only easy to whip up but are also perfect for any occasion. Friends and family will be captivated by their unique layers and playful elegance, making them an instant crowd-pleaser! Whether you’re hosting a party or simply indulging in a sweet craving, these cookie cups will put a smile on everyone’s faces. Ready to dive into this deliciously fun recipe? Let’s get started!
Why Are Oreo Cheesecake Cookie Cups Irresistible?
Decadent Delight: These Oreo Cheesecake Cookie Cups combine rich chocolate cookie goodness with a creamy Oreo filling, creating a treat that is both satisfying and indulgent.
Crowd-Pleasing Appeal: Perfect for parties or family gatherings, their unique presentation makes them a hit with both kids and adults alike.
Quick and Easy: With a simple preparation process, you’ll have these delightful treats ready in no time, allowing you to enjoy homemade sweets without spending hours in the kitchen.
Versatile Flavors: Feel free to experiment by swapping in other cookies or adding toppings, like fresh fruit or whipped cream, as seen in my Raspberry Swirl Cookies for a unique twist!
Make Ahead: Prepare the cookie cups in advance, filling them just before serving to ensure they stay fresh and delicious.
Oreo Cheesecake Cookie Cups Ingredients
For the Cookie Cups
• All-Purpose Flour – Provides structure; can substitute with gluten-free flour blend for a gluten-free version.
• Dutch-Processed Cocoa Powder – Adds rich chocolate flavor; substitution possible with regular cocoa powder, but flavor will vary.
• Black Cocoa Powder – Enhances the chocolate depth; important for a more intense cookie color.
• Baking Soda – Acts as a leavening agent for the cookie cups.
• Salt – Balances sweetness and enhances overall flavor.
• Unsalted Butter – Adds fat for tenderness and flavor; use room temperature for easy mixing.
• Granulated Sugar – Provides sweetness and contributes to the cookie’s texture.
• Light Brown Sugar – Adds moisture and a deep caramel-like flavor.
• Eggs – Binds the ingredients and adds richness; use room temperature eggs for better emulsion.
• Vanilla Extract – Enhances the overall flavor of the cookie cups.
For the Cheesecake Filling
• Heavy Whipping Cream – Creates a light and airy texture in the filling; must be chilled before whipping.
• Full-Fat Cream Cheese – Forms the creamy base of the filling; use softened for easier mixing.
• Oreo Cookie Crumbs – Flavors the filling and adds a second texture layer; essential for that Oreo Cheesecake Cookie Cups taste!
Feel free to gather these ingredients, and get ready to indulge in a delightful baking adventure!
Step‑by‑Step Instructions for Oreo Cheesecake Cookie Cups
Step 1: Preheat and Prepare
Preheat your oven to 350°F (175°C) and generously grease a muffin tin with nonstick spray. This will ensure that your Oreo Cheesecake Cookie Cups release easily after baking. Preparing the muffin tin beforehand is an essential step, as it guarantees a smooth experience when filling and serving these delightful treats.
Step 2: Mix Dry Ingredients
In a large mixing bowl, whisk together the all-purpose flour, Dutch-processed cocoa powder, black cocoa powder, baking soda, and salt until well combined. This dry mixture is the foundation of your rich chocolate cookie base. The cocoa powders will deepen the color and flavor, so ensure everything is evenly mixed for consistent results.
Step 3: Cream Butter and Sugars
Using a stand mixer or electric mixer, beat the softened unsalted butter, granulated sugar, and light brown sugar together until the mixture is fluffy and light, about 2–3 minutes. This step is crucial as it incorporates air, giving your cookie cups a tender texture. Once creamy, add in the room temperature eggs and vanilla extract, mixing until just incorporated.
Step 4: Combine Wet and Dry Ingredients
Gradually add the dry ingredients into the wet mixture, mixing on low speed until just combined. Be careful not to overmix; you want the dough to remain tender for the best Oreo Cheesecake Cookie Cups. The dough should be thick and slightly sticky, a sign it’s ready for the muffin tin.
Step 5: Scoop and Bake
Scoop the cookie dough into the prepared muffin tins, filling each cavity about halfway, then gently press the dough down. Bake in your preheated oven for 10–13 minutes, until the edges are set but the centers are still soft. This soft center will ensure a delightful contrast to the creamy filling you will add later.
Step 6: Create Wells in Cookie Cups
Once baked, remove the muffin tin from the oven and allow the cookie cups to cool for about 5 minutes. Afterward, use the back of a spoon to gently press down the centers of the cookie cups, creating wells for the filling. This step is essential for holding the luscious Oreo cheesecake filling.
Step 7: Whip the Cream
In a separate bowl, whip the chilled heavy whipping cream until stiff peaks form, creating a light and airy texture for your filling. Be sure to use a chilled bowl for the best results. This step will elevate your cheesecake mixture, making it smooth and fluffy, adding a delightful creaminess to your Oreo Cheesecake Cookie Cups.
Step 8: Prepare the Cheesecake Filling
In another mixing bowl, beat the softened cream cheese and granulated sugar together until smooth. Then, gently fold in the whipped cream and Oreo cookie crumbs until fully combined. The filling should be creamy and well-mixed, creating that delicious cheesecake flavor that pairs perfectly with the chocolate cookie base.
Step 9: Fill and Chill
Spoon the Oreo cheesecake filling into the cooled cookie cups, filling each well to the top. Ensure they are evenly filled for the best presentation. Once filled, cover the muffin tin with plastic wrap and chill in the refrigerator for 1–2 hours. This chilling time will help the filling set, making your Oreo Cheesecake Cookie Cups even more enjoyable when served.
Make Ahead Options
These Oreo Cheesecake Cookie Cups are perfect for efficient meal planning! You can prepare the cookie cups up to 3 days in advance, storing them in an airtight container at room temperature to keep them fresh. The creamy cheesecake filling can also be made up to 24 hours ahead and stored in the refrigerator to maintain its light texture. When you’re ready to serve, simply fill the cooled cookie cups with the cheesecake mixture and chill them for about an hour, allowing the flavors to meld. This prep-ahead approach ensures that your cookie cups are just as delicious and ready to impress your guests with minimal last-minute effort!
Oreo Cheesecake Cookie Cups Variations
Feel free to get creative and personalize these delicious cookie cups with a few easy twists!
- Gluten-Free: Substitute all-purpose flour with a gluten-free flour blend for a deliciously inclusive treat!
- Nutty Crunch: Add crushed nuts, like almonds or pecans, to the cookie dough for an extra texture and flavor boost. This will create an exciting layer of nuttiness in each bite!
- Mint Chocolate: Swap Oreo crumbs for mint-flavored chocolate sandwich cookies to infuse a refreshing twist. Both chocolate and mint will harmonize beautifully!
- Fruit-Filled: Incorporate fresh fruit into the cheesecake filling, like raspberries or strawberries, for a juicy burst of flavor! These fruity notes will enhance the lightness of the dessert perfectly.
- Caramel Drizzle: Finish your cookie cups with a drizzle of caramel sauce for an added gourmet touch! This sweet layer will provide a delicious contrast to the chocolate and cheesecake flavors.
- Chocolate Ganache: Top your filled cookie cups with a layer of rich chocolate ganache for a decadent finish that chocolate lovers will adore. This creates an elegant, indulgent touch!
- Spicy Kick: For those who love a little heat, try adding a pinch of cayenne pepper or cinnamon to the cheesecake mixture! This surprising twist can elevate the flavors remarkably.
- Cookie Swap: Experiment with different chocolate cookies instead of Oreos, such as chocolate chip cookies or even homemade ones! The sky’s the limit when it comes to creating your masterpiece.
Once you’ve tried these variations, you might find yourself wanting to mix things up even more. Serve them alongside my delectable Lemon Cheesecake Cake or indulge in a chocolate twist with Chocolate Orange Cheesecake. The beauty is in the customization, so dive in and enjoy!
What to Serve with Oreo Cheesecake Cookie Cups?
These decadent mini treats are perfect for a sweet ending to any meal or celebration.
-
Fresh Berries: A mix of strawberries, raspberries, and blueberries adds a refreshing tartness that balances the sweetness of the cookie cups.
-
Whipped Cream: Light and fluffy, whipped cream enhances the creamy filling without overpowering its delicate flavors.
-
Chocolate Sauce: Drizzling warm chocolate sauce over the cookie cups takes indulgence to a whole new level. It adds extra richness and a beautiful presentation.
-
Coffee or Espresso: The robust flavors of coffee perfectly pair with the chocolatey nature of the cookie cups, enhancing their overall taste experience.
-
Ice Cream: A scoop of vanilla or chocolate ice cream brings delightful creaminess and temperature contrast to the table.
-
Nutty Toppings: Chopped nuts like walnuts or pecans provide a lovely crunch that complements the softness of the cheesecake filling and cookie base.
-
Caramel Sauce: A drizzle of caramel adds a sweet, buttery flavor that harmonizes beautifully with the chocolate and cream.
-
Mint Leaves: Fresh mint leaves offer a pop of color and a refreshing herbal note, making the presentation even more appealing.
Expert Tips for Oreo Cheesecake Cookie Cups
-
Room Temperature Ingredients: Ensure your butter and eggs are at room temperature for better mixing and a smoother cookie base. This helps achieve light and fluffy Oreo Cheesecake Cookie Cups.
-
Don’t Overmix: When combining wet and dry ingredients, mix just until no flour streaks remain. Overmixing can lead to tough cookie cups that lack the desired tenderness.
-
Check Baking Time: Keep an eye on your cookie cups while they bake. The edges should be set, but the centers should still look soft to guarantee a delicious texture after cooling.
-
Chill the Filling: For the best results, whip your heavy cream and chill the cheesecake filling well before using. This ensures a light and airy texture that perfectly complements the cookie base.
-
Experiment with Flavors: Feel free to swap out the Oreo cookie crumbs for different flavored cookies. This simple change can elevate your Oreo Cheesecake Cookie Cups and surprise your taste buds!
Storage Tips for Oreo Cheesecake Cookie Cups
-
Fridge: Store your filled Oreo Cheesecake Cookie Cups in an airtight container in the refrigerator for up to 5 days, ensuring they stay fresh and delicious.
-
Freezer: If you want to prepare ahead, freeze the unfilled cookie cups in a single layer for up to a month. Once thawed, fill them with the cheesecake mixture just before serving for optimal freshness.
-
Keep Covered: Always keep the cookie cups covered to prevent them from drying out or absorbing odors from the fridge.
-
Reheating: Although best served chilled, you can slightly warm the unfilled cookie cups in the oven at 300°F (150°C) for about 5 minutes before adding the cheesecake filling if you prefer them warm.
Oreo Cheesecake Cookie Cups Recipe FAQs
What kind of Oreos should I use for the filling?
Absolutely use regular Oreos for authenticity! However, feel free to experiment with flavored Oreos like mint or peanut butter to add a fun twist to the filling. Just ensure they blend well with the cream cheese or you might want to adjust the sweetness.
How should I store my Oreo Cheesecake Cookie Cups?
Store your filled Oreo Cheesecake Cookie Cups in an airtight container in the refrigerator for up to 5 days. Be sure to keep them covered, as this helps maintain their delightful freshness and prevents them from drying out or absorbing other flavors from the fridge.
Can I freeze Oreo Cheesecake Cookie Cups?
Yes! You can freeze the unfilled cookie cups for up to a month. To do this, place them in a single layer on a baking sheet in your freezer until solid, then transfer to an airtight container. When you’re ready to serve, thaw them in the fridge overnight and fill them with the cheesecake mixture just before enjoying.
What should I do if my cookie cups overflowed in the oven?
If your cookie cups overflow, don’t worry! Allow them to cool slightly; once they are cool enough to handle, gently trim the overflowed bits with a knife. This way, you will still have perfect wells for the filling while maintaining their delightful shape.
What dietary considerations should I keep in mind for Oreo Cheesecake Cookie Cups?
While these treats are a delicious indulgence, they contain gluten, dairy, and sugar. To accommodate different dietary needs, you can substitute the all-purpose flour with a gluten-free flour blend and use dairy-free cream cheese and whipped cream for a lactose-free version. Always check the specific cookies you use to ensure they’re suitable for any allergies!
How can I make the cookie cups more chocolatey?
For a more intense chocolate flavor, consider adding an extra tablespoon of black cocoa powder to the dough. This will deepen the chocolate richness of the cookie cups, making every bite even more decadent!
Satisfy Your Sweet Cravings with Oreo Cheesecake Cookie Cups
Ingredients
Equipment
Method
- Preheat your oven to 350°F (175°C) and grease a muffin tin with nonstick spray.
- In a mixing bowl, whisk together the flour, Dutch-processed cocoa powder, black cocoa powder, baking soda, and salt.
- Beat the softened butter, granulated sugar, and light brown sugar until fluffy. Add eggs and vanilla extract, mixing until just incorporated.
- Gradually add the dry ingredients to the wet mixture, mixing on low speed until just combined.
- Scoop the dough into the prepared muffin tins, filling halfway. Bake for 10-13 minutes until edges are set.
- Cool the cookie cups for 5 minutes, then press down the centers to create wells for the filling.
- Whip the chilled heavy cream until stiff peaks form.
- In another bowl, beat the cream cheese and sugar, then fold in the whipped cream and cookie crumbs.
- Fill the cooled cookie cups with the cheesecake filling and chill in the refrigerator for 1–2 hours.
Leave a Reply