
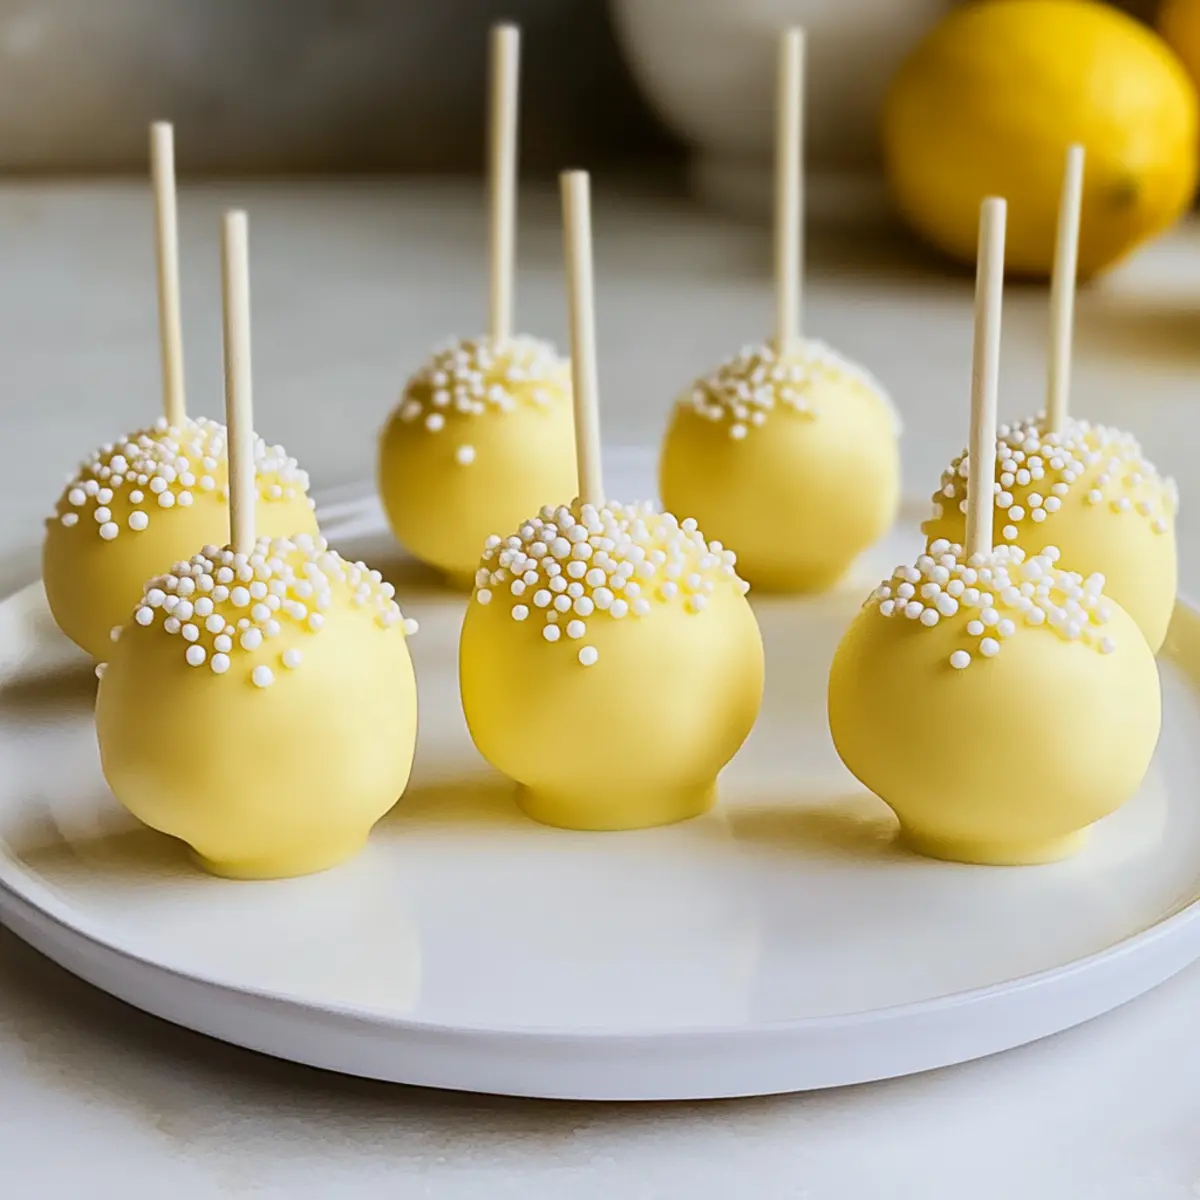
As I unwrapped a vibrant lemon cake pop, its cheerful façade instantly brightened my day. The balance of tangy zest and sweet buttercream was everything I had hoped for—perfect for any celebration! These Easy Lemon Cake Pops are not only delightful and festive, but they’re also incredibly simple to whip up using a convenient box cake mix, making them accessible for bakers of all levels. With a soft and moist interior coated in creamy white chocolate, they bring a seasonal sparkle to spring festivities like Easter gatherings or sunny picnics. Ready to impress your friends and family with this charming treat? Let’s dive into how to create these irresistible lemon delights.
Why Choose Lemon Cake Pops?
Easy Preparation: With a simple cake mix as the base, these pops come together in no time, perfect for busy bakers or last-minute celebrations.
Festive Appeal: Dressed in bright yellow and topped with sprinkles, they bring a joyful pop of color to any dessert table, especially for Easter or springtime gatherings.
Crowd-Pleasing Taste: The combination of zesty lemon and creamy buttercream strikes a perfect balance, ensuring everyone will love these delightful treats.
Versatile Variations: Feel free to play with flavors! Consider a chocolate cake mix for a fun twist or infuse your buttercream with vanilla for a classic touch.
Perfect for Sharing: Their bite-sized format makes them easy to share at parties or picnics, ensuring they’re a hit with both kids and adults alike.
Celebrate spring and indulge in these scrumptious Lemon Cake Pops with friends and family!
Lemon Cake Pops Ingredients
For the Cake
• 1 box lemon cake mix – Use your favorite lemon cake mix for a zesty foundation.
• 1 stick unsalted butter (softened to room temperature) – Essential for creamy buttercream; margarine can be used for a dairy-free option.
• 3 tablespoons lemon juice – Adds a fresh tang; fresh-squeezed juice is best for flavor.
For the Buttercream
• 4½ cups confectioner’s sugar (powdered sugar) – Sweetens and thickens the buttercream; consider a sugar alternative for lower diets.
• 1½ tablespoons whole milk or heavy cream – Keeps the buttercream moist; plant-based milk can serve as a dairy-free substitute.
• Zest of two lemons – Intensifies the lemon flavor; lemon extract works if fresh lemons aren’t available.
• A pinch of salt – Balances sweetness for optimal flavor.
• Yellow food coloring – Enhances visual appeal; can be omitted for a natural look.
For the Coating
• 12 ounces white chocolate chips – This forms the delectable candy coating; dark or milk chocolate can also be a fun twist.
Dive into the joyful world of these Lemon Cake Pops, and make them the star of your spring celebrations!
Step‑by‑Step Instructions for Lemon Cake Pops
Step 1: Bake Lemon Cake
Begin by preparing the lemon cake mix according to the package instructions, typically mixing the dry ingredients with eggs, water, and softened butter. Pour the batter into a greased 13×9-inch baking pan and bake in a preheated oven at 350°F for about 30 minutes or until a toothpick inserted in the center comes out clean. Allow the cake to cool completely on a wire rack.
Step 2: Prepare Lemon Buttercream
In a mixing bowl, cream the softened butter with a hand mixer for about 2 minutes until smooth and creamy. Gradually add the confectioner’s sugar, lemon juice, lemon zest, milk, and a pinch of salt, mixing on low speed until fully incorporated and then increase to high speed. Continue beating for another 3-4 minutes until the mixture is light, fluffy, and has reached your desired consistency and color.
Step 3: Make Cake Pop Mixture
Once the cake has cooled, crumble it into small pieces in a large mixing bowl using your hands or a fork. Slowly add about ¼ cup of the prepared buttercream into the crumbled cake, mixing until the dough-like consistency forms. The mixture should hold together well when shaped into balls—if too dry, add more buttercream as needed to achieve the right texture.
Step 4: Shape Cake Pops
Take about 2 tablespoons of the cake pop mixture and roll it into a smooth ball between your palms. Place each shaped ball onto a lined baking sheet, ensuring they are not touching. Once all balls are shaped, refrigerate them for at least 2 hours or until firm, which helps prevent them from falling apart during coating.
Step 5: Prepare Candy Coating
In a microwave-safe bowl, melt the white chocolate chips in 30-second intervals, stirring in between, until completely smooth and melted—this usually takes about 1.5 to 2 minutes total. If desired, mix in yellow food coloring to give the pops a cheerful, bright appearance. Set aside the melted chocolate to cool slightly before using.
Step 6: Assemble Cake Pops
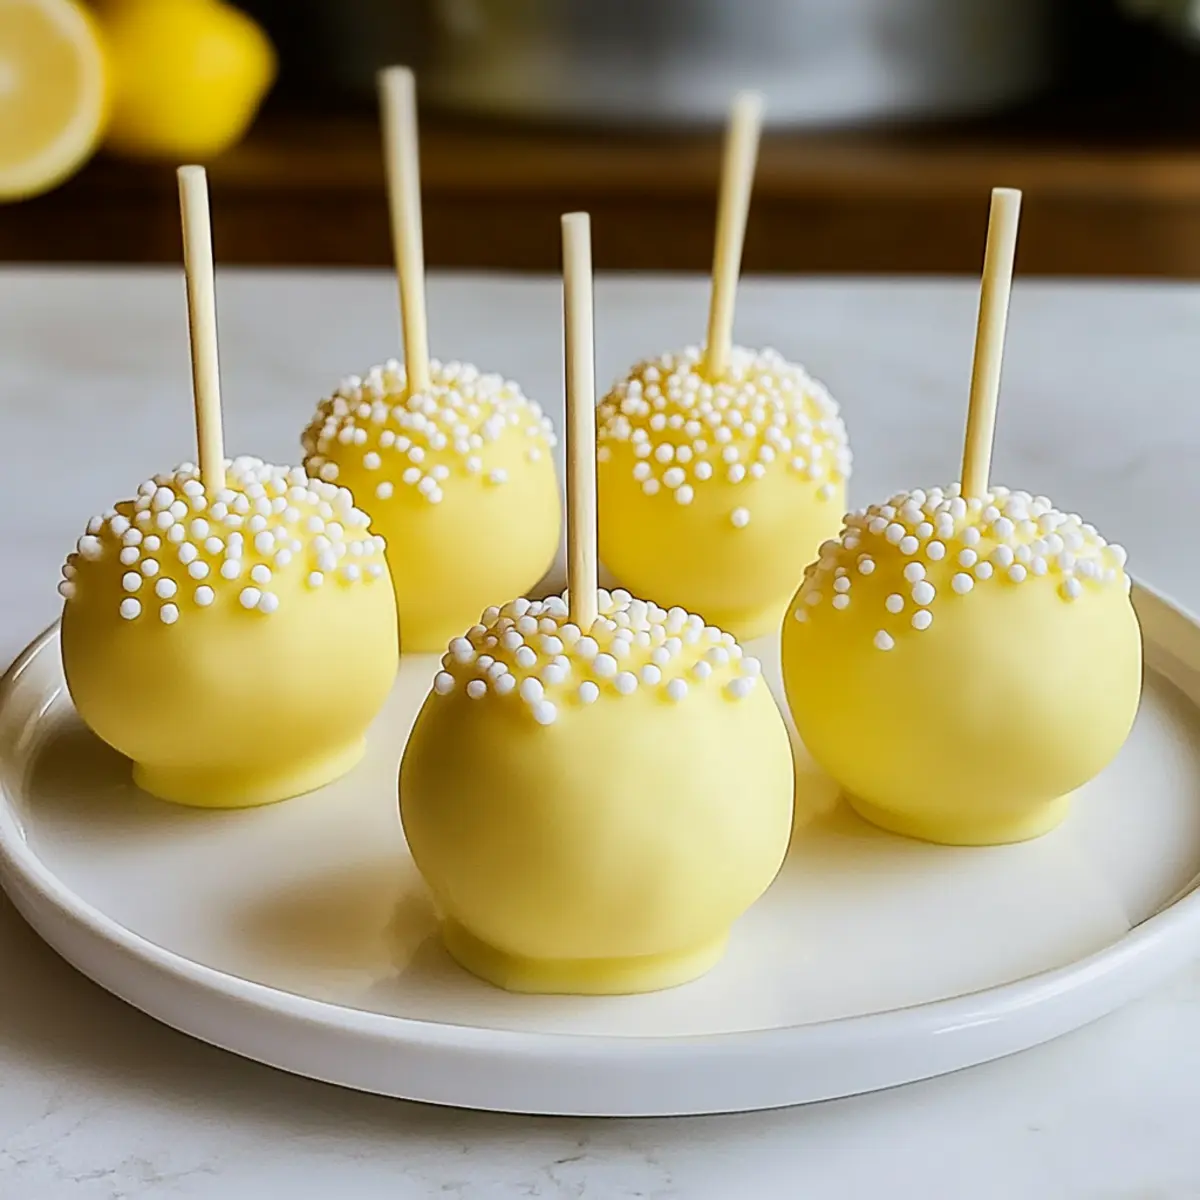
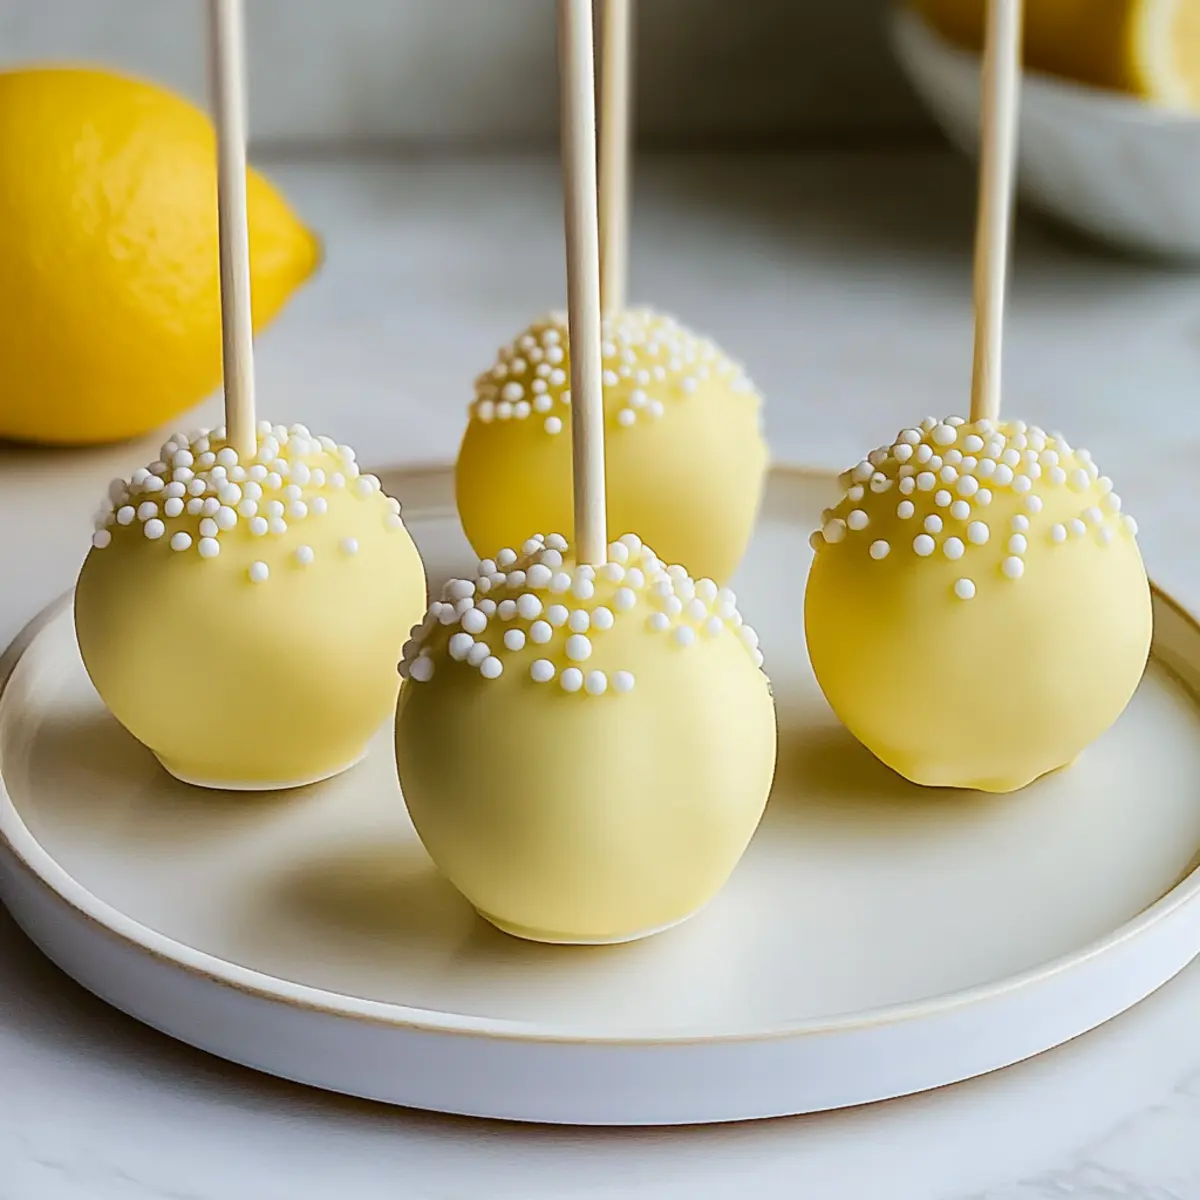
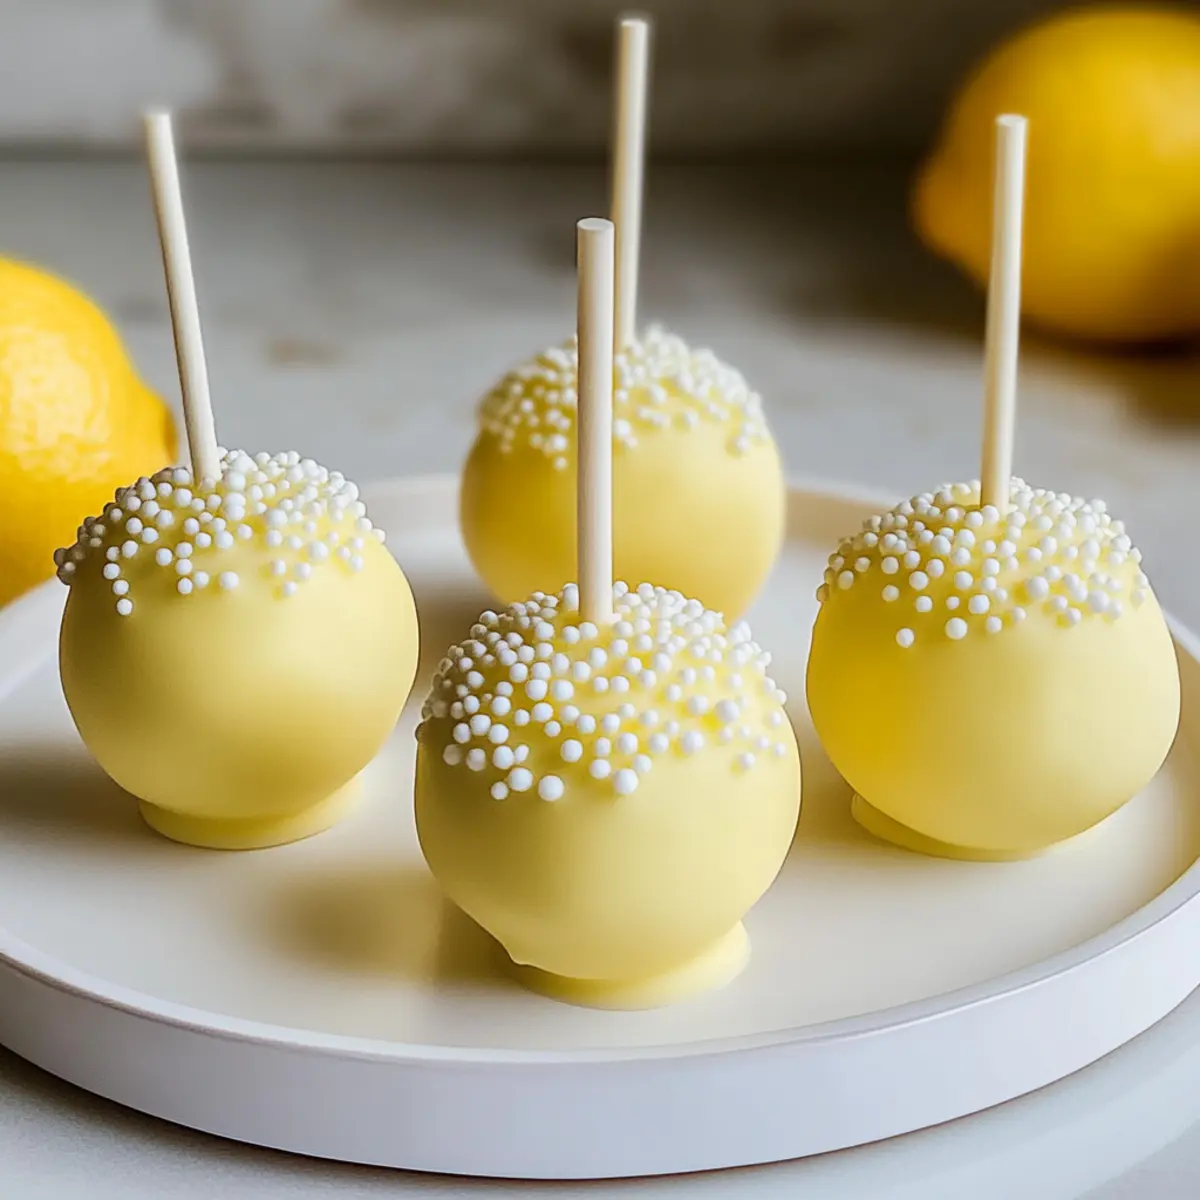
Dip the tip of each lollipop stick into the melted chocolate and insert it gently into the center of each chilled cake ball. This helps secure the stick in place. Next, dip each cake ball completely into the melted chocolate coating, allowing any excess to drip off before transferring them to a Styrofoam block or a pre-prepared box to stand upright. Feel free to sprinkle with decorations while the coating is still wet.
Step 7: Cool
Let the coated cake pops cool completely at room temperature or in the refrigerator until the chocolate hardens, about 20-30 minutes. Once set, your lovely Lemon Cake Pops will be ready to serve and enjoy, adding a festive touch to your spring celebrations!
Expert Tips for Lemon Cake Pops
-
Quality Ingredients: Use fresh lemons and high-quality chocolate for the coating; this elevates the overall flavor of your Lemon Cake Pops.
-
Crumbling Technique: Ensure your cake is completely cooled before crumbling; hot cake can lead to a gummy texture, ruining the dough-like consistency.
-
Moisture Balance: Be cautious not to add too much buttercream while mixing; too wet of a mixture can lead to messy pops that won’t hold their shape.
-
Chill Properly: Firming up the cake balls in the refrigerator is crucial. If they’re too soft, they risk falling apart when dipping.
-
Decorate Wisely: Add sprinkles or edible glitter right after dipping while the chocolate is still wet to ensure they stick beautifully to your Lemon Cake Pops.
Storage Tips for Lemon Cake Pops
-
Fridge: Keep your Lemon Cake Pops in an airtight container in the refrigerator for up to 4 days to maintain their fresh taste and color.
-
Freezer: For longer storage, you can freeze them for up to 3 months. Make sure to wrap each cake pop individually in plastic wrap and then place them in a freezer-safe container to prevent freezer burn.
-
Reheating: There’s no need to reheat cake pops, but if they’ve been frozen, let them thaw in the fridge overnight for best results. Enjoy them chilled or at room temperature!
-
Avoid Moisture: When storing, ensure the container is completely dry to avoid moisture buildup, which can affect the texture of the chocolate coating on your Lemon Cake Pops.
Make Ahead Options
These Easy Lemon Cake Pops are perfect for meal prep enthusiasts looking to save time! You can prepare the cake pop mixture up to 24 hours in advance. Simply crumble the cooled lemon cake, mix in the desired amount of buttercream, and roll into balls. Once shaped, refrigerate them for a couple of hours to firm up, then store them in an airtight container to keep them fresh and prevent drying out. On the day you plan to serve, simply melt the white chocolate, assemble the cake pops by dipping them, and allow them to cool. With this prep method, your cake pops will be just as delicious and ready to impress your guests!
What to Serve with Easy Lemon Cake Pops?
Looking to elevate your dessert experience with vibrant flavors and delightful pairings?
-
Lemonade: The zesty refreshment of lemonade complements the tangy cake pops, enhancing their citrusy flavors for a sunny treat.
-
Iced Tea: A light, brewed iced tea adds a refreshing touch, with its subtle flavors balancing the sweetness of your cake pops beautifully.
-
Fresh Berries: Juicy strawberries or tart raspberries add a burst of freshness, providing a sweet yet slightly tart contrast to the rich cake pops.
-
Vanilla Ice Cream: Rich and creamy ice cream pairs wonderfully with lemon flavor, creating an indulgent blend that screams summer and joy.
-
Fruit Salad: A colorful medley of fruits offers a light, healthy balance on the side, making it perfect for spring gatherings.
-
Sparkling Water with Lime: This fizzy addition brings a fun, celebratory flair to your dessert spread while keeping things refreshing and light.
-
Chocolate-Covered Pretzels: The salty crunch provides a delightful textural contrast, making every bite of your sweet cake pop even more satisfying.
-
Mini Cheesecake Bites: The creamy richness of cheesecake rounds out the dessert experience, making your guests crave just one more bite.
-
Pistachio Mousse: A delicate, nutty mousse can elevate your dessert table, adding a sophisticated touch that perfectly harmonizes with the lemony sweetness.
Lemon Cake Pops Variations & Substitutions
Feel free to get creative with these delightful lemon cake pops, adding your personal flair to each bite!
-
Chocolate Cake Mix: Swap the lemon cake mix for chocolate for a rich, decadent alternative. Perfect for chocolate lovers, this twist adds a whole new flavor profile worth savoring.
-
Dairy-Free Buttercream: Use dairy-free margarine and plant-based milk for a deliciously creamy buttercream suitable for vegan diets. You won’t lose any of that velvety texture with this swap!
-
Zesty Infusions: Enhance the lemon flavor by adding lime juice or orange zest to the buttercream for a citrus symphony that serenades your taste buds.
-
Sugar Alternatives: For a lighter option, try using coconut sugar or a sugar substitute to sweeten the buttercream, making these pops suitable for those watching their sugar intake.
-
Colorful Coating: Experiment with different candy melts to coat your cake pops, such as pink or pastel colors for seasonal occasions like Easter. It adds visual appeal and is just fun to mix up!
-
Nutty Crunch: Add crushed nuts like pistachios or almonds on top of the chocolate coating for an unexpected crunch that pairs wonderfully with the soft cake inside.
-
Spicy Kick: For a daring twist, add a pinch of cayenne pepper to the buttercream for a subtle heat that beautifully contrasts the sweet and tart lemon.
-
Decorative Themes: Utilize seasonal themes for your sprinkles or edible decorations, like vibrant sprinkles for birthdays or pastel hues for spring celebrations. Customization is part of the fun!
These variations can easily turn your classic lemon cake pops into something uniquely yours. And if you’re inspired by other delicious desserts, try whipping up some Breakfast Bundt Cake alongside your cake pops or enjoy a slice of a delightful Yule Log Cake during your celebrations. Happy baking!
Lemon Cake Pops Recipe FAQs
What should I look for when selecting lemons for this recipe?
Absolutely! When choosing lemons, look for those that are firm, smooth, and heavy for their size, indicating juiciness. Avoid any lemons with dark spots or a dull skin texture, as these can indicate overripeness. Fresh and vibrant lemons will give your Lemon Cake Pops the zesty flavor they need!
How should I store my Lemon Cake Pops after making them?
For optimal freshness, keep your Lemon Cake Pops in an airtight container in the refrigerator for up to 4 days. This will help preserve their delightful taste and prevent the chocolate coating from becoming too soft. Just layer parchment paper between them if they are stacked to avoid smudging.
Can I freeze Lemon Cake Pops?
Yes, you can! To freeze your Lemon Cake Pops, wrap each one individually in plastic wrap and place them in a freezer-safe container. They will stay fresh for up to 3 months. When you’re ready to enjoy, simply remove them from the freezer and let them thaw in the refrigerator overnight for best results.
What can I do if my cake pop mixture is too dry?
If your mixture is too dry and doesn’t hold together well, fear not! Gradually add a bit more buttercream—start with just 1 tablespoon at a time until the mixture reaches a dough-like consistency. It should be moist enough to form into balls without crumbling apart. The key is to mix gently to maintain its texture.
Are there any dietary considerations I should keep in mind?
Very! If you have dietary restrictions, you can easily make modifications. For a gluten-free option, look for gluten-free lemon cake mixes. To create dairy-free cake pops, use a dairy-free butter substitute and plant-based milk in your buttercream. Be mindful of allergies when adding sprinkles or decorations, as these can include common allergens like gluten or nuts. Always check labels carefully!
Can I use different types of cake mix or frosting in this recipe?
The more the merrier! Feel free to substitute the lemon cake mix with chocolate or vanilla for a delicious twist. Additionally, you can experiment with flavored extracts in the buttercream, like almond or vanilla, for added depth. Just remember that different types may slightly alter the texture and flavor profile, but they will still be delightful!
Lemon Cake Pops Perfect for Spring Celebrations
Ingredients
Equipment
Method
- Begin by preparing the lemon cake mix according to the package instructions, typically mixing the dry ingredients with eggs, water, and softened butter. Pour the batter into a greased 13x9-inch baking pan and bake in a preheated oven at 350°F for about 30 minutes or until a toothpick inserted in the center comes out clean. Allow the cake to cool completely on a wire rack.
- In a mixing bowl, cream the softened butter with a hand mixer for about 2 minutes until smooth and creamy. Gradually add the confectioner’s sugar, lemon juice, lemon zest, milk, and a pinch of salt, mixing on low speed until fully incorporated and then increase to high speed. Continue beating for another 3-4 minutes until the mixture is light, fluffy, and has reached your desired consistency and color.
- Once the cake has cooled, crumble it into small pieces in a large mixing bowl using your hands or a fork. Slowly add about ¼ cup of the prepared buttercream into the crumbled cake, mixing until the dough-like consistency forms. The mixture should hold together well when shaped into balls—if too dry, add more buttercream as needed to achieve the right texture.
- Take about 2 tablespoons of the cake pop mixture and roll it into a smooth ball between your palms. Place each shaped ball onto a lined baking sheet, ensuring they are not touching. Once all balls are shaped, refrigerate them for at least 2 hours or until firm.
- In a microwave-safe bowl, melt the white chocolate chips in 30-second intervals, stirring in between, until completely smooth and melted—this usually takes about 1.5 to 2 minutes total. If desired, mix in yellow food coloring to give the pops a cheerful, bright appearance.
- Dip the tip of each lollipop stick into the melted chocolate and insert it gently into the center of each chilled cake ball. Next, dip each cake ball completely into the melted chocolate coating, allowing any excess to drip off before transferring them to a Styrofoam block or a pre-prepared box to stand upright. Feel free to sprinkle with decorations while the coating is still wet.
- Let the coated cake pops cool completely at room temperature or in the refrigerator until the chocolate hardens, about 20-30 minutes.
Leave a Reply