
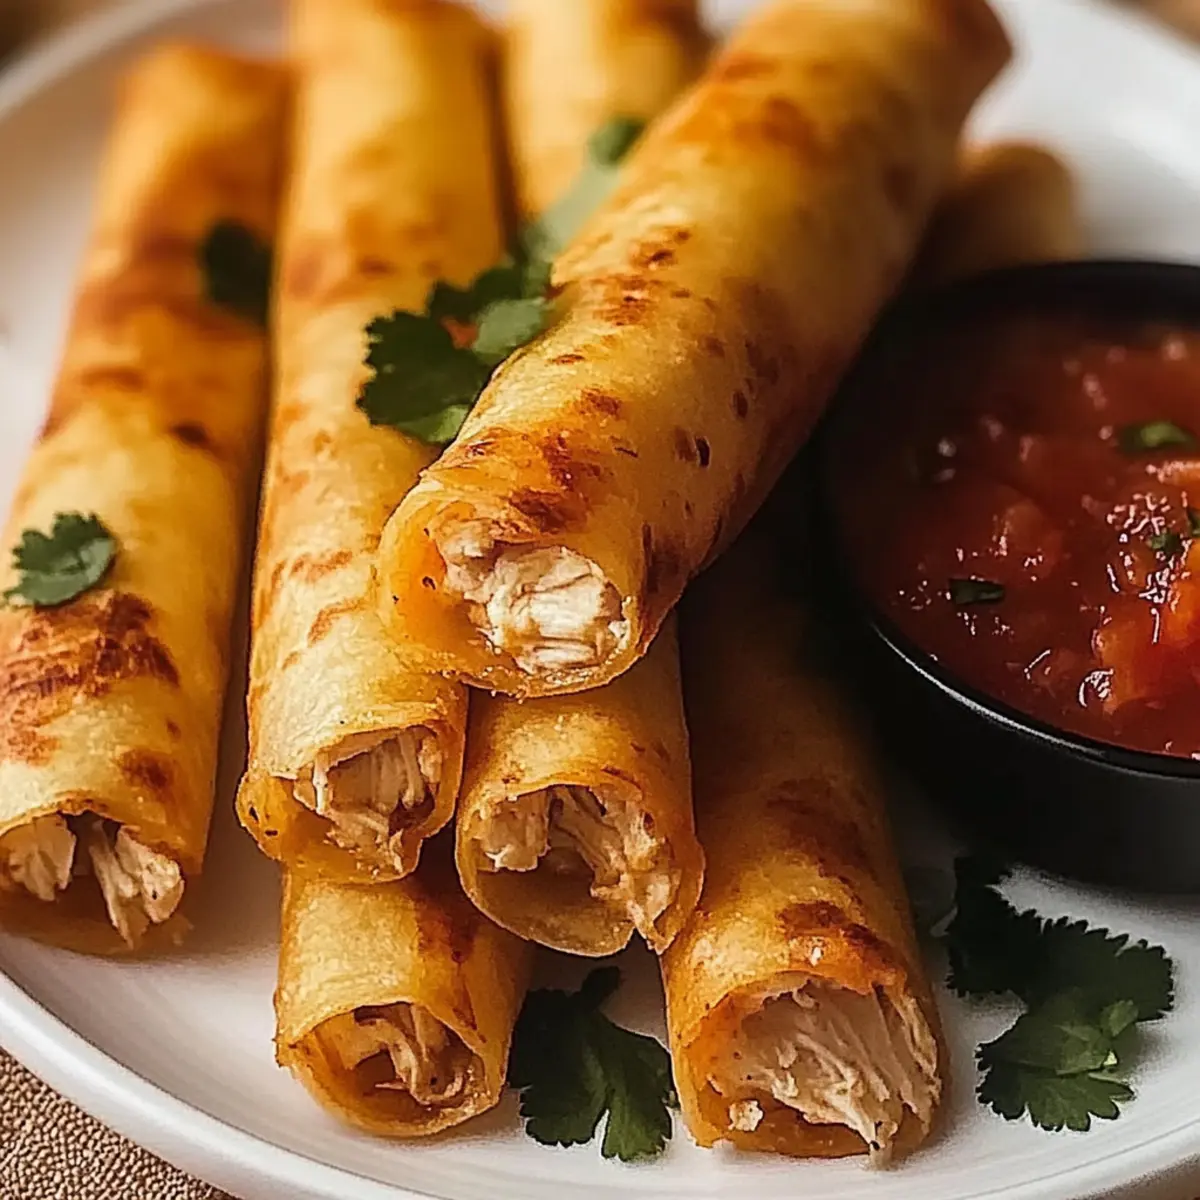
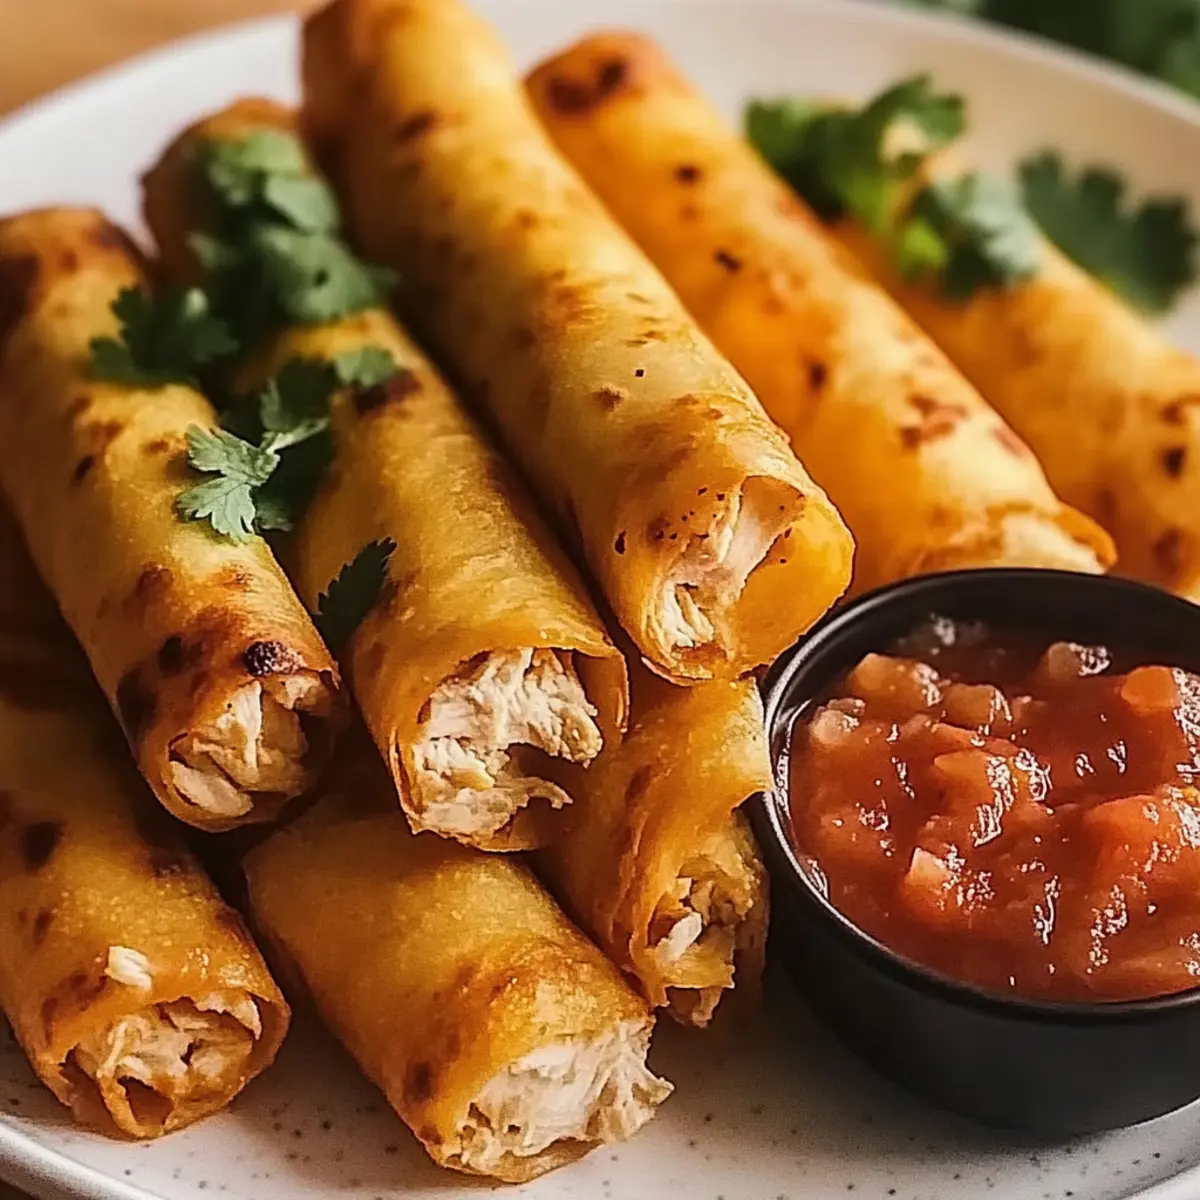
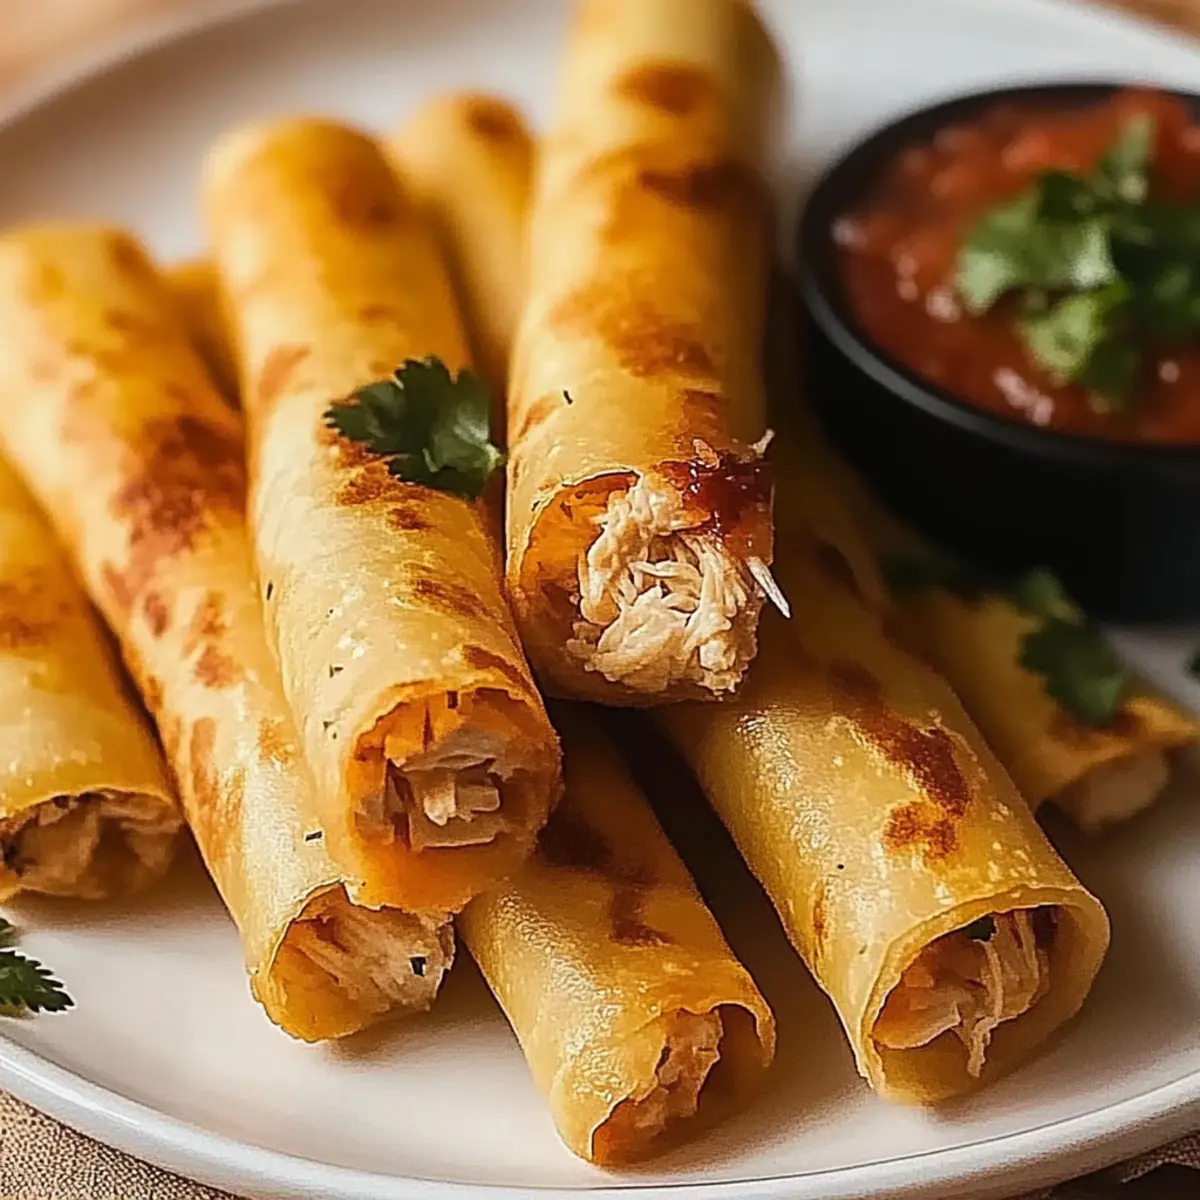
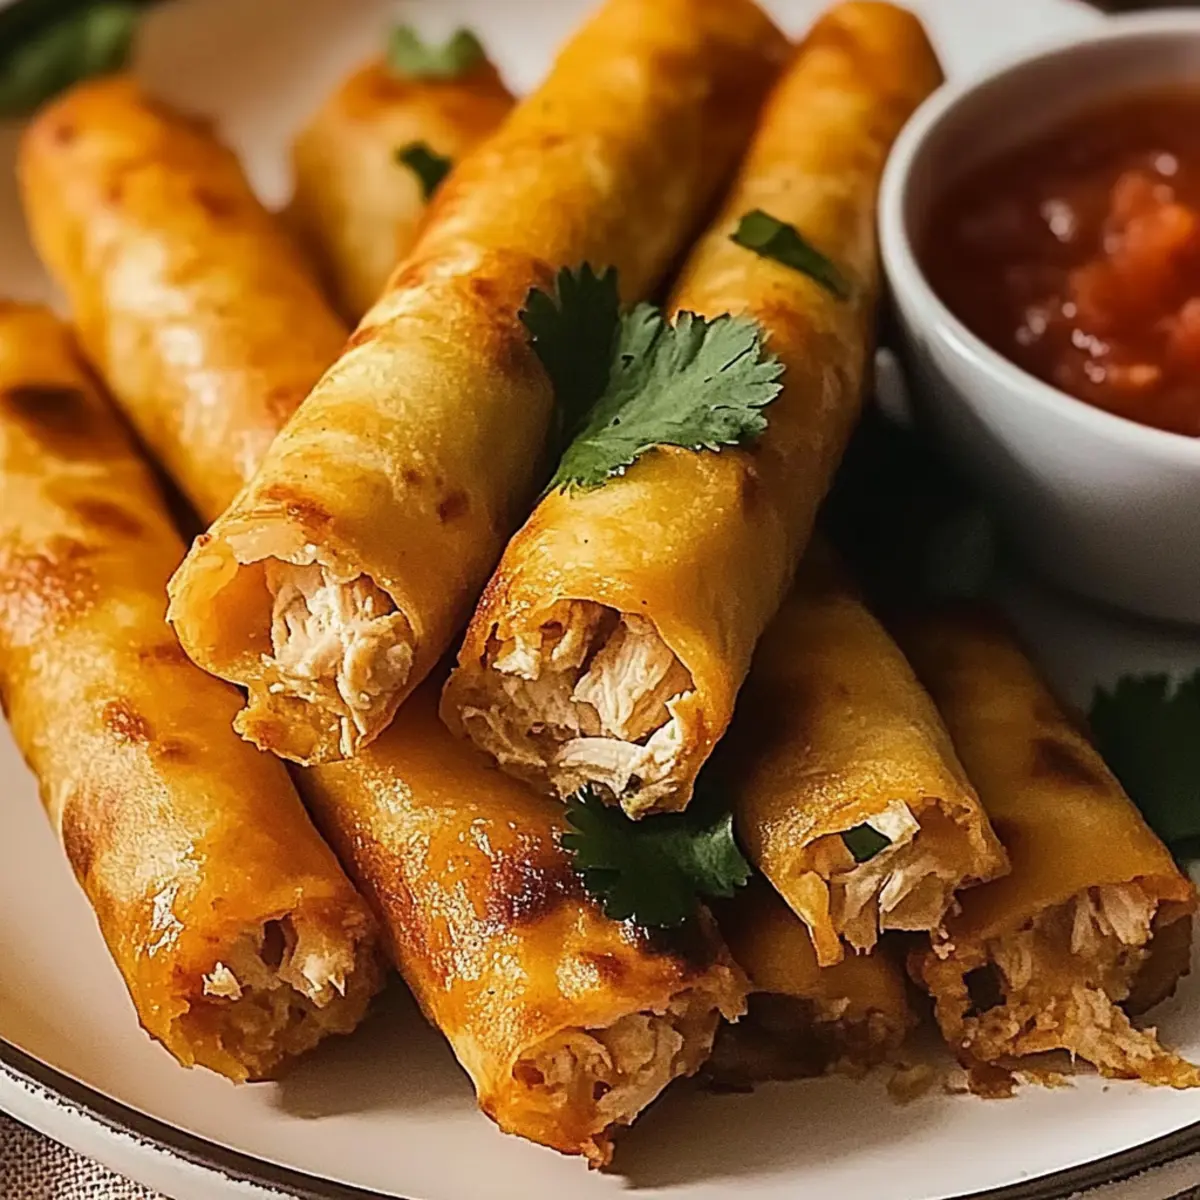
As the oven preheats, an irresistible aroma begins to fill the kitchen, transporting me back to cozy family gatherings filled with laughter. Today, I’m whipping up Crispy Chicken Taquitos, which not only bring a crunch that everyone loves but also simplify weeknight dinners into joyful family cooking experiences. This recipe is designed for anyone needing a quick yet customizable meal option, perfect for both the busy week and fun gatherings. Imagine rolling your favorite fillings in warm tortillas while laughing with your loved ones. Plus, they’re freezer-friendly, making them an excellent choice for meal prep. What unique twists will you add to make these taquitos your own? Let’s dive in!
Why Are These Taquitos So Popular?
Quick and Easy: These Crispy Chicken Taquitos come together in no time, making them ideal for busy weeknights or spontaneous gatherings.
Customizable Delight: Fill them with your choice of ingredients—from black beans to colorful bell peppers—for a personal touch everyone will love.
Family Fun: Involve the kids or your friends in rolling these up; it’s a great way to spend time together while enjoying delicious food.
Perfectly Crispy: Bake them until golden brown for that satisfying crunch, or air fry for a healthier alternative!
Meal Prep Friendly: Make a batch, freeze them, and simply reheat when hunger strikes! They fit perfectly into your meal prep routine.
Need more inspiration? Check out my Thai Baked Chicken or Chicken Enchiladas Cozy for more fun and tasty recipes!
Crispy Chicken Taquitos Ingredients
Dive into the delightful world of flavors with these taquitos!
For the Filling
- Cooked Shredded Chicken – This is the main protein; feel free to use rotisserie chicken for quick preparation.
- Cream Cheese – Adds a creamy richness; Greek yogurt can be used for a lighter filling.
- Shredded Cheese – Choose cheddar or Monterey Jack for that melty goodness, or opt for dairy-free alternatives for a vegan twist.
- Salsa – Brings flavor and moisture; select your favorite heat level or use fresh pico de gallo for an extra burst of freshness.
- Garlic Powder – Enhances the savory profile; swap with fresh minced garlic for a fragrant boost.
- Chili Powder – Offers warmth and depth; adjust the amount to your spice preference.
- Cumin – Adds an earthy flavor; feel free to skip if you don’t have it on hand.
- Salt and Pepper – Essential for seasoning; add according to your taste.
For the Taquitos
- Tortillas (Flour or Corn) – The perfect wrap for the filling; warming them makes rolling easier.
- Oil or Cooking Spray – Use this to achieve that crispy, golden-brown finish when baking.
Elevate your mealtime with these fantastic Crispy Chicken Taquitos and get ready for an explosion of flavors with every bite!
Step‑by‑Step Instructions for Crispy Chicken Taquitos
Step 1: Preheat the Oven
Begin by preheating your oven to 425°F (220°C). While it heats, line a baking sheet with parchment paper to prevent the taquitos from sticking and to ensure easy cleanup. This step is essential for achieving that perfect golden brown color and crispy texture, so get ready for some delicious Crispy Chicken Taquitos!
Step 2: Prepare the Filling
In a large mixing bowl, combine the cooked shredded chicken, cream cheese, shredded cheese, salsa, garlic powder, chili powder, cumin, salt, and pepper. Use a spatula or spoon to mix everything until well incorporated, ensuring every bit of chicken is coated with the flavorful filling. The mixture should be creamy and cohesive, making it an irresistible stuffing for your taquitos.
Step 3: Warm the Tortillas
To make the tortillas pliable and easy to roll, place them in a microwave-safe dish and warm them in the microwave for about 20 seconds. This little step goes a long way, as it prevents cracking while rolling, ensuring your crispy chicken taquitos hold together beautifully.
Step 4: Assemble the Taquitos
Lay each warmed tortilla flat and spoon 2-3 tablespoons of the chicken mixture onto one side. Roll the tortilla tightly, folding in the sides to secure the filling, and place the rolled taquitos seam-side down on the prepared baking sheet. This method not only keeps the filling inside but also allows for even cooking as they crisp up in the oven.
Step 5: Brush for Crispness
Lightly brush the tops of each taquito with oil or spray them with cooking spray. This will help achieve that delightful crispy texture that everyone craves when indulging in crispy chicken taquitos. Remember, a little goes a long way, and this step is key for a perfectly baked treat!
Step 6: Bake to Perfection
Slide the baking sheet into your preheated oven and bake for 15-20 minutes, or until the taquitos are golden brown and crispy. Keep an eye on them, as oven times may vary; you want them to be perfectly crunched and inviting. For extra crispiness, add an additional 1-2 minutes under the broiler.
Step 7: Serve and Enjoy
Once golden brown, remove the crispy chicken taquitos from the oven and let them cool slightly. Serve them warm with your choice of toppings like chopped cilantro, creamy sour cream, or zesty guacamole. These delightful taquitos will not only please your taste buds but also be a hit for any gathering!
Crispy Chicken Taquitos Variations & Substitutions
Feel free to let your creativity shine as you make these Crispy Chicken Taquitos uniquely yours!
-
Vegetarian Delight: Swap chicken for black beans or lentils for a hearty, meat-free filling. This variation adds protein while keeping the flavors delightful!
-
Cheesy Spin: Add extra cheese such as pepper jack for a spicy kick or a blend of your favorites. Melty cheese elevates the taquitos to gooey perfection!
-
Spicy Kick: Mix in diced jalapeños or hot salsa to amp up the heat level. For those who love a fiery bite, this twist will satisfy your cravings!
-
Crunchy Add-Ins: Incorporate corn or diced bell peppers for a fresh and crunchy texture. These ingredients add color and a delicious crunch that everyone will enjoy!
-
Chicken Swap: Try using shredded beef or turkey as an alternative protein. Each option brings its own richness and flavor while keeping the essence of the taquito alive.
-
Creamy Twist: Substitute cream cheese with Greek yogurt for a lighter option, retaining creaminess without compromising flavor. It’s a simple swap that feels good too!
-
Festive Flavors: Add taco seasoning to the filling to kick it up a notch in flavor. The spices can transform your filling into a vibrant fiesta of taste!
-
Fun Shapes: Roll and slice the tortillas into pinwheels instead of taquitos for a fun presentation—perfect for parties or snacks! These bite-sized delights will be a hit!
For more tasty inspiration, look into my White Chicken Lasagna Soup or try the savory flavor of Persian Chicken—you’ll discover endless ways to celebrate mealtime!
How to Store and Freeze Crispy Chicken Taquitos
Fridge: Store leftover taquitos in an airtight container for up to 3-4 days. Reheat in the oven for that crispy texture, warming them at 350°F (175°C) until heated through, about 10-15 minutes.
Freezer: For longer storage, wrap cooked taquitos individually in plastic wrap and place them in a freezer bag. They can be frozen for up to 2 months. Bake directly from the freezer at 425°F (220°C) for about 20-25 minutes.
Make-Ahead: Prepare the filling in advance and store it in the fridge for up to 2 days. Assemble the taquitos just before baking for freshness and optimal taste!
Reheating: To maintain crispiness when reheating leftovers, place taquitos in the oven rather than the microwave. Enjoy your delicious Crispy Chicken Taquitos any time!
Make Ahead Options
These Crispy Chicken Taquitos are perfect for meal prep enthusiasts! You can prepare the filling up to 3 days in advance, storing it in an airtight container in the refrigerator to maintain freshness. When you’re ready to serve, warm the tortillas (microwaving for about 20 seconds) and assemble the taquitos. This step not only saves you time on busy weeknights but also ensures that the flavors blend beautifully for a delicious punch. After rolling, simply brush them with oil and bake as instructed. The result will be just as crispy and delightful as if you made them fresh, making your weeknight meals much easier!
What to Serve with Crispy Chicken Taquitos
Bring a fiesta of flavors to your table with delightful and perfectly paired accompaniments that elevate your meal!
- Creamy Guacamole: This rich, buttery dip complements the taquitos perfectly, adding a zesty freshness that balances the crunch.
- Zesty Salsa Verde: The tangy lime and tomatillo flavors cut through the richness and enhance every savory bite of your taquitos.
- Crisp Garden Salad: A refreshing salad with mixed greens topped with cherry tomatoes and avocado adds a light contrast to the crispy texture.
- Refried Beans: Serve as a hearty side that offers a creamy, protein-packed option, creating a fulfilling meal experience together.
- Mexican Street Corn: Grilled corn with creamy dressing and lime brings a sweet and smoky flavor, making for a vibrant plate.
- Margaritas: A refreshing drink that pairs beautifully with the spices in taquitos, making conversations even more lively during gatherings!
- Churros for Dessert: End on a sweet note with warm churros sprinkled with cinnamon sugar, delighting your taste buds with every bite.
- Sour Cream Dip: A dollop of cool sour cream balances the warm, spiced chicken filling, enriching the dish with creaminess and a sprinkle of chives.
- Pico de Gallo: Fresh, bright, and vibrant—this mixture of diced tomatoes, onions, and cilantro adds a flavorful crunch and freshness!
Expert Tips for Crispy Chicken Taquitos
• Roll Tightly: Ensure to roll the tortillas tightly to prevent them from opening up during baking; it keeps all that savory filling inside!
• Even Spacing: Place the taquitos a few inches apart on the baking sheet; it allows hot air to circulate and results in optimal crisping.
• Light Brush of Oil: Use a light hand when brushing with oil; this ensures your taquitos are crispy without being overly greasy, making those Crispy Chicken Taquitos a healthier option!
• Perfect Tortilla Warmth: Warm tortillas just enough to keep them pliable, preventing cracks that could lead to soggy taquitos.
• Keep an Eye on Time: Ovens vary significantly; check the taquitos around the 15-minute mark to achieve that golden brown perfection.
• Freezer Friendly: Make a double batch for an easy meal later; freeze before baking, then just bake straight from the freezer when cravings hit!
Crispy Chicken Taquitos Recipe FAQs
What type of chicken should I use for the filling?
Absolutely! You can use cooked shredded chicken as the primary protein for these taquitos. Rotisserie chicken is a fantastic choice because it’s quick and packed with flavor. If you’re looking for a lighter option, boiled chicken breast works too!
How should I store leftover Crispy Chicken Taquitos?
It’s easy! Store your leftover taquitos in an airtight container in the fridge for up to 3-4 days. To reheat, pop them in a preheated oven at 350°F (175°C) for about 10-15 minutes until they’re nice and crispy again.
Can I freeze the taquitos for later?
Yes, you can! To freeze, wrap each cooked taquito individually in plastic wrap, then place them in a freezer bag. They’ll stay good for up to 2 months. When you’re ready to enjoy, bake them directly from the freezer at 425°F (220°C) for 20-25 minutes until heated through!
What should I do if my taquitos open up while baking?
Very often, taquitos can open if they aren’t rolled tightly enough. Make sure to roll them firmly and securely when assembling. If they do open, don’t worry! They’ll still be delicious; just keep an eye on them to ensure they get that golden-brown crunch.
Can I make these taquitos gluten-free?
Certainly! Just use gluten-free tortillas in place of traditional flour or corn tortillas. There are many brands available that don’t compromise on flavor or texture, so you’ll still get that delightful crunch in your Crispy Chicken Taquitos.
Are there any alternatives for cheese if I have lactose intolerance?
Yes! You can easily substitute shredded cheese with lactose-free varieties or even use vegan cheese for a dairy-free alternative. I often recommend checking out almond or coconut-based cheeses, which melt beautifully!
Enjoy creating the perfect Crispy Chicken Taquitos that your family will love!
Crispy Chicken Taquitos: Quick, Fun, and Totally Delicious
Ingredients
Equipment
Method
- Preheat your oven to 425°F (220°C) and line a baking sheet with parchment paper.
- In a large mixing bowl, combine cooked shredded chicken, cream cheese, shredded cheese, salsa, garlic powder, chili powder, cumin, salt, and pepper. Mix well.
- Warm the tortillas in the microwave for about 20 seconds to make them pliable.
- Lay each warmed tortilla flat, spoon 2-3 tablespoons of the chicken mixture onto one side, and roll tightly, placing seam-side down on the baking sheet.
- Lightly brush the tops of each taquito with oil or spray them with cooking spray.
- Bake for 15-20 minutes until golden brown and crispy. For extra crispiness, add another 1-2 minutes under the broiler.
- Let the taquitos cool slightly before serving with your choice of toppings like chopped cilantro, sour cream, or guacamole.
Leave a Reply