
You’re standing in your kitchen, the rich, earthy aroma of potatoes wafting through the air, flooding you with comfort. That’s the magic of Irish Potato Farls! This traditional Irish bread is a marvelous way to turn leftover mashed potatoes into something warm and delightful. With just a handful of ingredients, this versatile recipe not only cuts down on food waste but also provides a hearty, gluten-free option that can be whipped up in under 30 minutes. Whether you enjoy them with a drizzle of butter, paired with eggs at breakfast, or topped with a bit of jam for a sweet twist, these farls never fail to satisfy. Curiosity piqued? Let’s dive into the simple steps of making your very own Irish Potato Farls!
Why are Irish Potato Farls special?
Comforting and Versatile: With just four ingredients, this recipe makes it easy to transform leftover mashed potatoes into a delicious treat.
Quick to Prepare: In under 30 minutes, you can serve warm farls, saving time for all the delicious toppings and sides!
Gluten-Free Option: Easily substitute all-purpose flour with gluten-free alternatives like rice flour for a satisfying bread for everyone.
Crowd-Pleaser: Perfect for family breakfasts or brunch gatherings—everyone will love the fluffy interiors and crispy exteriors!
Endless Topping Ideas: From butter to smoked salmon, these farls can balance both sweet and savory flavors to suit any meal.
Feeling inspired? For more tasty options, check out my Low Carb Casserole for a comforting twist or Roasted Sweet Potato for a delightful side.
Irish Potato Farls Ingredients
• Transform your pantry staples into something magical!
For the Dough
- Mashed Potatoes – Use leftover, cooled mashed potatoes for the best texture.
- All-Purpose Flour – Adds structure; substitute with gluten-free flour for dietary needs.
- Salt – Enhances flavor; adjust to your taste for best results.
- Butter (melted) – Provides richness; swap for a non-dairy option if preferred.
Enjoy the process of making these delightful Irish Potato Farls! They are not only comforting but a practical way to enjoy your culinary creations.
Step‑by‑Step Instructions for Irish Potato Farls
Step 1: Combine Ingredients
In a large mixing bowl, combine 2 cups of cooled mashed potatoes, 1 cup of all-purpose flour, 1/4 teaspoon of salt, and 2 tablespoons of melted butter. Stir the mixture well until a soft dough begins to form, ensuring all ingredients are fully incorporated. This step is key for creating the delicious Irish Potato Farls that you’ll enjoy shortly!
Step 2: Knead the Dough
Lightly sprinkle some flour on your clean work surface and transfer the dough onto it. Knead the dough gently for about 1-2 minutes, just until it becomes smooth and cohesive. Be careful not to over-knead, as this can make your farls tough instead of fluffy. Aim for a slightly tacky but manageable dough that evokes comfort.
Step 3: Roll Out the Dough
Using a rolling pin, roll the dough into a circular shape roughly 1/4 inch thick. This uniform thickness helps the Irish Potato Farls cook evenly, creating that perfect crispy exterior while retaining a soft interior. If the dough sticks, feel free to sprinkle a bit more flour to prevent it from adhering to the surface.
Step 4: Cut into Farls
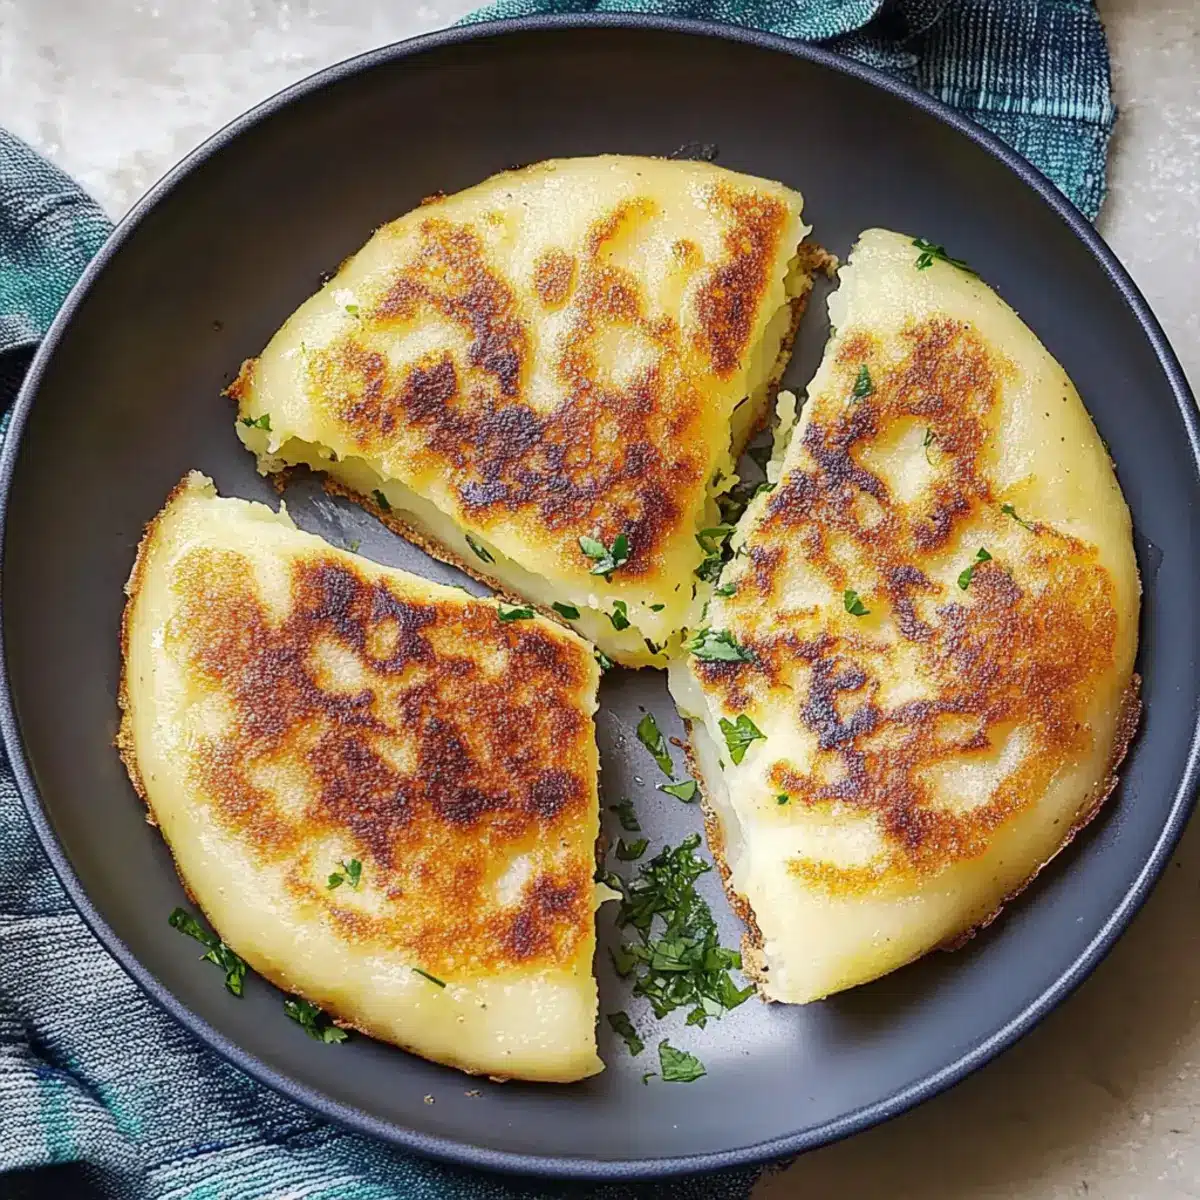
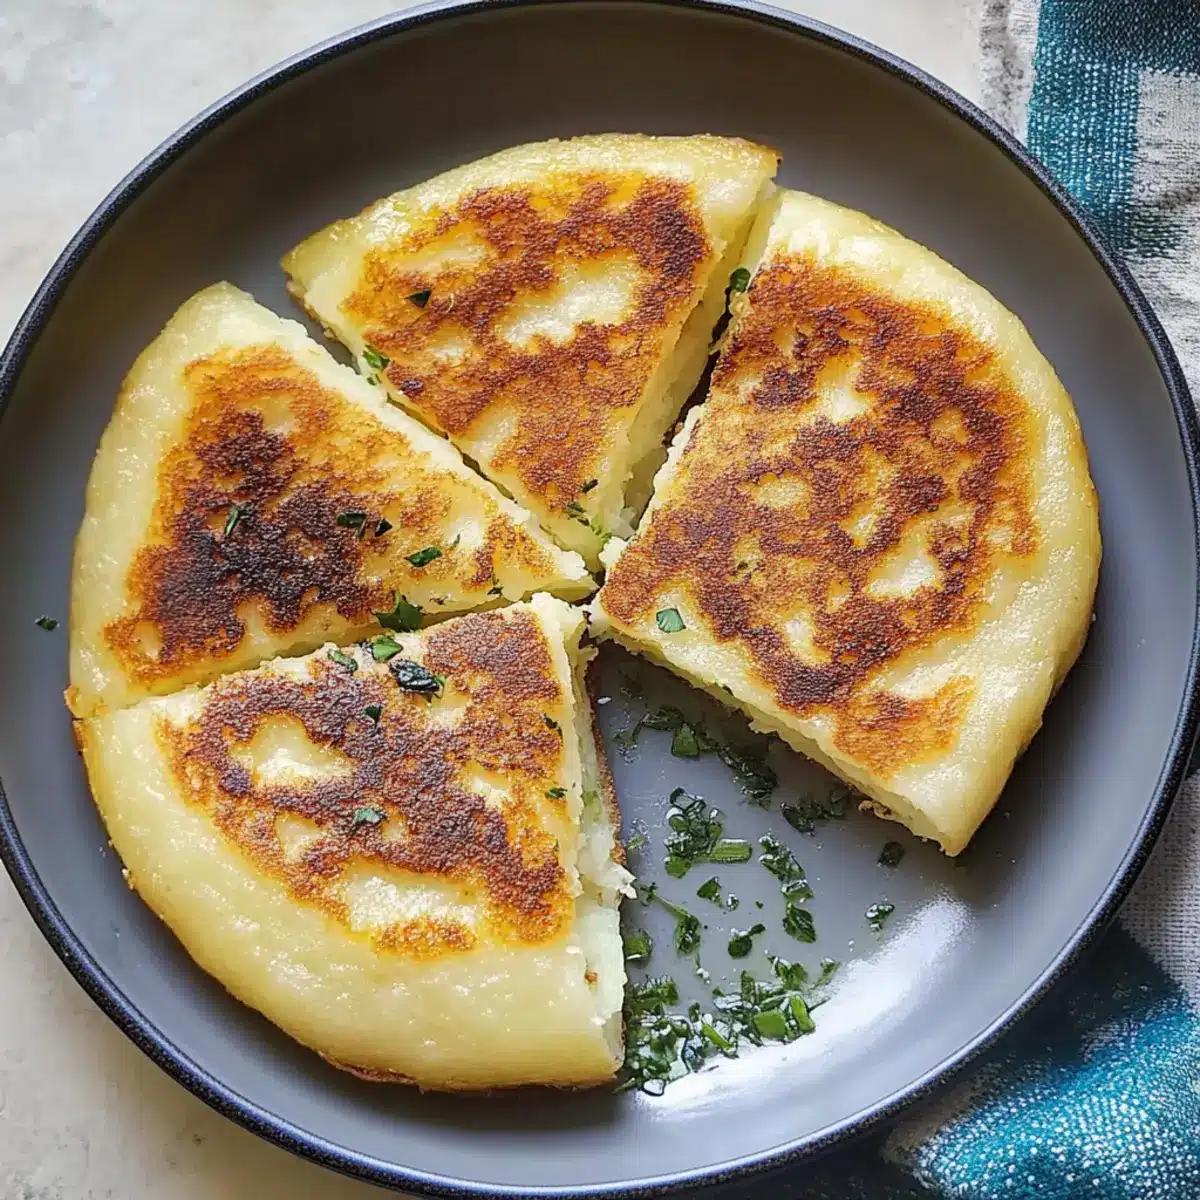
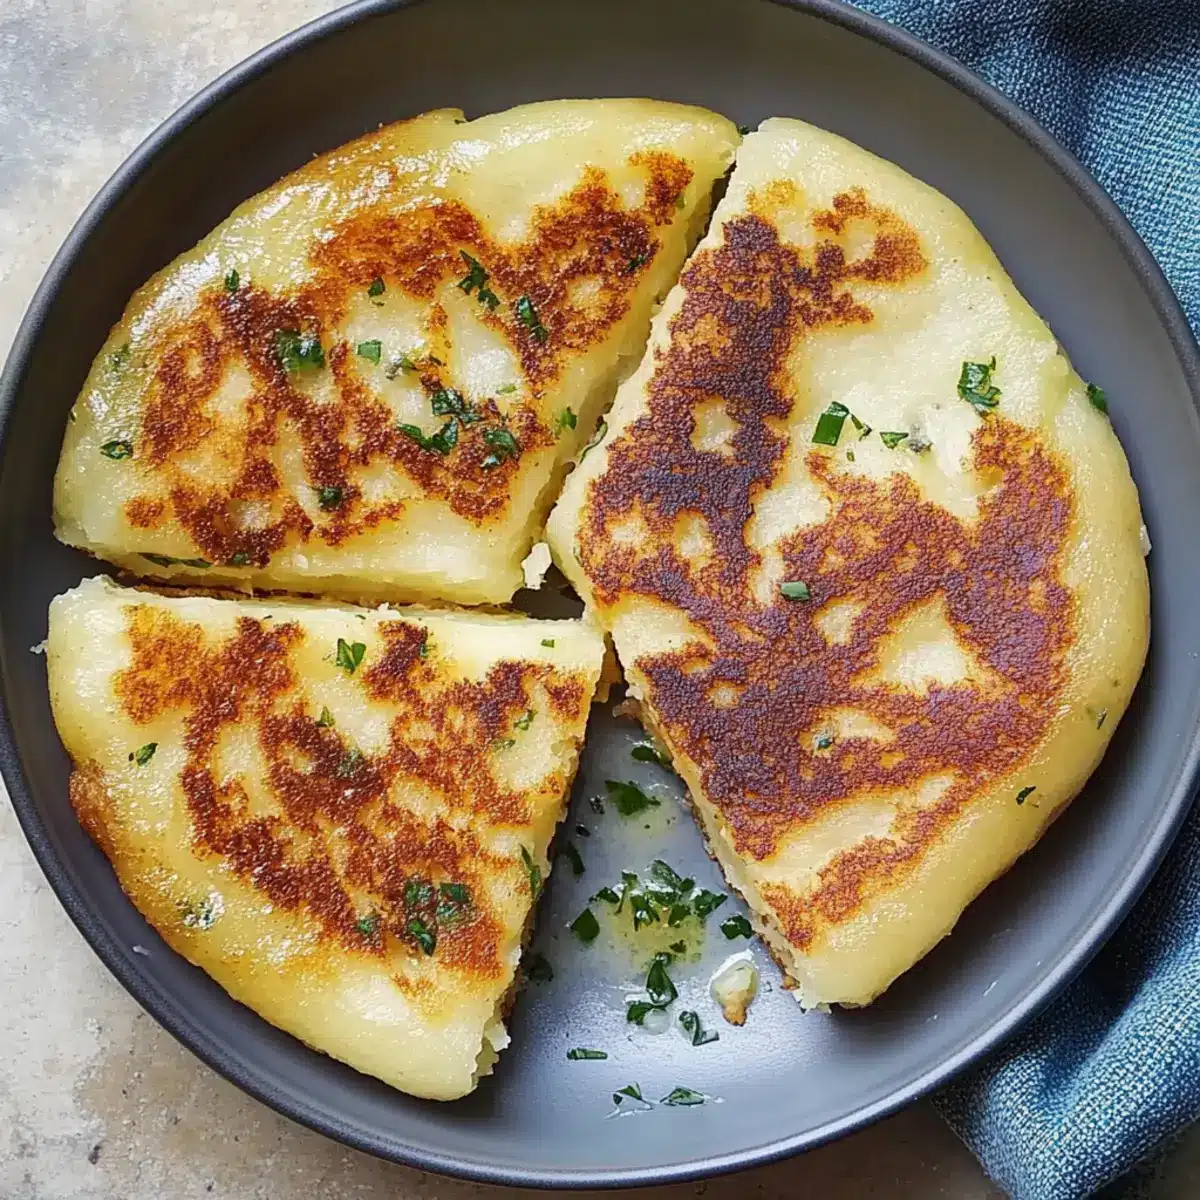
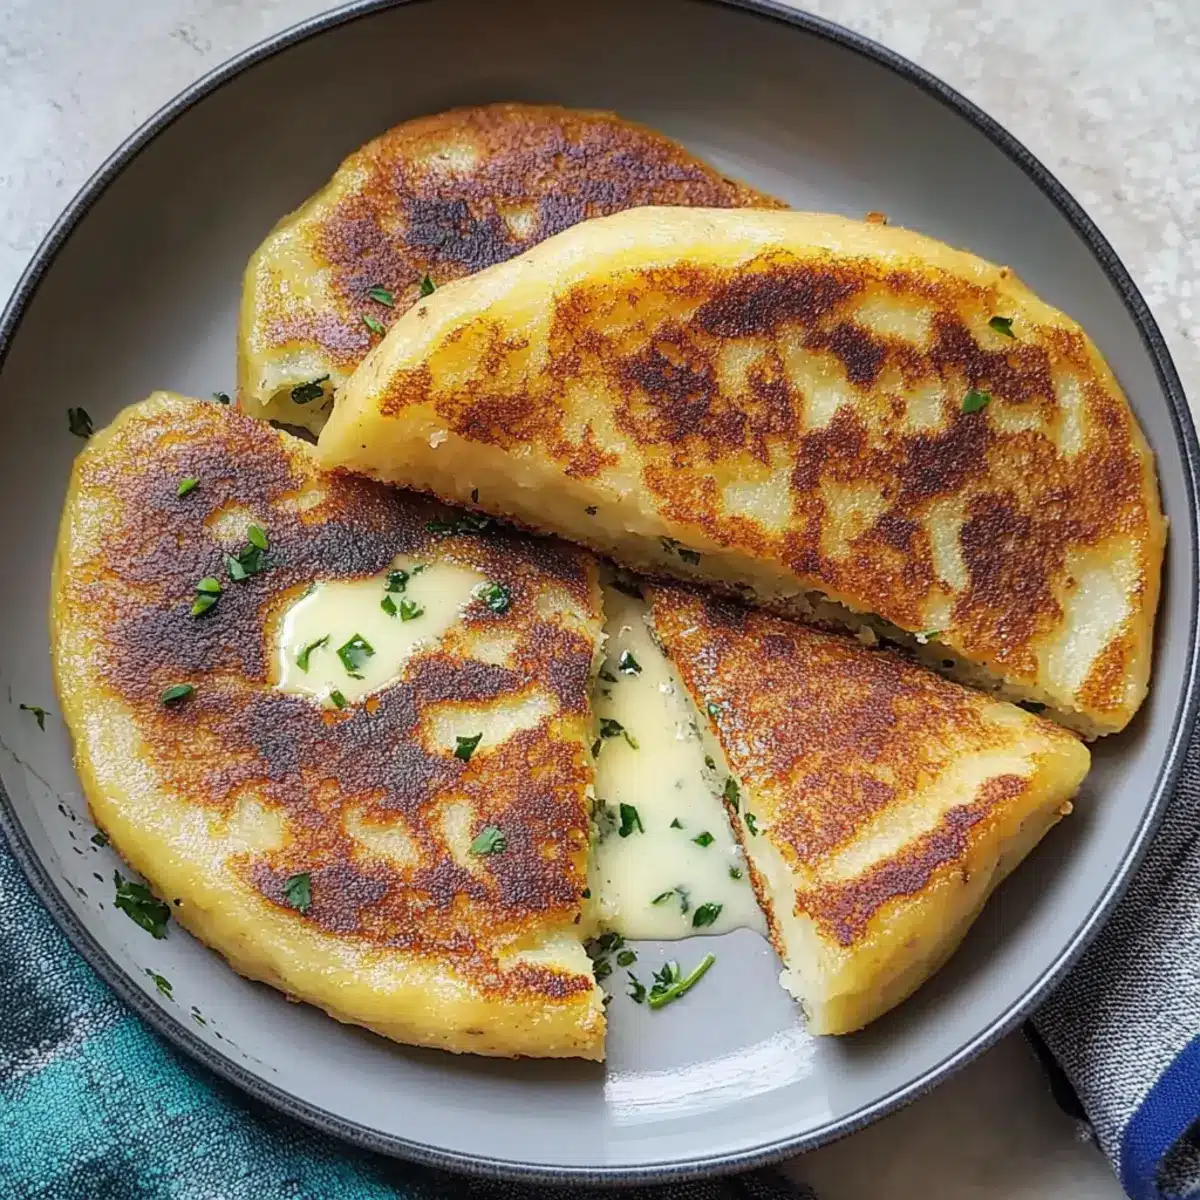
Once rolled out, use a knife or a dough cutter to divide the circle into four equal quarters, creating your signature farls. These triangle shapes are not only traditional but also practical, as they are easy to cook and serve. Ensure the edges are clean for the best appearance during cooking!
Step 5: Heat the Pan
Place a non-stick skillet or griddle over medium heat and allow it to warm up for a couple of minutes without adding any oil. The key here is to achieve a nice sear without frying; a hot surface will help the Irish Potato Farls develop a beautiful golden crust.
Step 6: Cook the Farls
Carefully place the cut farls in the heated skillet, ensuring not to overcrowd them. Cook each farl for 3-4 minutes on one side, until they turn golden brown and slightly crispy. Use a spatula to check the bottom before flipping; this will help ensure no farls are undercooked!
Step 7: Flip and Finish Cooking
Once golden, gently flip each farl and let it cook for another 3-4 minutes on the other side. Keep an eye on them, as you want both sides to be beautifully browned and crispy. This step is crucial for achieving that delightful texture characteristic of the perfect Irish Potato Farls.
Step 8: Serve Warm
Once cooked, remove the farls from the skillet and place them on a warm plate. Serve your Irish Potato Farls immediately while they’re fresh and warm. Pair them with butter, eggs, or your favorite toppings for a delicious meal that’s sure to be a hit at your table!
Storage Tips for Irish Potato Farls
Room Temperature: Store leftover Irish Potato Farls in an airtight container at room temperature for up to 2 days. Keep them covered to maintain moisture.
Fridge: To prolong freshness, refrigerate farls in an airtight container for up to 4 days. Reheat in a skillet or toaster for optimal texture.
Freezer: For longer storage, freeze cooked farls individually in a freezer-safe bag for up to 3 months. Thaw in the fridge overnight before reheating.
Reheating: Warm the frozen or refrigerated farls in a dry skillet over medium heat for 2-3 minutes per side or until heated through and crispy.
Make Ahead Options
Preparing Irish Potato Farls in advance is a wonderful way to save time during busy weeknights! You can make the dough up to 24 hours ahead; simply combine the ingredients and wrap the dough tightly in plastic wrap before refrigerating it. This not only allows the flavors to meld but also ensures the farls remain just as delicious when cooked. For cooked farls, cool them completely and store them in an airtight container in the fridge for up to 3 days. When you’re ready to enjoy, simply reheat in a hot skillet for a few minutes on each side to restore their golden crust and fluffy texture. This way, you’ll have a comforting side dish ready with minimal effort!
What to Serve with Irish Potato Farls
Warm, comforting side dishes can turn your Irish Potato Farls into a heartwarming meal that delights the senses.
- Poached Eggs: The runny yolk and creamy texture complement the crispy farls, creating a lovely breakfast harmony.
- Smoked Salmon: This luxurious pairing adds a burst of flavor, elevating the farls into a sophisticated brunch option.
- Avocado Slices: Creamy, fresh avocado provides a delightful contrast to the crispy exterior of the farls, bringing a nutritious twist.
- Baked Beans: The savory, slightly sweet beans pair perfectly with the farls, making for a hearty and comforting breakfast.
- Creamy Garlic Mushrooms: Earthy and garlicky, these mushrooms add depth and richness to your meal, enhancing the potato’s flavor.
- Mixed Greens Salad: A bright salad with vinaigrette cuts through the richness, offering a fresh and crunchy contrast for balance.
- Homemade Jam: A dollop of sweet, fruity jam adds a delightful contrast that brings a soothing richness to the farls.
- Herb Butter: Infusing melted butter with fresh herbs imparts a zesty twist, adding an extra layer of flavor to every bite.
- Cider or Stout: Enjoy with a refreshing cider or a rich stout to round out the flavors—perfect for any gathering or cozy night in.
Irish Potato Farls Variations & Substitutions
Feel free to get creative with your Irish Potato Farls by customizing these delightful variations!
- Gluten-Free: Swap all-purpose flour with rice or oat flour for a gluten-free delight without sacrificing flavor.
- Cheesy Twist: Incorporate 1/2 cup of grated cheese into the dough for a rich, savory addition that melts beautifully.
- Herb Infusion: Add chopped chives, parsley, or dill to the dough for a fresh, aromatic flavor that brightens each bite.
- Veggie Boost: Mix in grated carrots or zucchini for added nutrition and a hint of sweetness, making your farls even heartier.
- Spicy Kick: Sprinkle in a pinch of cayenne pepper or red pepper flakes to give your farls a delightful heat that complements their buttery flavor.
- Sweet Variation: For a sweet twist, fold in 1/4 cup of cinnamon and sugar, then top with jam or honey—perfect for a unique breakfast treat!
- Savory Meat Addition: Consider adding cooked, crumbled bacon or diced ham for a protein-packed version that pairs wonderfully with eggs.
- Dairy-Free Option: Replace butter with a non-dairy alternative like coconut oil or vegan butter for a plant-based twist that everyone can enjoy.
Mix and match these variations to find your perfect farl! And if you’re in the mood for more culinary adventures, take a look at my Duchess Potatoes Elegance or explore the comforting flavors from my Roasted Sweet Potato recipes—there’s something for everyone!
Expert Tips for Perfect Irish Potato Farls
• Cool Potatoes First: Ensure your mashed potatoes are completely cooled before mixing; warm potatoes can result in a sticky and unmanageable dough.
• Knead Gently: Avoid over-kneading; a light touch creates a fluffy texture in your Irish Potato Farls. Stop once the dough is smooth!
• Flour Wisely: Use just enough flour on your work surface to prevent sticking, but avoid excessive flour, which can dry out the dough.
• Watch the Heat: Cook the farls on medium heat—too high and they burn before cooking through. A steady simmer ensures even browning!
• Experiment with Add-ins: For extra flavor, consider mixing in fresh herbs, cheese, or even finely grated veggies into the dough for a delicious twist!
Irish Potato Farls Recipe FAQs
How do I select the best potatoes for making potato farls?
Absolutely! Use high-starch potatoes like Russet or Yukon Gold for the best results. They create a fluffy texture in the farls. Ensure the potatoes are fully cooked, cooled, and mashed without lumps for a smooth dough that’ll yield delightful farls.
What’s the best way to store leftover Irish Potato Farls?
To keep your farls fresh, store them in an airtight container at room temperature for 1-2 days. For longer storage, refrigerate them for up to 4 days. When reheating, a quick warm-up in a skillet will restore their delightful crispness!
Can I freeze Irish Potato Farls? How?
The more the merrier! Freezing is a fantastic way to enjoy these treats later. Cool cooked farls completely, then wrap each one tightly in plastic wrap and place them in a freezer-safe bag. They can be stored for up to 3 months. To reheat, simply thaw overnight in the fridge and warm them in a dry skillet over medium heat for 2-3 minutes per side.
What if my dough is too sticky?
Very important! If your dough feels sticky while kneading, sprinkle in a little more flour—just a tablespoon at a time—until it’s manageable but still soft. Avoid adding too much flour, as it can lead to tough farls. Remember that lightly kneading is crucial to keeping them fluffy!
Are there any dietary considerations for Irish Potato Farls?
Absolutely! These farls can be made gluten-free by substituting all-purpose flour with gluten-free options like rice or oat flour. Perfect for anyone with gluten sensitivities! Additionally, for a dairy-free version, you can replace the melted butter with a suitable non-dairy alternative.
Can I add ingredients to the farls for more flavor?
Of course! Consider mixing in fresh herbs like chives or parsley, or even cheese for a savory kick. Balance sweetness with add-ins like grated carrots or spices. The versatility of Irish Potato Farls allows you to tailor them to your taste preferences!
Comforting Irish Potato Farls You Can Make in 30 Minutes
Ingredients
Equipment
Method
- In a large mixing bowl, combine mashed potatoes, all-purpose flour, salt, and melted butter. Stir well until a soft dough begins to form.
- Lightly sprinkle flour on your clean work surface and transfer the dough onto it. Knead gently for about 1-2 minutes until smooth.
- Roll the dough into a circular shape roughly 1/4 inch thick using a rolling pin.
- Use a knife or dough cutter to divide the circle into four equal quarters.
- Place a non-stick skillet over medium heat for a couple of minutes.
- Carefully place the cut farls in the heated skillet, cooking each for 3-4 minutes until golden brown.
- Gently flip each farl and let it cook for another 3-4 minutes on the other side until crispy.
- Once cooked, remove the farls from the skillet and serve warm with toppings.
Leave a Reply