
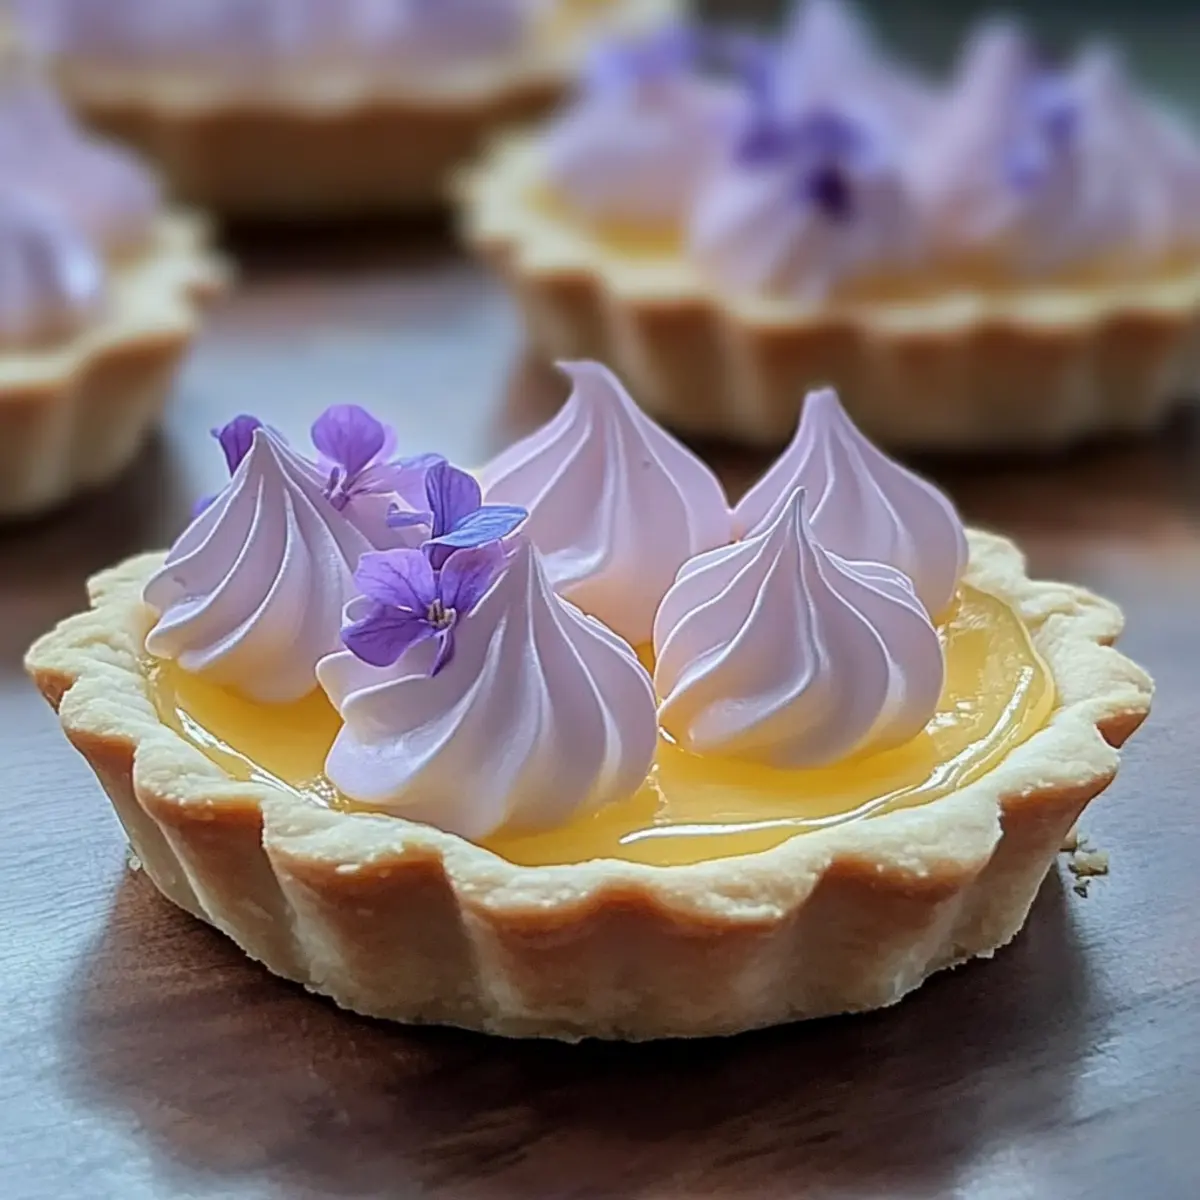
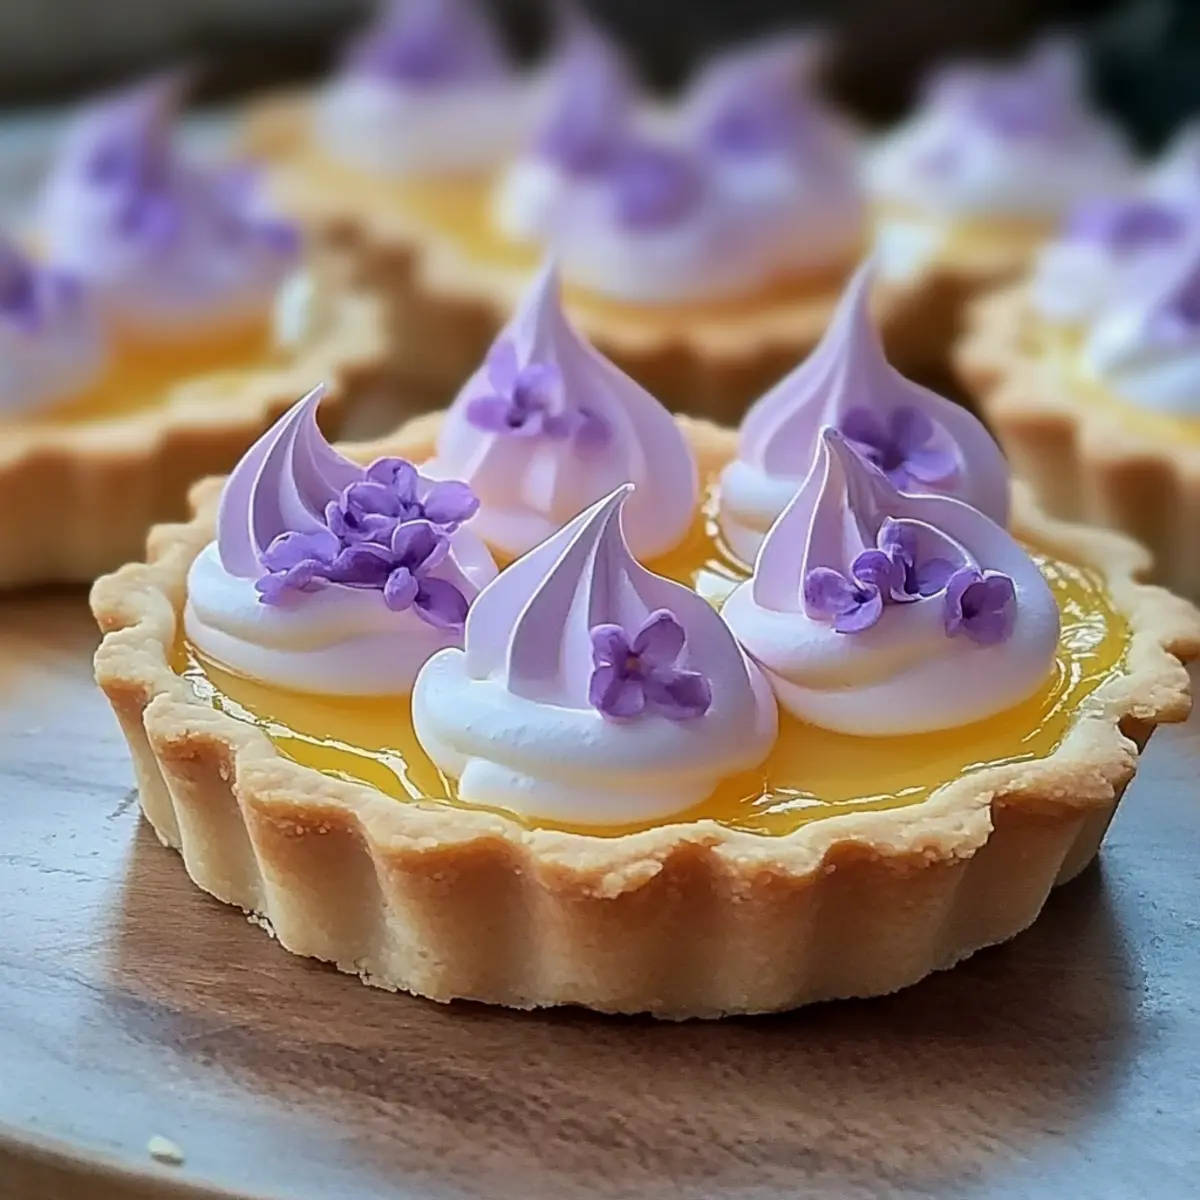
“Have you ever found yourself in a kitchen that feels more like a garden, where flavors bloom and colors dance? That’s exactly the experience I had while creating these Mini Lemon Tarts with Lilac Meringue! Picture buttery tart shells embracing a dreamy lemon curd, topped with airy lilac swirls that whisper of spring. This dessert not only brings a burst of elegance to any gathering but also offers a gluten-free option to satisfy all your guests. Simple to make yet impressive to serve, they carry a delightful balance of tart and sweet, ensuring each bite is a moment to savor. Ready to delight your taste buds and aesthetics alike? Let’s dive into this charming recipe that will brighten your dessert table!”
Why Try Mini Lemon Tarts?
Irresistible Aesthetics: The stunning lilac meringue will turn heads and make your dessert table the talk of the spring gathering.
Crisp & Creamy: Enjoy the perfect harmony of a buttery tart shell paired with silky lemon curd that sings with flavor.
Easy Yet Impressive: With simple steps, you can create a gourmet dessert that’s as delightful to make as it is to eat!
Gluten-Free Delight: Offering a gluten-free option using all-purpose flour means everyone can indulge without worry.
Versatile Pairings: These tarts shine when served alongside floral-infused teas or when paired with refreshing lavender lemonade, like in our Mini Grilled Cheese recipe.
Your dessert will not just taste great; it will also serve as a centerpiece of conversation!
Mini Lemon Tart with Lilac Meringue Ingredients
For the Tart Shell
• Flour – Provides structure; for a gluten-free option, use gluten-free all-purpose flour.
• Powdered Sugar – Adds a touch of sweetness and lightness to the tart shell.
• Cold Butter – Infuses richness and tenderness; keep it chilled for the best texture.
• Egg Yolk – Binds the tart shell together; a flax egg works well for vegan versions.
• Water – Moistens the dough to achieve the right consistency.
For the Lemon Curd
• Lemon Juice and Zest – Brings vibrant flavor; no substitutions ensure authentic taste.
• Sugar – Sweetens the curd and meringue; coconut sugar makes a healthier swap.
• Eggs – Adds creaminess to the curd; aquafaba is a great substitute for a vegan option.
• Butter (for Curd) – Enhances richness; opt for vegan butter if desired.
For the Lilac Meringue
• Egg Whites – Essential for structure and volume; no substitutes are recommended.
• Cream of Tartar – Stabilizes the meringue; a pinch of lemon juice can be used instead.
• Vanilla Extract – Adds depth of flavor; almond extract may be swapped for a twist.
• Violet Food Coloring – For that stunning lilac hue; optional or can use natural colorings.
Indulge in these charming Mini Lemon Tart with Lilac Meringue delights that bring spring to your table!
Step‑by‑Step Instructions for Mini Lemon Tart with Lilac Meringue
Step 1: Make the Tart Shells
Start by pulsing the flour and powdered sugar in a food processor until well combined. Add cold butter cut into small pieces and blend until the mixture resembles coarse crumbs. Mix in the egg yolk and just enough water to form a dough. Chill for 30 minutes. Roll out the dough on a floured surface, then press it into tart pans. Bake at 350°F (175°C) for 10-12 minutes, until golden brown. Allow the tart shells to cool completely.
Step 2: Prepare Lemon Curd
In a medium saucepan, whisk together the fresh lemon juice, zest, sugar, and eggs. Heat over medium, stirring constantly until the mixture thickens, about 8-10 minutes. Once thickened, remove from heat and stir in the butter until melted and smooth. Let the lemon curd cool for a few minutes, then pour it into the cooled tart shells. Chill for at least 1 hour to set the filling firmly.
Step 3: Make the Lilac Meringue
In a heatproof bowl, combine the egg whites, sugar, and cream of tartar. Place the bowl over simmering water and whisk until the mixture is warm to the touch, about 3-5 minutes. Remove from heat and use a hand mixer to beat the mixture until stiff peaks form, approximately 5-7 minutes. Add the vanilla extract and beat briefly. If desired, incorporate violet food coloring to achieve a lovely lilac hue.
Step 4: Pipe and Toast Meringue
Once the meringue is ready, pipe it onto the chilled lemon tarts using your favorite piping tip for decorative effect. Use a kitchen torch to toast the tips of the meringue until golden brown and lightly caramelized, creating a beautiful finish. If you don’t have a torch, you can briefly broil the tarts in the oven, keeping a close eye to prevent burning.
Step 5: Garnish Tarts
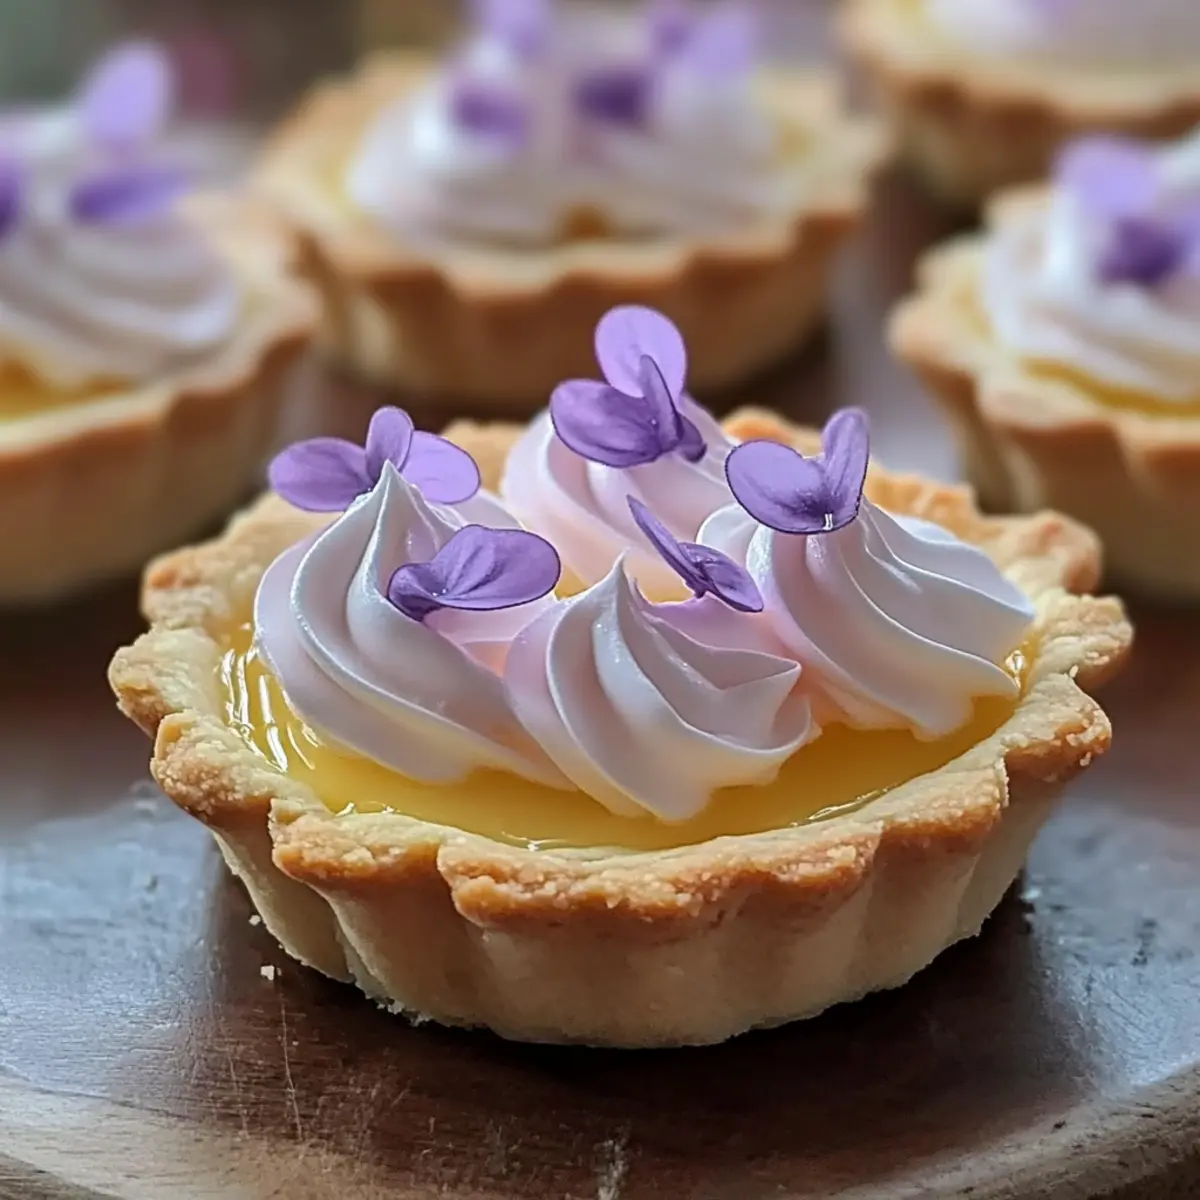
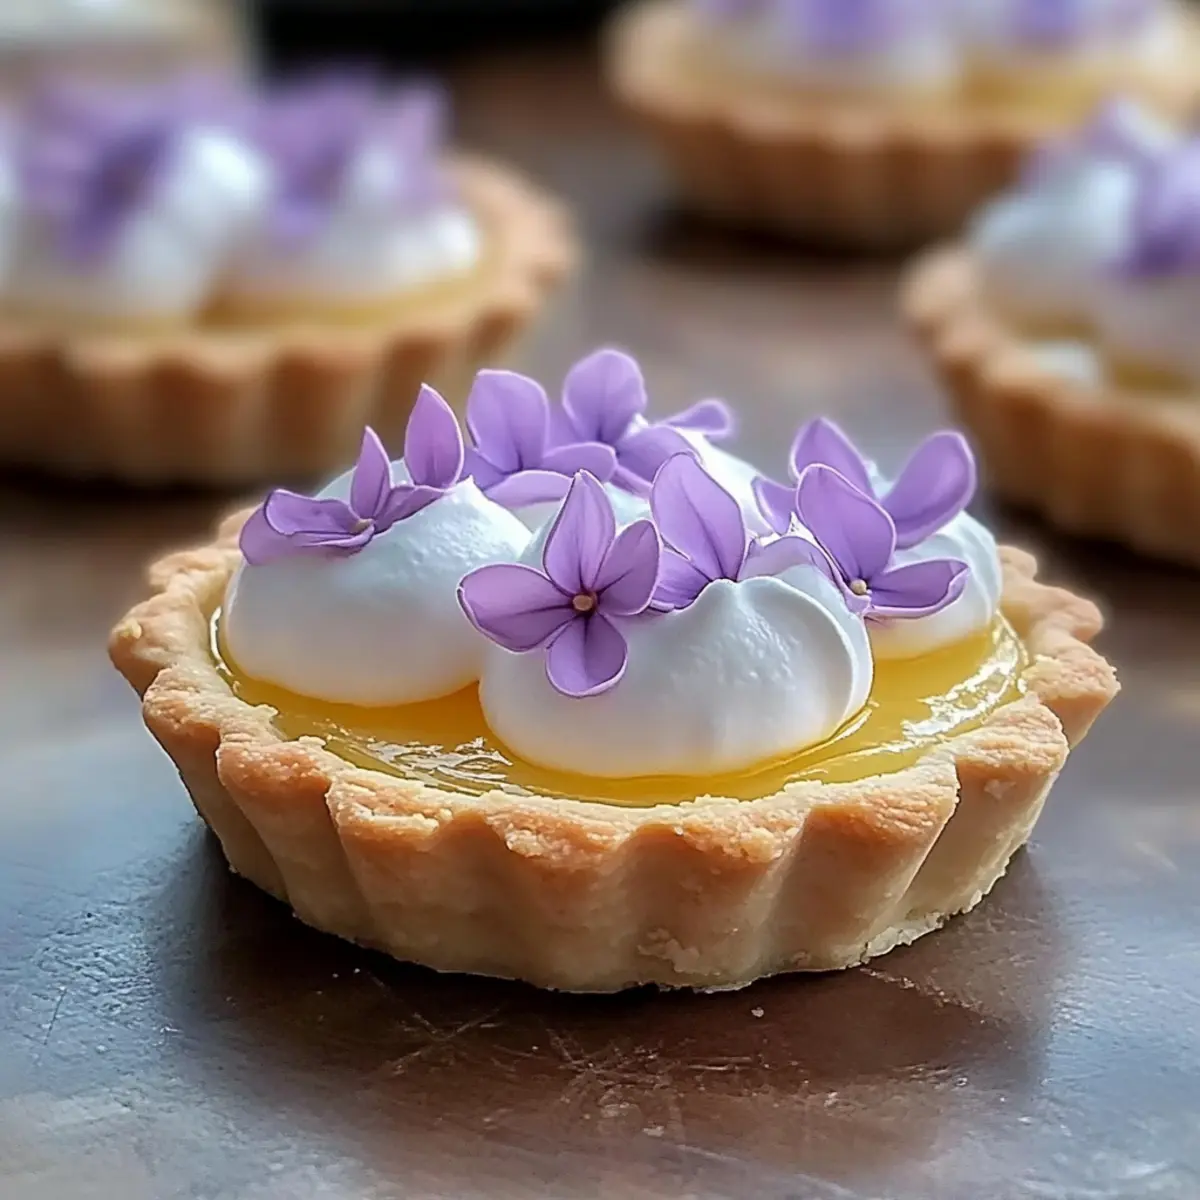
For an elegant touch, garnish your Mini Lemon Tarts with a few edible lilac petals atop the toasted meringue. This not only enhances the visual appeal but also adds a whisper of floral aroma, making your dessert even more inviting. Serve the tarts chilled, ideally paired with a refreshing floral tea or lavender lemonade, ensuring your seasonal gathering is a delightful one.
Mini Lemon Tart with Lilac Meringue Variations
Feel free to let your creativity blossom as you explore these delightful twists on Mini Lemon Tarts!
-
Vegan Option: Substitute the eggs with aquafaba and use vegan butter in both the curd and the meringue for a plant-based version. Your friends will never know the difference!
-
Flavored Meringue: Swap vanilla extract for rose water in the meringue to add a subtle floral essence. Ideal for those who love a touch of romance in their desserts.
-
Citrus Alternatives: Try using lime juice and zest instead of lemon for a zesty lime-lavender curd, perfect for adding a tropical spin to your tarts.
-
Nutty Base: For a gluten-free option, replace all-purpose flour with almond flour in your tart shells. The nutty essence beautifully complements the citrus filling.
-
Edible Flower Garnish: Top your tarts with real edible flowers like violets or pansies for an unforgettable presentation that’s sure to impress at any spring gathering!
-
Coconut Sugar Sweetness: Substitute regular sugar with coconut sugar in the curd for a caramel-like flavor that enhances the tartness of the lemon.
-
Berry Burst: Layer fresh berries, like raspberries or blueberries, atop the lemon curd before piping the meringue for an added pop of color and flavor, reminiscent of classic berry tarts.
-
Chocolate Drizzle: For an indulgent surprise, drizzle some dark chocolate over the meringue right before serving, pairing beautifully with both lemon and lilac flavors.
These variations are perfect for customizing your tarts, and if you’re in the mood for a different delightful dessert, check out our Lemon Cheesecake Cake or try the indulgent experience of our Dark Chocolate Tart for more creative inspirations!
What to Serve with Mini Lemon Tart with Lilac Meringue
Elevate your dessert experience with delightful pairings that bring out the best of spring flavors and textures!
-
Creamy Mashed Potatoes: This warm, velvety side is the perfect contrast to the tart’s delicate sweetness, providing a comforting balance.
-
Herb-Infused Grilled Chicken: The zesty herbs enhance the lemon notes, while the succulent chicken maintains a delightful savory touch to your meal.
-
Crispy Arugula Salad: A fresh salad tossed with a simple lemon vinaigrette introduces peppery notes that complement the tart perfectly.
-
Cheese Board: A selection of soft cheeses like goat cheese or brie can offset sweetness and provide a luxurious pairing for your tarts.
-
Lavender Lemonade: This refreshing drink mirrors the tart’s flavor profile while keeping the meal light and floral, elevating your dining experience.
-
Rosemary Olive Oil Cake: This cake adds a sweet, fragrant aroma while echoing the citrus notes of the tart, making it a lovely follow-up dessert.
-
Mint Tea: A fragrant herbal drink that cleanses the palate, complementing sweet and tangy notes of the mini lemon tarts.
-
Almond Biscotti: Crunchy and subtly sweet, these delightful cookies are perfect for dipping, finishing off a light spring meal beautifully.
How to Store and Freeze Mini Lemon Tart with Lilac Meringue
Fridge: Store your Mini Lemon Tart with Lilac Meringue in an airtight container in the refrigerator for up to 2 days. This preserves the freshness of the lemon curd and ensures the meringue remains light.
Tart Shells: If you want to prepare ahead, store the cooled tart shells in a separate airtight container at room temperature for up to 3 days, preventing sogginess while maintaining their crisp texture.
Meringue: It’s best to add the lilac meringue just before serving. If you need to prepare it in advance, store the meringue in an airtight container in the fridge for up to 24 hours, but avoid freezing to maintain texture.
Freezing: For long-term storage, freeze unfilled tart shells wrapped tightly in plastic wrap for up to a month. Thaw at room temperature before filling with lemon curd and topping with meringue.
Expert Tips for Mini Lemon Tart with Lilac Meringue
-
Avoid Tough Dough: To achieve a tender tart shell, be careful not to overwork the dough when mixing. Just combine until it holds together.
-
Perfect Curd Consistency: Stir continuously while cooking the lemon curd to avoid curdling. The mixture should coat the back of a spoon when ready.
-
Quick Meringue Application: Pipe the lilac meringue onto the tarts swiftly to prevent it from losing volume. Use a star tip for an elegant design.
-
Best Meringue Finish: Toast the meringue tips just before serving. This creates a delightful texture contrast and enhances the visual appeal of your Mini Lemon Tart.
-
Chill Time Matters: Ensure your lemon curd is properly chilled for at least an hour before assembly. This allows it to set perfectly in the tart shell.
-
Storage Smart: Keep the baked tart shells and lemon curd stored separately in the fridge for up to two days; add meringue before serving to maintain its lightness.
Make Ahead Options
These Mini Lemon Tarts with Lilac Meringue are perfect for busy home cooks looking to save time without compromising on elegance! You can prepare the tart shells and lemon curd up to 24 hours in advance; simply refrigerate them in airtight containers to maintain their freshness. When you’re ready to serve, just whip up the lilac meringue, which can be made ahead but should be piped onto the tarts just before serving to preserve its airy texture. This way, you’ll achieve the same delightful flavors with minimal effort, making your dessert the star of the gathering while allowing you to enjoy every moment!
Mini Lemon Tart with Lilac Meringue Recipe FAQs
What kind of flour should I use for the tart shells?
Absolutely! For the tart shells, you can use regular all-purpose flour, but if you need a gluten-free option, I recommend gluten-free all-purpose flour. It provides the same structure but allows everyone to enjoy these delightful Mini Lemon Tarts!
How do I store leftovers?
To keep your Mini Lemon Tarts fresh, store them in an airtight container in the refrigerator for up to 2 days. If you have extra tart shells, they can be kept at room temperature for up to 3 days; just make sure to store them separately to prevent sogginess.
Can I freeze the tart shells?
Certainly! You can freeze unfilled tart shells by wrapping them tightly in plastic wrap. They will keep well for up to a month. When you’re ready to enjoy them, simply thaw at room temperature before filling with the lemon curd and topping them with meringue.
What should I do if my lemon curd doesn’t thicken?
Very often, if your lemon curd isn’t thickening, it’s because it needs more time over the heat. Make sure you’re stirring constantly and maintain medium heat for about 8-10 minutes until the mixture coats the back of a spoon. If it’s still too runny after cooking, you can return it to the heat with a little extra egg yolk mixed in for added thickening.
Is this recipe suitable for people with allergies?
Yes! If anyone in your gathering has dietary restrictions, you can make a few adjustments. For vegan options, use a flax egg instead of the regular egg yolk in the tart shell, aquafaba as an egg substitute in the curd, and use vegan butter. Just be cautious, as the meringue requires egg whites, which can’t be substituted effectively—this is important for maintaining that lovely airy texture.
Mini Lemon Tart with Lilac Meringue: A Taste of Spring Bliss
Ingredients
Equipment
Method
- Start by pulsing the flour and powdered sugar in a food processor until well combined. Add cold butter cut into small pieces and blend until the mixture resembles coarse crumbs. Mix in the egg yolk and just enough water to form a dough. Chill for 30 minutes. Roll out the dough on a floured surface, then press it into tart pans. Bake at 350°F (175°C) for 10-12 minutes, until golden brown. Allow the tart shells to cool completely.
- In a medium saucepan, whisk together the fresh lemon juice, zest, sugar, and eggs. Heat over medium, stirring constantly until the mixture thickens, about 8-10 minutes. Once thickened, remove from heat and stir in the butter until melted and smooth. Let the lemon curd cool for a few minutes, then pour it into the cooled tart shells. Chill for at least 1 hour to set the filling firmly.
- In a heatproof bowl, combine the egg whites, sugar, and cream of tartar. Place the bowl over simmering water and whisk until the mixture is warm to the touch, about 3-5 minutes. Remove from heat and use a hand mixer to beat the mixture until stiff peaks form, approximately 5-7 minutes. Add the vanilla extract and beat briefly. If desired, incorporate violet food coloring to achieve a lovely lilac hue.
- Once the meringue is ready, pipe it onto the chilled lemon tarts using your favorite piping tip for decorative effect. Use a kitchen torch to toast the tips of the meringue until golden brown and lightly caramelized, creating a beautiful finish. If you don’t have a torch, you can briefly broil the tarts in the oven, keeping a close eye to prevent burning.
- For an elegant touch, garnish your Mini Lemon Tarts with a few edible lilac petals atop the toasted meringue. This not only enhances the visual appeal but also adds a whisper of floral aroma, making your dessert even more inviting. Serve the tarts chilled, ideally paired with a refreshing floral tea or lavender lemonade.
Leave a Reply