
As I stood in the kitchen, the scent of peppermint began to swirl around me, whisking me away to winter wonderlands filled with festive cheer. These Bakery-Perfect Peppermint Swirl Cookies are not just a treat; they’re a celebration of the season, blending sweet buttery goodness with refreshing minty delight. This recipe lets you master the art of cookie swirls, ensuring your creations will impress any holiday crowd with their striking visuals and melt-in-your-mouth texture. With a quick prep time and the option to freeze for future festivities, they make holiday baking both fun and practical. Who wouldn’t want a batch of these cheerful cookies waiting in the freezer for a spontaneous get-together or cozy evening at home? Ready to bring some magic to your dessert table? Let’s dive into the swirling fun!
Why Make Peppermint Swirl Cookies?
Flavor Explosion: Each cookie is a delightful harmony of buttery sweetness and refreshing peppermint, perfect for holiday gatherings.
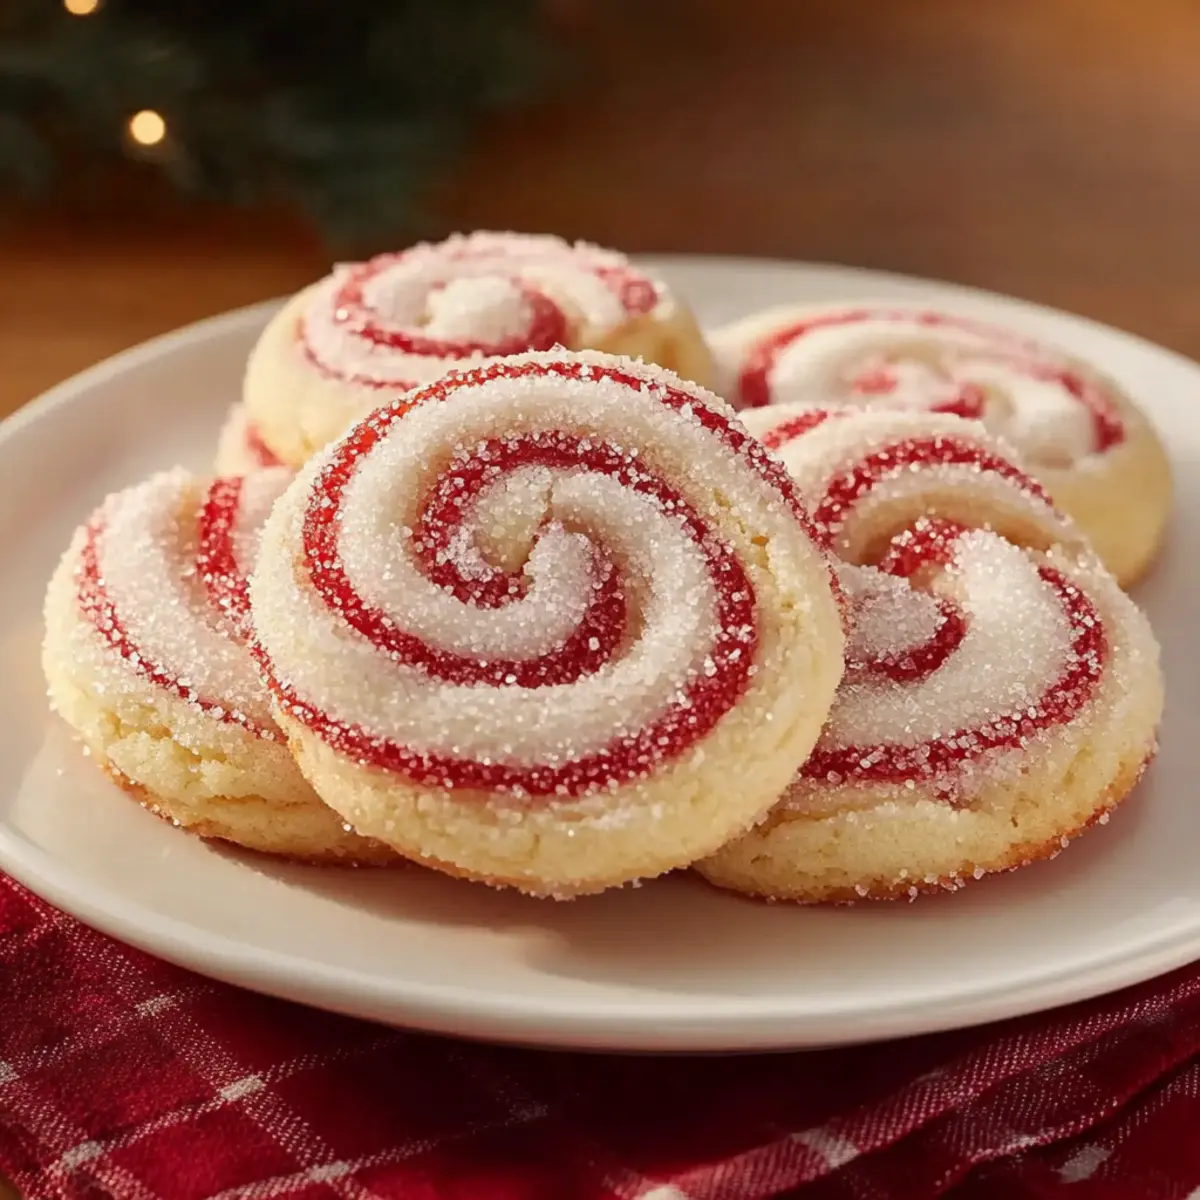
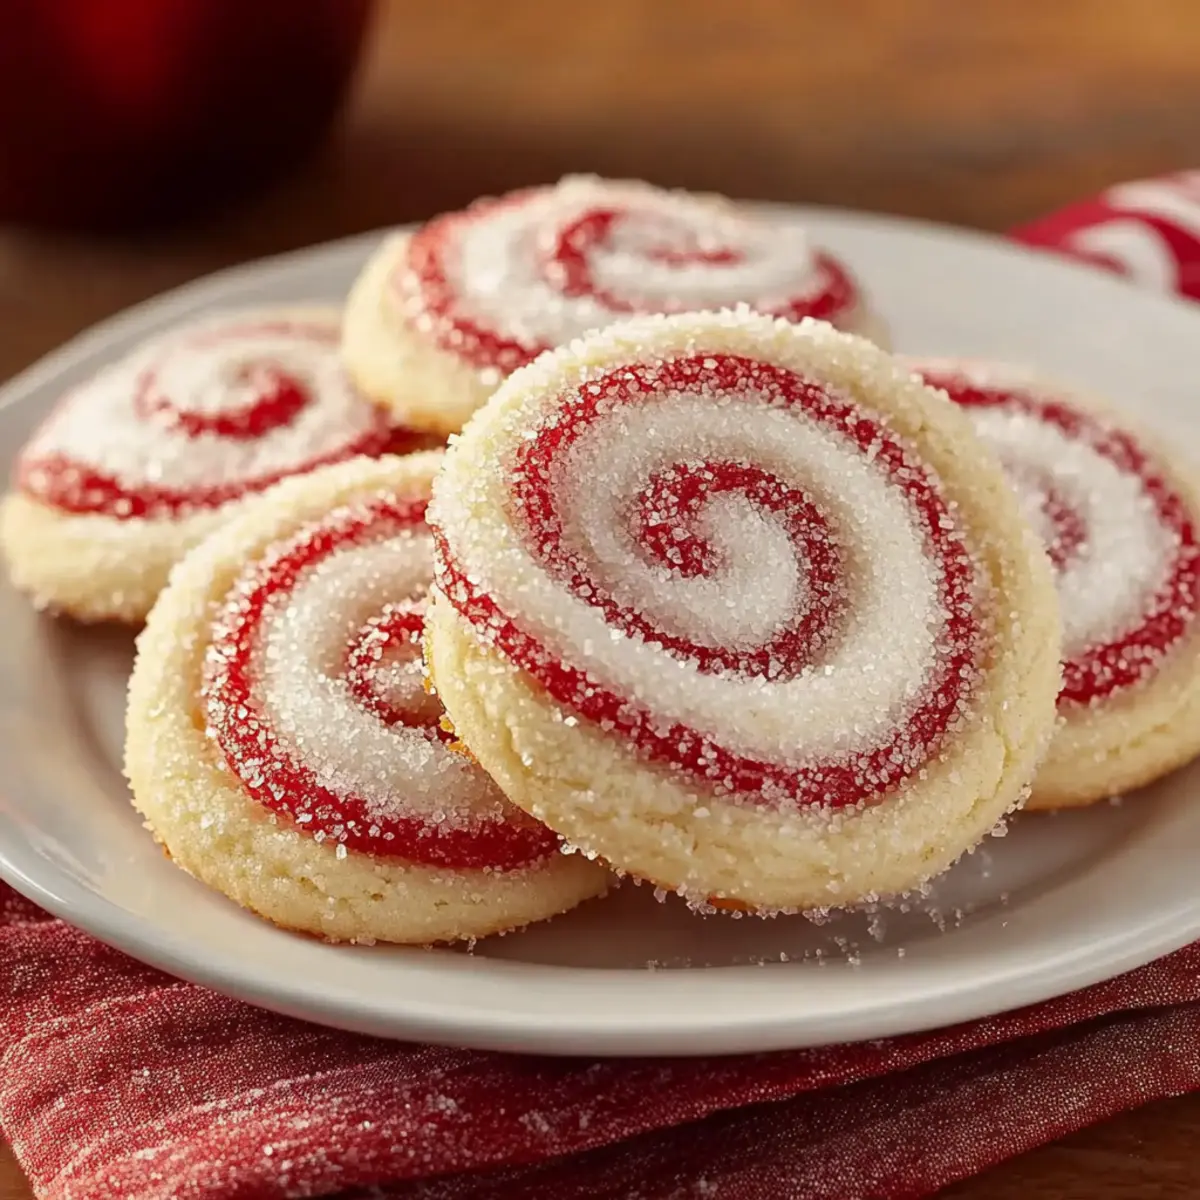
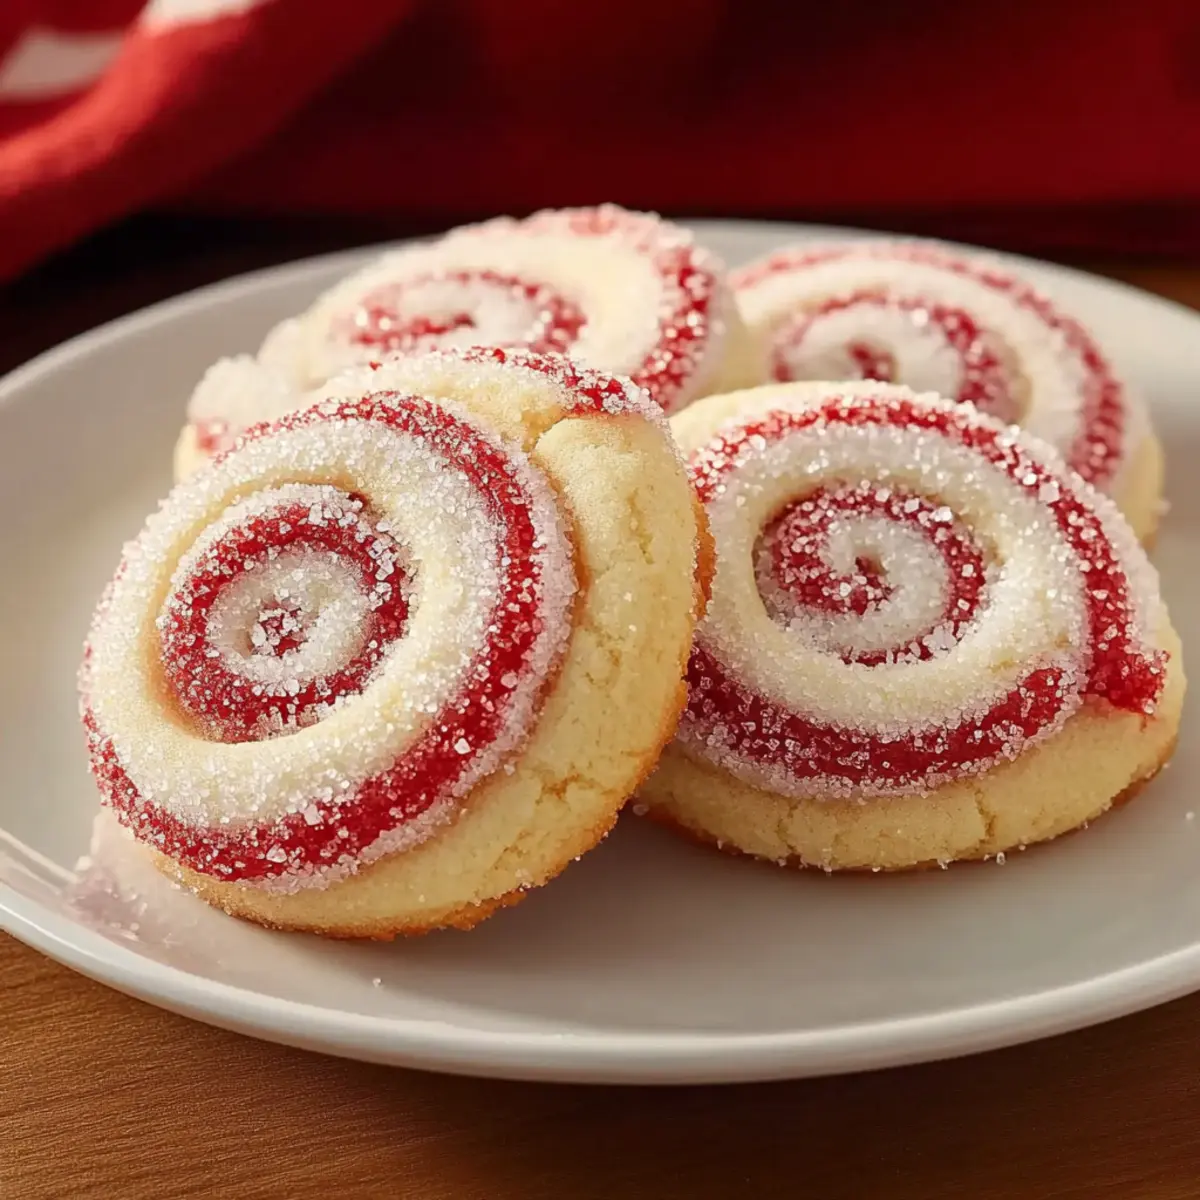
Stunning Presentation: With their vibrant red and white swirls, these cookies are as eye-catching as they are delicious, sure to impress guests and family alike.
Easy Preparation: Don’t worry if you’re not a seasoned baker; this recipe breaks down the swirling technique step-by-step, making it accessible for everyone.
Freezer-Friendly: Prep ahead by freezing the dough; simply slice and bake when the craving strikes, much like my Raspberry Linzer Cookies for those spontaneous get-togethers.
Crowd-Pleaser: Their appealing look and rich flavors make them a guaranteed hit at any holiday celebration, so stock up and share the joy!
Peppermint Swirl Cookies Ingredients
For the Dough
- All-purpose flour – Provides structure for the cookies; substitute with a 1:1 gluten-free blend for an alternative.
- Baking powder – Acts as a leavening agent for a light, airy texture; no substitutions recommended.
- Salt – Enhances flavor; optional but recommended for a balanced taste.
- Unsalted butter – Key for a rich flavor and tender crumb; substitute with a dairy-free option if needed.
- Granulated sugar – Adds sweetness and contributes to the cookie’s texture; no substitutions suggested.
- Large egg – Binds ingredients and adds moisture; can replace with a flaxseed or chia seed egg for a vegan option.
- Vanilla extract – Balances the peppermint flavor; opt for pure vanilla extract for best results.
- Peppermint extract – Provides the signature mint flavor in these Peppermint Swirl Cookies; feel free to vary with another extract.
- Red gel food coloring – Creates vibrant swirls without adding moisture; avoid liquid coloring to maintain dough consistency.
For the Topping
- Coarse sugar or crushed peppermint candies – Adds delightful texture and festive flair; sanding sugar is an excellent alternative.
There you have it! Gather these ingredients to dive into the joyful experience of making Peppermint Swirl Cookies that will surely charm your friends and family this holiday season!
Step‑by‑Step Instructions for Peppermint Swirl Cookies
Step 1: Prep Ingredients
Begin by preheating your oven to 375°F (190°C) and gathering all your ingredients. In a medium bowl, whisk together 2 cups of all-purpose flour, 1 teaspoon of baking powder, and a pinch of salt until evenly blended. This mixture sets the foundation for your Peppermint Swirl Cookies, ensuring they have the perfect texture once baked.
Step 2: Cream Butter and Sugar
In a large mixing bowl, cream together 1 cup of softened unsalted butter and 1 cup of granulated sugar using an electric mixer on medium speed for about 3-5 minutes until the mixture is light and fluffy. This step incorporates air into the batter, contributing to a tender final product. Once fluffy, add in 1 large egg, 1 teaspoon of vanilla extract, and 1 teaspoon of peppermint extract, mixing until everything is combined.
Step 3: Combine Wet and Dry Ingredients
Gradually add the flour mixture to the butter and sugar blend, mixing on low speed until just combined. Be careful not to overmix, as that can lead to tough cookies. The dough should be soft and slightly sticky, a perfect consistency for your Peppermint Swirl Cookies.
Step 4: Divide and Color Dough
Next, divide the cookie dough in half, placing one half in a separate bowl. Add red gel food coloring to the second half, mixing until the color is well incorporated and vibrant. Keep the plain dough and colored dough in separate bowls to maintain their distinct hues for your festive swirling.
Step 5: Chill the Dough
Wrap each half of the dough tightly in plastic wrap and refrigerate for at least 30 minutes. Chilling the dough is crucial as it firms up the textures and prevents the colors from bleeding during the rolling process, ensuring that your Peppermint Swirl Cookies will have striking patterns.
Step 6: Roll Out the Dough
Once chilled, sprinkle a clean surface with flour and roll out both dough halves into 10×12-inch rectangles, approximately 1/4-inch thick. Place the plain dough rectangle on top of the red dough rectangle, aligning the edges neatly. This layering is essential to create the beautiful swirl effect in your cookies.
Step 7: Create the Log
Starting from one edge of the dough, carefully roll the layered dough tightly into a log shape. Ensure the roll is uniform to maintain even slices for your Peppermint Swirl Cookies. Wrap the log in plastic wrap and refrigerate it for at least 2 hours, allowing it to firm up completely.
Step 8: Prepare for Baking
Once the log is chilled, line your baking sheets with parchment paper. Take the log out of the refrigerator and slice it into 1/4-inch thick rounds using a sharp knife. Each slice should reveal a beautiful swirling pattern of red and white. You can optionally coat the slices in coarse sugar or crushed peppermint candies for an extra festive touch.
Step 9: Bake the Cookies
Place the slices on the prepared baking sheets, leaving space between each for expansion. Bake in your preheated oven for 8-10 minutes until the edges are lightly golden. Keep an eye on them as they bake, as these cookies can go from perfect to overdone quickly.
Step 10: Cool and Enjoy
Remove the baking sheets from the oven and allow the cookies to cool on the sheets for 5 minutes before transferring them to a wire rack. Let them cool completely, and get ready to delight in your beautiful Peppermint Swirl Cookies that are sure to impress family and friends this holiday season.
What to Serve with Peppermint Swirl Cookies
Elevate your holiday experience with delightful pairings that complement the festive flavors of these enchanting cookies.
- Rich Hot Cocoa: The creaminess of hot cocoa balances the minty freshness, creating a cozy indulgence perfect for chilly evenings.
- Spiced Chai Latte: A warm chai latte introduces a comforting spice that pairs beautifully with the refreshing note of peppermint.
- Classic Milk: The timeless combination of cookies and cold milk enhances the soft, buttery texture, making bites even more satisfying.
- Chewy Gingerbread Cookies: For a holiday cookie platter, the warmth of gingerbread beautifully contrasts the cool mint, offering a spectrum of flavors.
- Creamy Cheesecake: A light, fluffy cheesecake topped with berry compote offers a refreshing contrast with rich and sweet notes—ideal for celebrations.
- Festive Fruit Salad: A fresh fruit salad with vibrant citrus complements the cookies, adding brightness and balancing sweetness while bringing natural freshness.
- Peppermint Bark: Continue the minty theme with peppermint bark, combining chocolatey richness with crunchy texture for a delightful treat.
- Mulled Wine: Serve a spiced mulled wine alongside for adults, where the rich aromas and flavors elevate the festive spirit.
- Cinnamon Ice Cream: For dessert lovers, pairing these cookies with a scoop of warm cinnamon ice cream creates a dreamy combination that enchants the palate.
How to Store and Freeze Peppermint Swirl Cookies
Room Temperature: Store baked Peppermint Swirl Cookies in an airtight container at room temperature for up to 5-7 days to maintain their tenderness and flavor.
Freezer: For longer storage, freeze the baked cookies in a single layer on a baking sheet, then transfer them to a freezer-safe bag for up to 1 month. Thaw in the refrigerator before enjoying.
Raw Dough: If you wish to prep in advance, wrap the formed dough log tightly in plastic wrap and freeze it for 2-3 months. Thaw in the fridge before slicing and baking for fresh cookies anytime.
Reheating: To enjoy a warm cookie experience, reheat thawed cookies in a microwave for 10-15 seconds or warm them in a preheated oven at 300°F (150°C) for a few minutes until just warm.
Make Ahead Options
These Peppermint Swirl Cookies are perfect for busy home cooks looking to save time during the bustling holiday season! You can prepare the cookie dough up to 3 days ahead by wrapping the formed log in plastic wrap and storing it in the refrigerator. For even longer storage, the unbaked dough can be frozen for up to 2-3 months—just make sure to double-wrap it to prevent freezer burn. When you’re ready to bake, simply slice the chilled or thawed log into rounds, and bake at 375°F (190°C) for 8-10 minutes. This way, you can have fresh, festive cookies ready in a snap, without compromising on flavor or quality!
Peppermint Swirl Cookies Variations
Feel free to get creative and personalize your Peppermint Swirl Cookies with these exciting twists!
- Dairy-Free: Substitute unsalted butter with coconut oil or a dairy-free butter alternative for a vegan-friendly version.
- Nutty Flavor: Swap out peppermint extract for a few drops of almond extract for a cozy, nutty aroma that’s just as festive.
- Zesty Twist: Add the zest of an orange or lemon to the dough for a refreshing citrus kick that pairs beautifully with peppermint.
- Colorful Swirls: Use different gel food colors like green or blue to create a rainbow swirl effect, perfect for any celebration!
- Crunchy Topping: Instead of coarse sugar, try using crushed nuts like walnuts or pecans to add delightful texture and extra flavor on top.
- Mint Chocolate: Incorporate mini chocolate chips into the dough for a chocolatey surprise in every bite—just dissolve your mint cravings!
- Spicy Heat: For those who love a spicy kick, mix in a pinch of cayenne pepper or cinnamon to the dough for a warm, unexpected flavor.
Don’t forget, if you’re in the mood for something more on the fruity side, my Raspberry Swirl Cookies are a delightful alternative! And if you want to enjoy a warm drink with your cookies, consider a classic Peppermint White Russian that pairs wonderfully with these festive treats.
Expert Tips for Peppermint Swirl Cookies
Temperature Matters: Ensure your butter is softened to room temperature before creaming; this is crucial for achieving that perfect light texture in your Peppermint Swirl Cookies.
Chill Wisely: Don’t rush the chilling process—proper chilling prevents colors from bleeding and helps maintain sharp swirls in your cookies, enhancing their festive appearance.
Slice with Care: Use a sharp knife for slicing the dough log into rounds; a clean cut preserves the beautiful swirl design and prevents any squishing.
Bake with Attention: Watch your cookies closely as they bake; they can transition from perfectly golden to overdone in just a minute, ensuring you get that delightful soft texture.
Experiment with Flavors: Feel free to swap the peppermint extract for other flavors like almond or orange to create a unique twist on these Peppermint Swirl Cookies for different occasions!
Peppermint Swirl Cookies Recipe FAQs
How can I ensure my peppermint is fresh?
Absolutely! When choosing peppermint extract, always look for pure extracts to enhance the flavor of your Peppermint Swirl Cookies. Check the bottle’s freshness date, and opt for peppermint oil if you want a stronger flavor; just remember that a little goes a long way!
What’s the best way to store these cookies?
I recommend keeping your baked cookies in an airtight container at room temperature for up to 5-7 days. This helps maintain their soft texture and delightful flavor. If you notice any cookies getting too soft, a quick 10-second zap in the microwave can revitalize them!
Can I freeze the dough for later use?
Yes, indeed! To freeze the Peppermint Swirl Cookies dough, wrap the formed log tightly in plastic wrap, then place it in a freezer-safe bag. It’ll keep well for 2-3 months. When you’re ready to bake, just thaw it in the refrigerator overnight before slicing and baking.
What should I do if my dough is too sticky?
If you find your cookie dough is a bit sticky, don’t fret! This can happen sometimes, especially if your butter was a tad too warm. Simply sprinkle a little extra flour on your work surface as you roll it out. Just be careful not to add too much, as that can alter the final texture of your cookies!
Are there any dietary considerations to keep in mind?
Yes, keep in mind that these cookies contain gluten, dairy, and eggs. If you’re baking for someone with allergies, you can make substitutions: use a gluten-free flour blend for a gluten-free version, swap the unsalted butter for a dairy-free alternative, and replace the egg with a flaxseed or chia seed egg (1 tablespoon ground seeds + 2.5 tablespoons water). Happy baking!

Delightful Peppermint Swirl Cookies for Festive Moments
Ingredients
Equipment
Method
- Preheat your oven to 375°F (190°C) and gather all your ingredients.
- In a medium bowl, whisk together flour, baking powder, and salt until blended.
- In a large mixing bowl, cream together butter and sugar for about 3-5 minutes until light and fluffy.
- Add in the egg, vanilla extract, and peppermint extract. Mix until combined.
- Gradually add the flour mixture to the butter mixture, mixing on low speed until just combined.
- Divide the dough in half. Color one half with red gel food coloring.
- Wrap both halves tightly in plastic wrap and refrigerate for at least 30 minutes.
- Roll out each half into 10x12-inch rectangles, and layer the plain dough on top of the red dough.
- Roll the layered dough tightly into a log shape and refrigerate for at least 2 hours.
- Slice the chilled log into 1/4-inch thick rounds and optionally coat them in coarse sugar or crushed peppermint candies.
- Bake in the preheated oven for 8-10 minutes until edges are lightly golden.
- Allow the cookies to cool on the sheets for 5 minutes before transferring to a wire rack.
Leave a Reply