
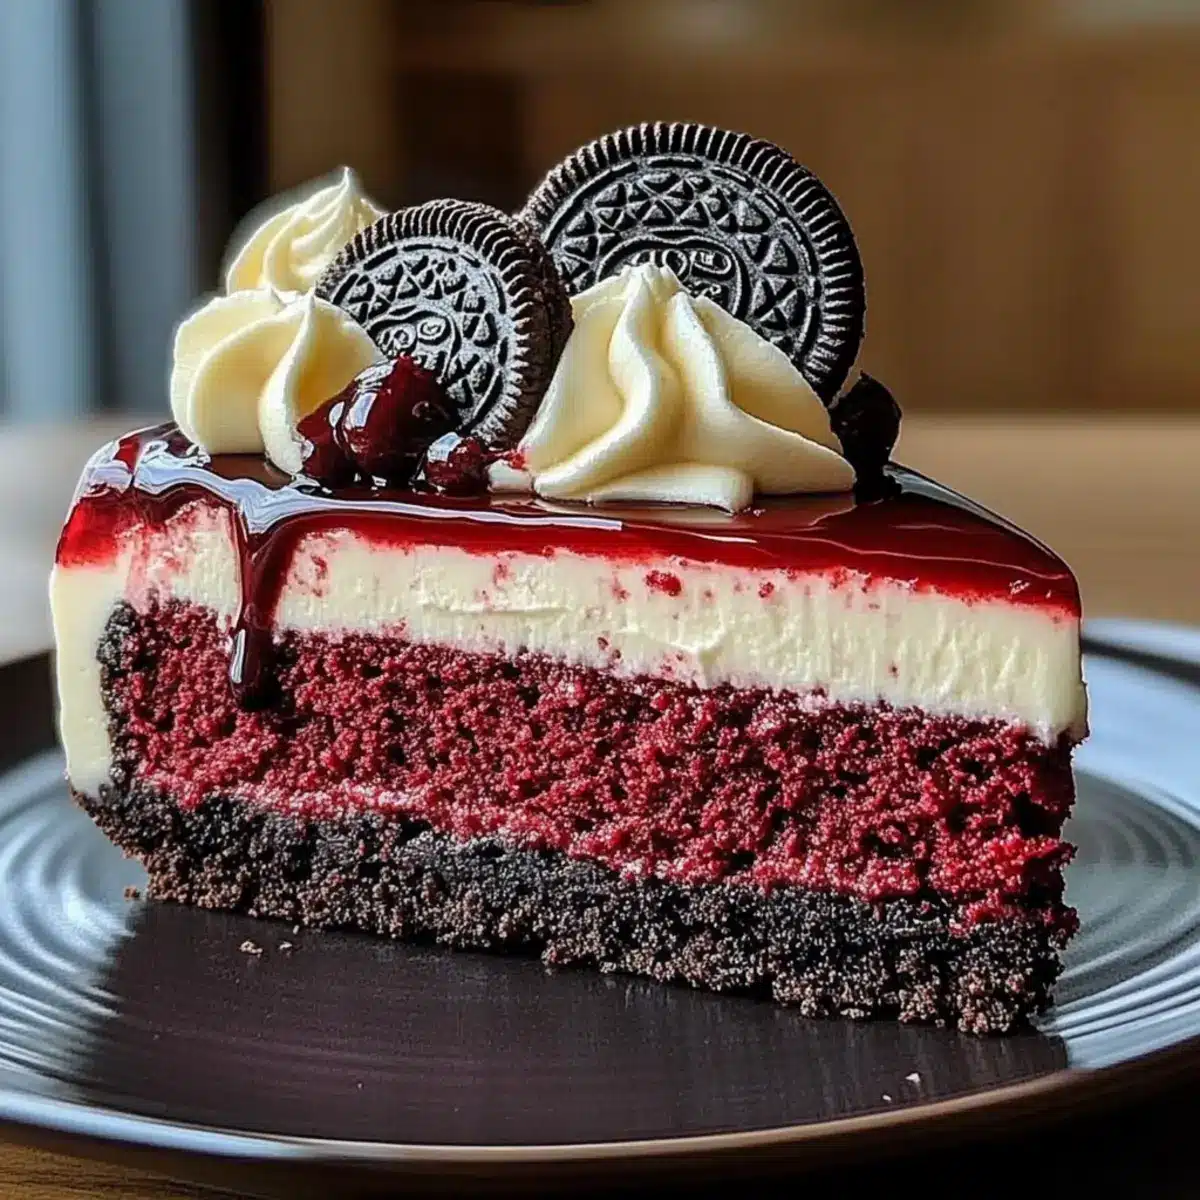
There’s something undeniably captivating about a beautiful dessert, especially when it’s as show-stopping as a Red Velvet Oreo Cheesecake. As I layered moist red velvet cake, creamy cheesecake, and a crunchy Oreo crust, I felt like an artist at work, creating a masterpiece that’s perfect for any celebration or even just a cozy evening at home. Not only does this indulgent dessert win the hearts of family and friends, but it also offers a delightful combination of textures and flavors that will keep everyone coming back for more. Plus, it’s surprisingly easy to make, so you don’t have to be a master baker to impress your guests! Curious to see how this layered wonder comes together? Let’s dive in!
Why is this cheesecake so irresistible?
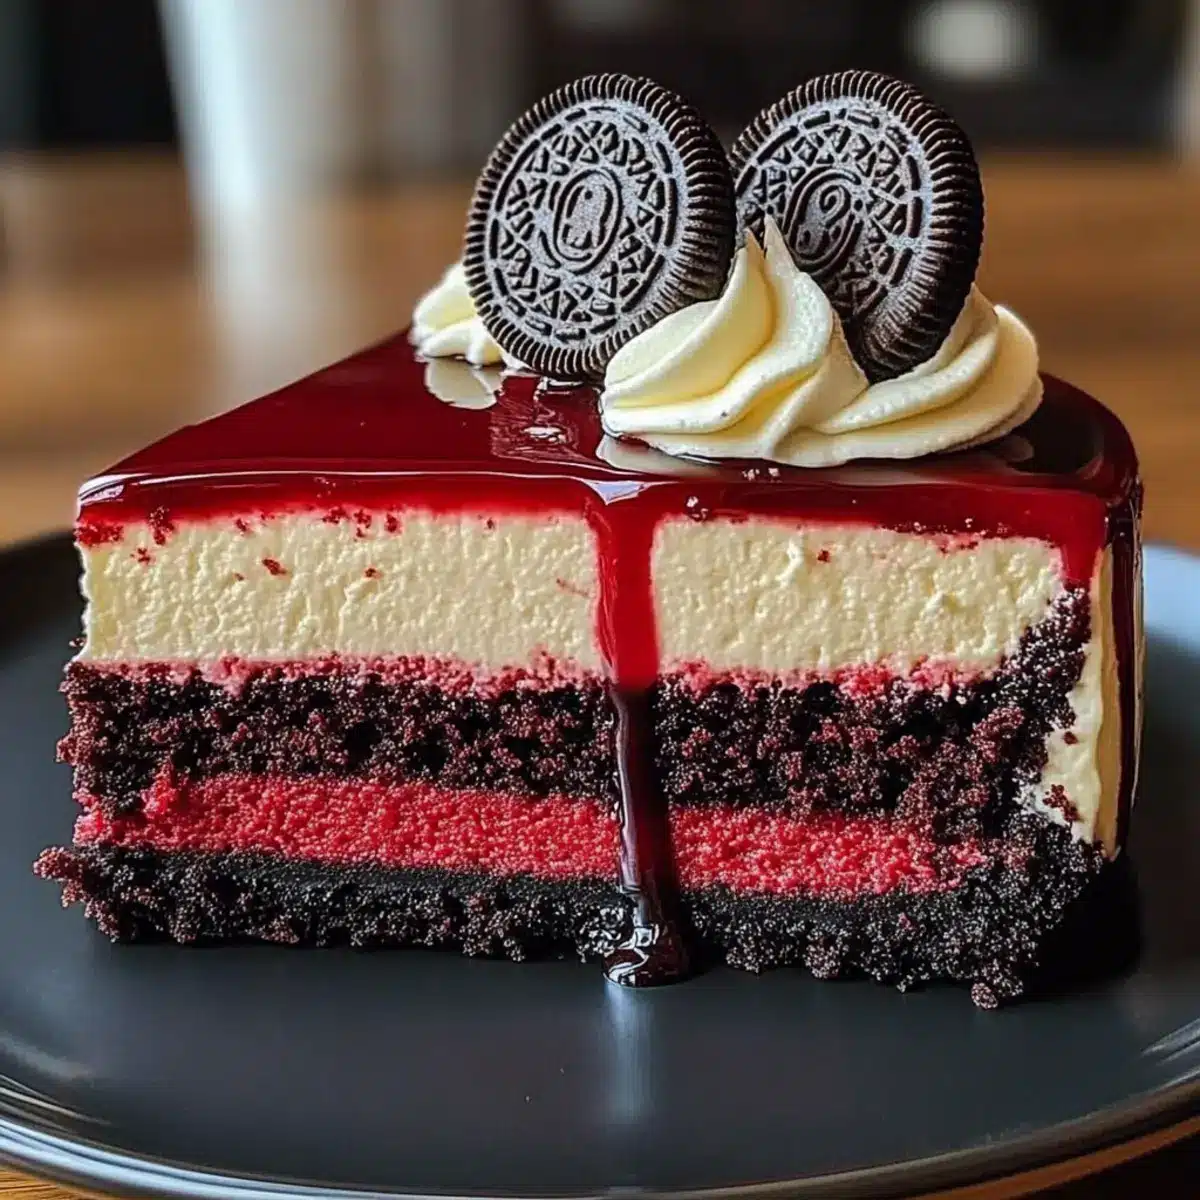
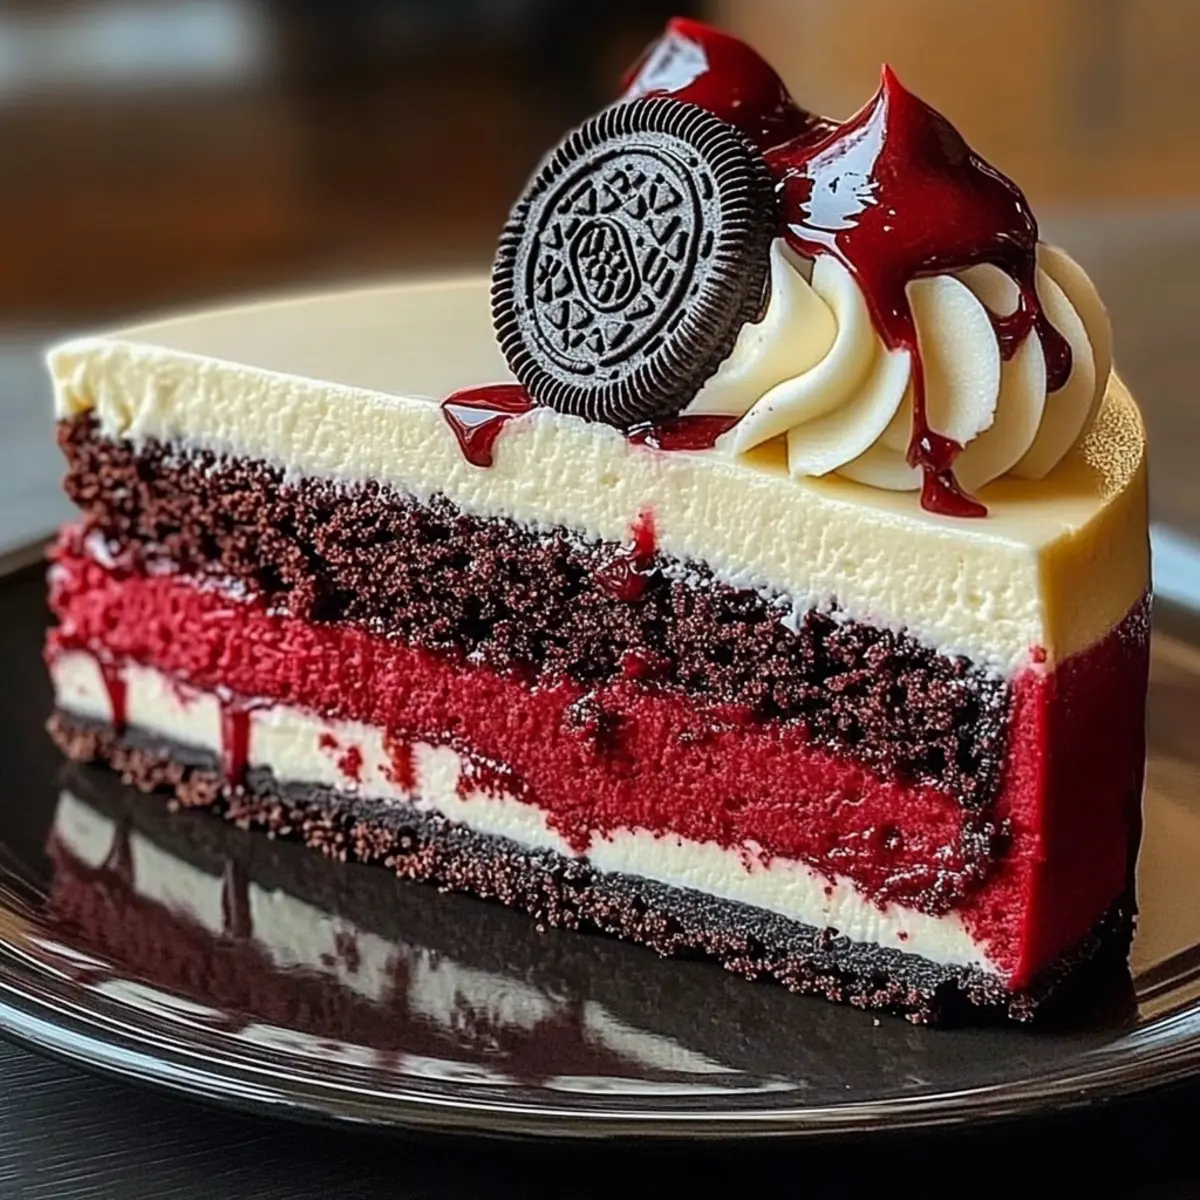
Decadent Layers: Each bite offers a gorgeous blend of moist red velvet cake, rich cheesecake, and a crunchy Oreo crust—so satisfying!
Easy to Make: You don’t need to be a pro in the kitchen; the steps are simple enough for anyone to follow.
Showstopper Appeal: This dessert is not just delicious; it’s a visual feast that will have everyone reaching for their phones to snap a picture!
Flavorful Versatility: Feel free to play around with flavors, such as adding your favorite extracts for a unique twist! Want more cheesecake inspiration? Check out my Bottom Mini Cheesecakes or treat yourself to a slice of Lemon Cheesecake Cake.
Perfect for Entertaining: This recipe serves 10-12, making it just right for gatherings, celebrations, or even a cozy night in!
Red Velvet Oreo Cheesecake Ingredients
For the Oreo Crust
• Oreos – crush them finely for a sweet and crunchy base.
• Unsalted Butter – melted, this binds the crumbs together and adds richness.
For the Red Velvet Cake Layer
• All-Purpose Flour – provides the structure for this moist cake layer.
• Granulated Sugar – sweetens the cake, balancing the flavors perfectly.
• Baking Powder – gives the cake the perfect rise to keep it fluffy.
• Unsweetened Cocoa Powder – adds depth to the red velvet flavor.
• Red Food Coloring – ensure it’s vibrant to enhance the dessert’s visual appeal (substitutable with natural beetroot powder).
• Vegetable Oil – keeps the cake moist and tender.
• Buttermilk – adds flavor and moisture, making the cake utterly delicious.
• Eggs – bind everything together, creating a lovely texture.
• Vanilla Extract – enhances the cake’s flavor with a warm note.
For the Cheesecake Layer
• Cream Cheese – at room temperature for that creamy, smooth texture.
• Granulated Sugar – sweetens the cheesecake and balances the tanginess.
• Eggs – vital for binding and providing structure.
• Sour Cream – adds moisture and a delightful tang.
• Vanilla Extract – brings a rich, warm flavor to the cheesecake.
For the Red Velvet Glaze
• Powdered Sugar – sweetens and thickens the glaze for a beautiful finish.
• Red Food Coloring – for a striking visual touch that matches the cake.
• Milk – adjusts the glaze’s consistency for drizzling.
With this ingredient lineup, your Red Velvet Oreo Cheesecake will become a delightful centerpiece at your table, sure to impress both eyes and taste buds!
Step‑by‑Step Instructions for Red Velvet Oreo Cheesecake
Step 1: Make the Oreo Crust
Preheat your oven to 350°F (175°C) while you prepare the crust. In a mixing bowl, crush 24 Oreos into fine crumbs, and then mix them with ½ cup of melted unsalted butter until fully combined. Press this mixture firmly into the bottom of a 9-inch springform pan to create an even base. Bake the crust for about 10 minutes, then set it aside to cool.
Step 2: Prepare the Red Velvet Cake Layer
In a medium bowl, whisk together 1 ½ cups of all-purpose flour, 1 cup of granulated sugar, 1 tablespoon of baking powder, and ¼ cup of unsweetened cocoa powder. In a separate large bowl, combine ½ cup of vegetable oil, 1 cup of buttermilk, 2 large eggs, 1 teaspoon of vanilla extract, and several drops of red food coloring. Mix well, then gradually add the dry ingredients. Pour this rich red velvet batter over the cooled Oreo crust and bake for 25-30 minutes, or until a toothpick inserted comes out clean.
Step 3: Prepare the Cheesecake Layer
While the red velvet layer bakes, beat 16 ounces of softened cream cheese in a large bowl until creamy. Gradually add ¾ cup of granulated sugar and continue beating until smooth. Incorporate 2 large eggs, 1 cup of sour cream, and 1 teaspoon of vanilla extract, mixing until just combined. Once the red velvet layer has baked and cooled slightly, gently pour the cheesecake mixture over it, smoothing the top.
Step 4: Bake the Cheesecake
Return the pan to the oven and bake at 325°F (160°C) for 50-60 minutes. The sides should be set, and the center might still have a slight jiggle. To prevent cracking, it’s ideal to place a shallow baking dish filled with water on the lower rack of the oven. This water bath helps maintain moisture as the cheesecake bakes.
Step 5: Cool the Cheesecake
Once baked, turn off the oven and crack the door open, allowing the cheesecake to cool gradually for about 1 hour. This step helps prevent cracks by reducing temperature shock. After the hour, remove the cheesecake from the oven, and let it cool to room temperature before transferring it to the refrigerator to chill for at least 4 hours or ideally overnight.
Step 6: Decorate
Once chilled, prepare the red velvet glaze by mixing 1 cup of powdered sugar with a few drops of red food coloring and enough milk to achieve a drizzle consistency. Pour the glaze over the cheesecake, allowing it to drip down the sides. For a final touch, top your decadent Red Velvet Oreo Cheesecake with whipped cream and crushed Oreos, creating a delightful presentation for serving.
What to Serve with Red Velvet Oreo Cheesecake
Indulging in a slice of this decadent dessert is truly a joy, so now let’s explore the perfect accompaniments to create a complete dining experience.
-
Fresh Berries: Serve alongside a mix of raspberries and blueberries for a tart contrast that enhances the cheesecake’s rich flavors.
-
Whipped Cream: A dollop of lightly sweetened whipped cream on each slice adds a light, airy touch, balancing the indulgence of the cheesecake.
-
Chocolate Sauce: Drizzling warm chocolate sauce over the cheesecake elevates the dessert to new levels of decadence, making it even more irresistible.
-
Coffee or Espresso: Pairing this treat with a cup of freshly brewed coffee or a shot of espresso brings out the chocolatey notes of the red velvet cake.
-
Mint Garnish: A sprig of fresh mint adds a refreshing note that complements the sweetness, creating a visually stunning and soothing contrast.
-
Ice Cream: Classic vanilla or a rich cream cheese flavor will create delightful harmony with this layered masterpiece, making every bite a heavenly experience.
Expert Tips for Red Velvet Oreo Cheesecake
- Room Temperature Ingredients: Ensure your cream cheese and eggs are at room temperature; this helps achieve a smooth and creamy cheesecake layer.
- Avoid Overmixing: Be cautious not to overmix your cheesecake batter. Overmixing can incorporate too much air, leading to cracks during baking.
- Use a Water Bath: For evenly baked layers and to prevent cracking, use a water bath by placing a shallow dish of water in the oven while baking the cheesecake.
- Cool Gradually: Allow the cheesecake to cool slowly in the oven with the door cracked. This reduces shock and helps prevent cracks in your Red Velvet Oreo Cheesecake.
- Make Ahead: For the best flavor, make the cheesecake a day in advance and refrigerate it overnight before serving; this allows the flavors to meld beautifully.
Red Velvet Oreo Cheesecake Variations
Feel free to get creative and make this delightful dessert your own with these tasty twists!
- Graham Cracker Crust: Swap Oreos for graham crackers for a classic twist that complements the cheesecake beautifully.
- Chocolate Wafer Crust: Replace Oreos with chocolate wafer cookies for a deeper chocolate flavor. The balance between the layers is mesmerizing!
- Nutty Crunch: Add crushed nuts like pecans or walnuts to the crust for an extra layer of texture and flavor. This little addition elevates the whole dessert experience!
- Salted Caramel Drizzle: Top your cheesecake with salted caramel sauce for a decadent and sweet-salty contrast. The rich flavor will surprise and delight your guests!
- Lemon Zest: Incorporate lemon zest in the cheesecake layer for a bright and zesty kick. It adds a refreshing twist that pairs wonderfully with the richness of the cake.
- Spicy Heat: Add a pinch of cayenne or chili powder to the red velvet batter for a surprising subtle heat. It’s a fun twist that will intrigue adventurous eaters!
- Coffee Infusion: Mixing in espresso or coffee extract into the cheesecake layer adds a warm depth, making it irresistible for coffee lovers. Imagine the delightful aromas wafting through your kitchen!
- Fruity Layers: Consider adding layers of fresh berries or fruit preserves between the red velvet and cheesecake layers for a pop of sweetness and a beautiful presentation! Check out my Chocolate Orange Cheesecake for inspiration on fruity twists.
With these ideas, you can craft a unique Red Velvet Oreo Cheesecake that reflects your taste and makes every occasion special!
How to Store and Freeze Red Velvet Oreo Cheesecake
Fridge: Keep leftover slices in an airtight container for up to 5 days. Just be sure to cover it well to retain the moisture and flavors.
Freezer: For longer storage, wrap the cheesecake tightly in plastic wrap followed by aluminum foil, and freeze for up to 2 months. Thaw it in the fridge overnight before serving.
Reheating: If you prefer to enjoy it warm, you can gently reheat individual slices in the microwave for about 15-20 seconds. Just be mindful not to melt the creamy layers too much!
Serving Cold: This red velvet Oreo cheesecake is best served chilled, straight from the fridge, as it enhances the delicious flavors and textures.
Make Ahead Options
These delightful Red Velvet Oreo Cheesecakes are perfect for busy home cooks looking to save time without sacrificing flavor! You can prepare the Oreo crust and red velvet cake layer up to 24 hours in advance; simply store them separately in the refrigerator to maintain freshness. Additionally, the cheesecake layer can be made ahead and refrigerated in an airtight container for up to 3 days. When you’re ready to serve, pour the cheesecake layer over the cold red velvet cake and bake as directed. Just remember to cool it slowly in the oven to avoid cracks, and allow it to chill overnight for the best taste. Enjoy a stunning dessert with minimal last-minute effort!
Red Velvet Oreo Cheesecake Recipe FAQs
What type of Oreos should I use for the crust?
Absolutely! I recommend using regular Oreos for the crust as they provide a rich flavor and crunchy texture. If you’re feeling adventurous, you can also experiment with flavored Oreos, such as Mint or Red Velvet, for a unique twist that enhances the overall dessert experience.
How should I store leftover cheesecake?
Very good question! The best way to store leftover Red Velvet Oreo Cheesecake is to keep it in an airtight container in the refrigerator. It’ll stay fresh for up to 5 days, so just make sure it’s well-wrapped to lock in those delightful flavors and moisture.
Can I freeze the cheesecake, and if so, how?
Certainly! To freeze your Red Velvet Oreo Cheesecake, begin by wrapping it tightly in plastic wrap to prevent freezer burn. Follow this by wrapping it in aluminum foil. This should keep it fresh for up to 2 months. When you’re ready to enjoy it again, allow it to thaw overnight in the refrigerator for the best texture and flavor.
What can I do if my cheesecake cracks while baking?
Don’t worry; this can happen! If your cheesecake cracks, it’s often due to sudden temperature changes. To prevent this, let it cool slowly in the oven with the door slightly open after baking. If you find that it still cracks, you can cover the cracks with a delicious topping, like whipped cream or the red velvet glaze, to make it look intentional!
Can I make this cheesecake gluten-free?
Absolutely! To create a gluten-free version of the Red Velvet Oreo Cheesecake, simply use gluten-free Oreos for the crust. Also, substitute standard all-purpose flour in the cake layer with a gluten-free all-purpose flour blend. Just make sure to double-check all other ingredients, like baking powder, to ensure they are gluten-free, as well.
What’s the best way to ensure my cheesecake comes out creamy?
To ensure your cheesecake is wonderfully creamy, make sure all your ingredients are at room temperature before mixing—this helps them blend smoothly. Additionally, avoid overmixing the batter; just mix until everything is combined. This small step can make a huge difference!

Decadent Red Velvet Oreo Cheesecake for Sweet Celebrations
Ingredients
Equipment
Method
- Preheat your oven to 350°F (175°C). In a mixing bowl, crush 24 Oreos into fine crumbs, and mix with ½ cup of melted unsalted butter. Press this into a 9-inch springform pan and bake for 10 minutes. Set aside to cool.
- In a medium bowl, whisk 1 ½ cups of flour, 1 cup of sugar, 1 tablespoon of baking powder, and ¼ cup of cocoa powder. In a large bowl, combine ½ cup of vegetable oil, 1 cup of buttermilk, 2 eggs, 1 teaspoon of vanilla extract, and red food coloring. Mix well, then gradually add the dry ingredients. Pour over the cooled crust and bake for 25-30 minutes.
- Beat 16 ounces of cream cheese until creamy. Gradually add ¾ cup of sugar. Incorporate 2 eggs, 1 cup of sour cream, and 1 teaspoon of vanilla extract. Pour over the red velvet layer.
- Bake at 325°F (160°C) for 50-60 minutes. The sides should be set with a slight jiggle in the center. Use a water bath to prevent cracking.
- Turn off the oven, crack the door, and cool for 1 hour. Remove from oven and cool to room temperature, then refrigerate for at least 4 hours.
- Mix 1 cup of powdered sugar with red food coloring and milk for glaze. Drizzle over the cheesecake and top with whipped cream and crushed Oreos.
Leave a Reply