
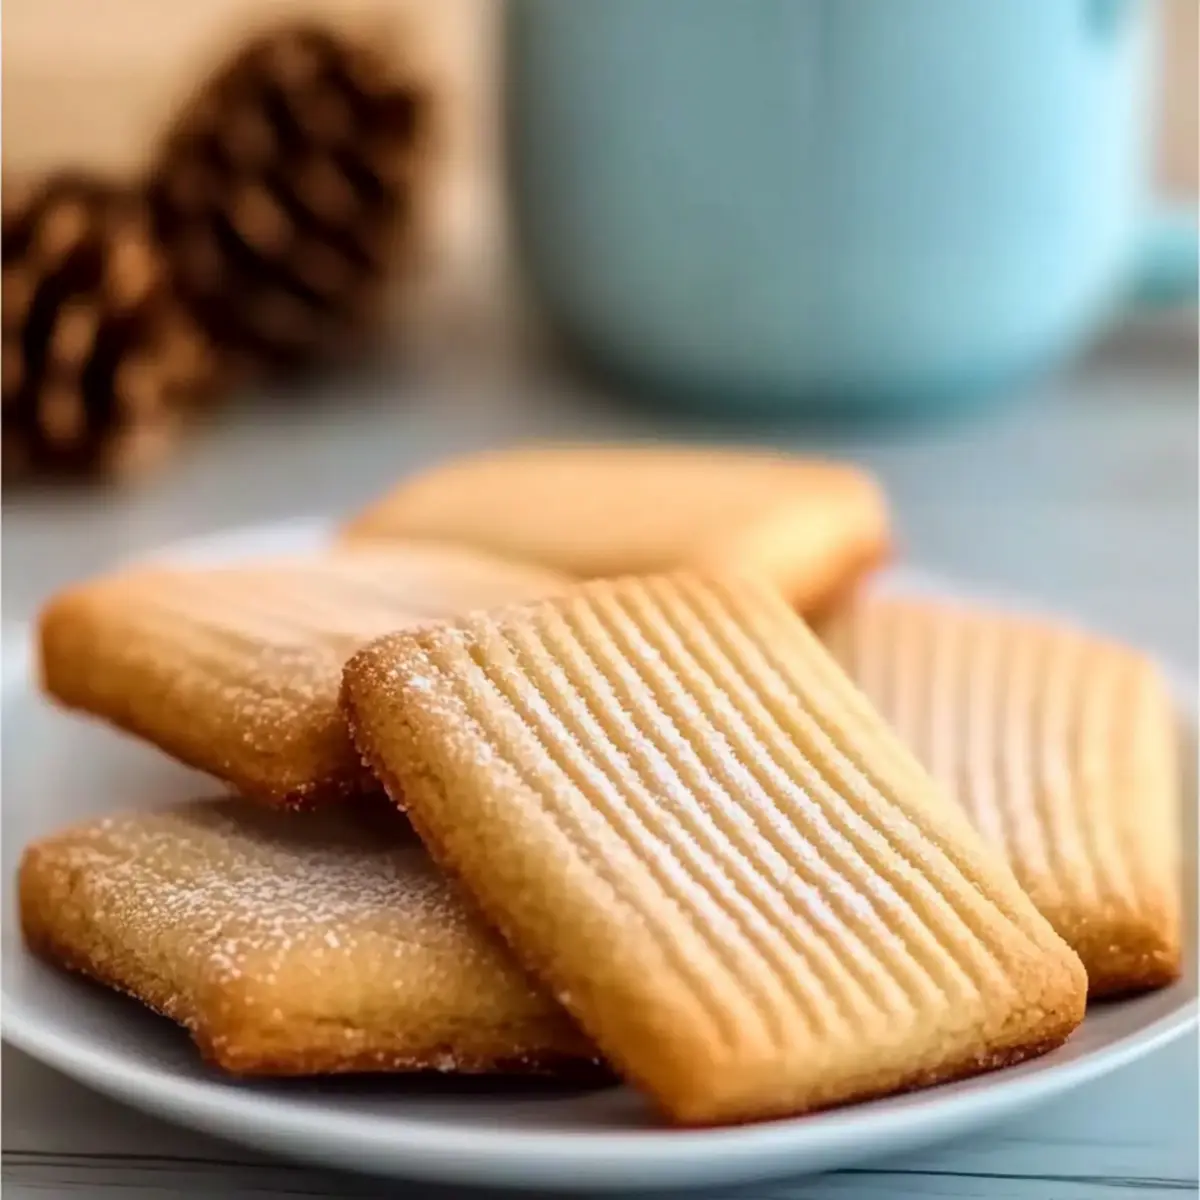
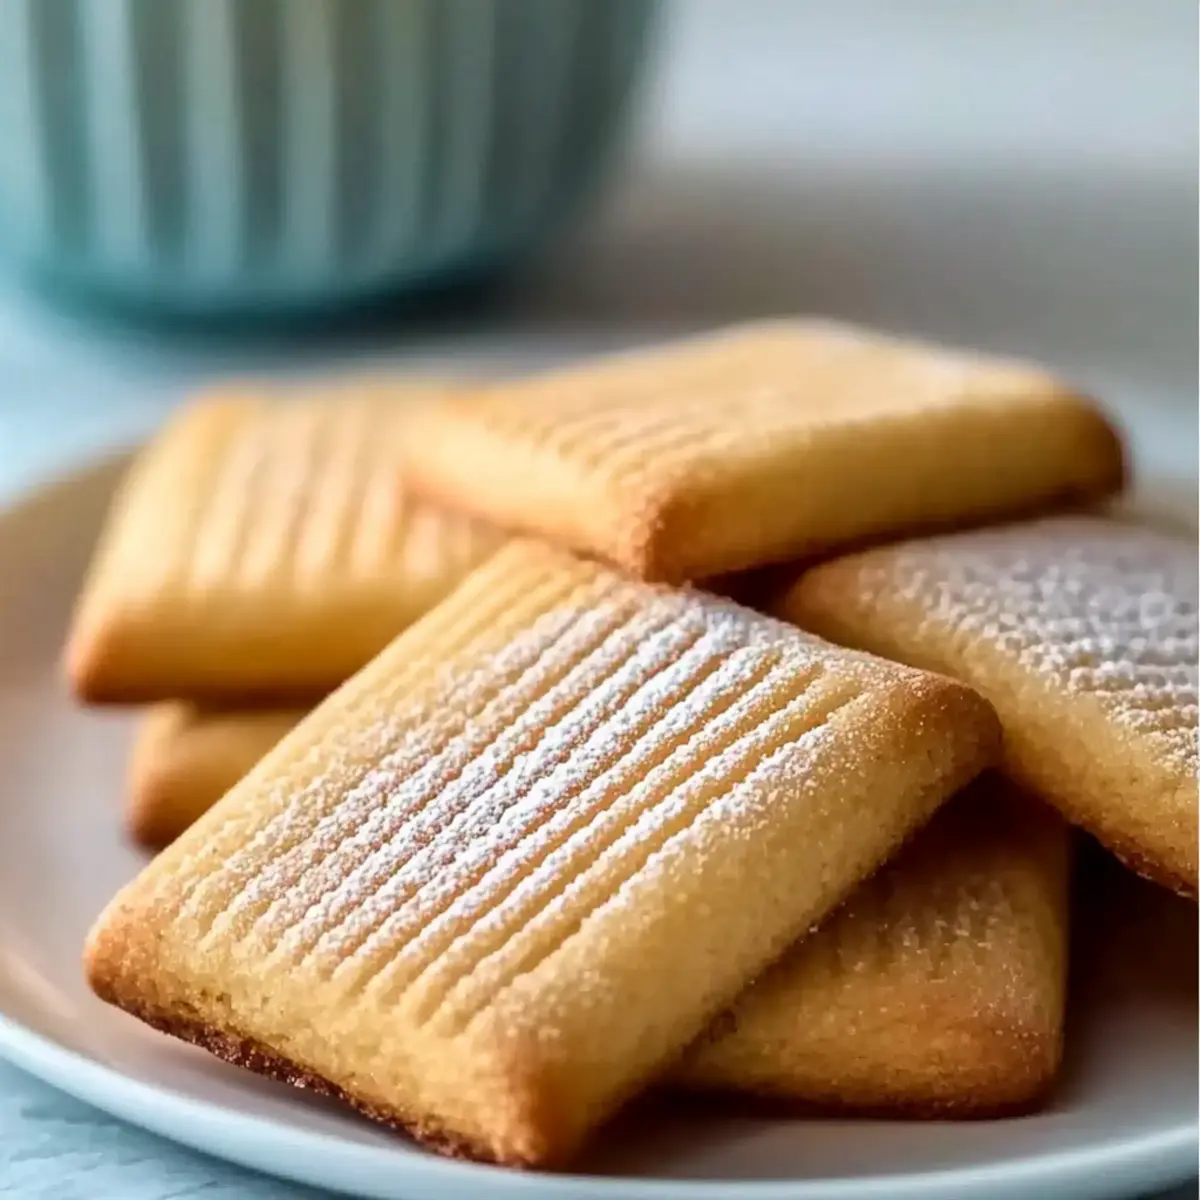
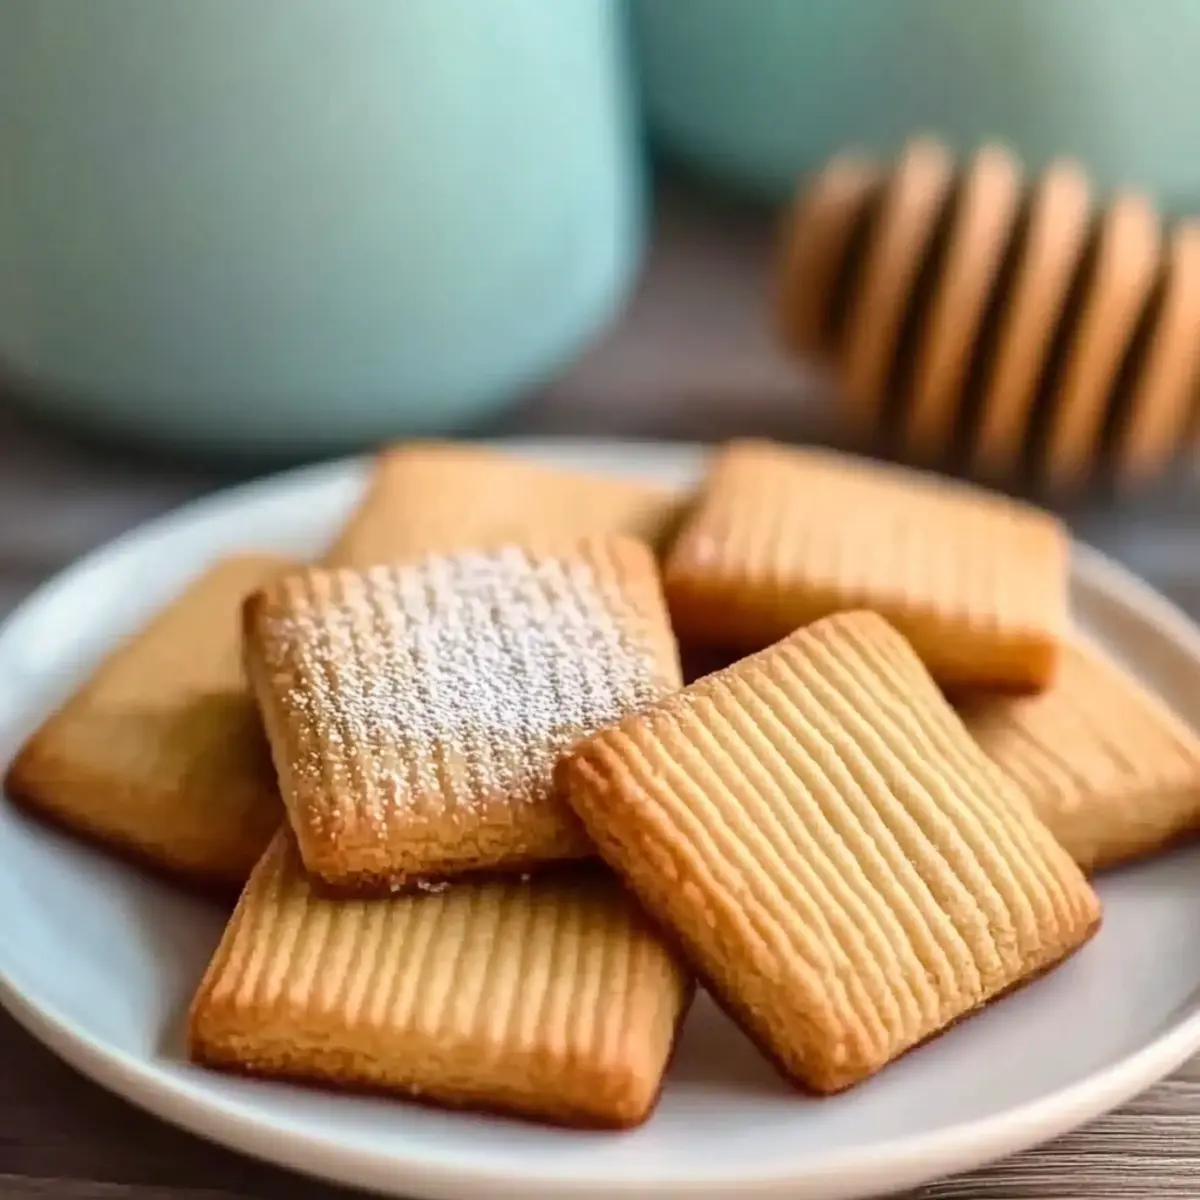
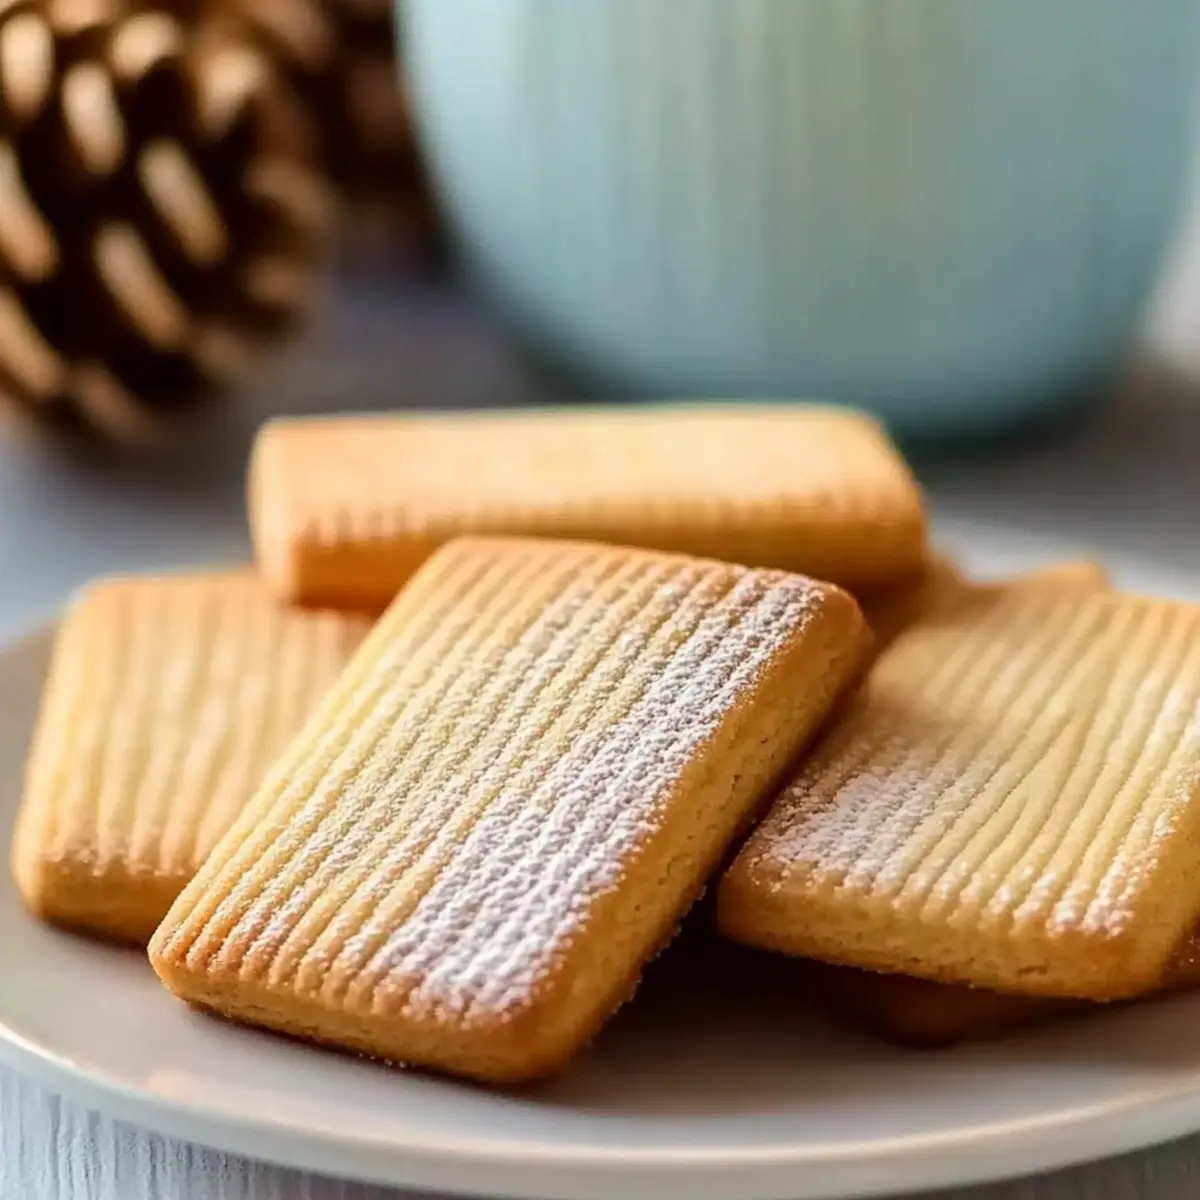
As I pulled a batch of Italian Honey Cookies from the oven, the sweet aroma whisked me away to the sun-drenched kitchens of Italy. These little delights are not just cookies; they’re a warm embrace of honey and spices that can brighten any gloomy day. If you’re seeking a quick yet satisfying dessert to wow your family or friends, these cookies are a must-try. They’re easy to whip up, making them perfect for spontaneous gatherings, and can effortlessly cater to gluten-free diets with a simple swap. Whether you’re hosting a casual tea party or celebrating a festive occasion, these Italian Honey Cookies are sure to be a hit. Curious how to make them? Let’s dive into the deliciousness!
Why Are Italian Honey Cookies Irresistible?
Deliciously Soft: These cookies are incredibly tender and chewy, offering a comforting texture that melts in your mouth.
Aromatic Delight: The blend of honey and warm spices fills your kitchen with an inviting aroma that beckons everyone to indulge.
Quick and Easy: With minimal prep time, you can whip these up in no time—perfect for last-minute gatherings or cozy family evenings.
Versatile Options: Customize them by adding chocolate chips or citrus zest to fit your taste; these cookies are always open to creative twists!
Culturally Rich: Embrace the flavors of Italy with a recipe that’s steeped in tradition, bringing a taste of heritage right to your home.
Pair them with a cup of coffee or tea, and you’ve got a delightful snack that effortlessly elevates your dessert game!
Italian Honey Cookies Ingredients
• Here’s everything you need to create these delightful treats!
For the Dough
- Flour – Provides structure; substitute with almond flour for a gluten-free version.
- Honey – Adds sweetness and moisture; consider maple syrup as a vegan alternative.
- Eggs – Binds ingredients together and aids in rising; flax eggs work for a vegan option.
- Baking Soda – Acts as a leavening agent for fluffiness.
- Spices (e.g., cinnamon, nutmeg) – Enhance the flavor profile; adjust to suit your taste preferences.
- Salt – Balances the sweetness beautifully.
Optional Toppings
- Powdered Sugar – Sprinkling this adds a lovely presentation touch.
- Additional Honey – Drizzle for an extra burst of honey flavor just before serving.
Step‑by‑Step Instructions for Italian Honey Cookies
Step 1: Preheat the Oven
Begin by preheating your oven to 350°F (175°C). This ensures that the cookies bake evenly and achieve that perfect golden-brown color. While the oven warms up, gather all your ingredients and equipment, such as mixing bowls, a whisk, and a baking sheet lined with parchment paper for easy cleanup.
Step 2: Combine Dry Ingredients
In a large mixing bowl, whisk together flour, baking soda, your chosen spices, and salt until well combined. This step is crucial for ensuring that the leavening agent is evenly distributed, which contributes to the fluffy texture of your Italian Honey Cookies. Set aside the bowl to focus on the wet ingredients next.
Step 3: Mix Wet Ingredients
In a separate bowl, whisk together honey, eggs, and any additional flavorings you desire. The smooth, thick mixture should be well-blended to achieve a uniform sweetness throughout the cookie dough. Ensure the honey is room temperature for easier mixing, as this will help everything combine seamlessly.
Step 4: Combine Wet and Dry Mixtures
Gradually pour the wet honey mixture into the bowl of dry ingredients. Gently fold the ingredients together until just combined; be careful not to overmix. The dough should be slightly sticky but cohesive, ready to form into delightful little mounds.
Step 5: Form Cookies on Baking Sheet
Scoop tablespoon-sized dollops of dough onto your prepared baking sheet, spacing them about two inches apart to allow for spreading during baking. The dough should have a rustic look, beautiful and inviting, hinting at the delicious Italian Honey Cookies that are soon to be enjoyed.
Step 6: Bake the Cookies
Place the baking sheet in the preheated oven and bake for 10-12 minutes. You’ll know they are done when the edges turn golden brown and the centers remain soft to the touch. Keep a close eye on them; the cookies can quickly overbake and lose their delightful chewiness.
Step 7: Cool the Cookies
Once baked, remove the sheet from the oven and let the cookies cool on the baking sheet for about 5 minutes. This allows them to set and makes transferring easier. Afterward, use a spatula to move the cookies to a wire rack, where they will cool completely and develop their final lovely texture.
Make Ahead Options
These Italian Honey Cookies are a fantastic choice for busy home cooks looking to save time with meal prep! You can prepare the cookie dough up to 24 hours in advance; simply mix the dry ingredients and wet ingredients separately and refrigerate both. When you’re ready to bake, combine the mixtures and scoop the dough onto a baking sheet as directed. For optimal freshness, store the baked cookies in an airtight container at room temperature for up to 3 days. If you prefer to freeze them, place the cooled cookies in a freezer-safe container and enjoy them later—just pop them in the oven for a bit to warm up before serving, and they’ll be just as delightful!
Expert Tips for Italian Honey Cookies
- Mixing Method Matters: Avoid overmixing the dough to keep your Italian Honey Cookies tender and soft. Only mix until just combined for the best texture.
- Perfect Baking Time: Keep an eye on the cookies while baking, as their golden edges can quickly become overcooked. Check around the 10-minute mark!
- Temperature Check: Let your honey come to room temperature for easier blending. This small step helps achieve a smooth, consistent batter.
- Creative Additions: Experiment with additional spices like ginger or cardamom for a unique flavor twist that elevates your Italian Honey Cookies.
- Presentation Counts: Enhance your cookies by dusting them with powdered sugar or drizzling some extra honey on top before serving for a show-stopping presentation!
Italian Honey Cookies Variations & Substitutions
Feel free to get creative with these Italian Honey Cookies to suit your taste and dietary needs!
-
Gluten-Free: Substitute almond flour for regular flour to enjoy a gluten-free version that’s just as delightful.
-
Vegan Twist: Use flax eggs instead of traditional eggs and swap honey for maple syrup to make these cookies vegan-friendly.
-
Sugary Delight: Mix in some semi-sweet chocolate chips for a decadent, sweet surprise in every bite. Maybe even pair them with your favorite coffee!
-
Fruity Infusion: Add dried fruits, like cranberries or raisins, for a chewy texture and a burst of flavor that complements the honey perfectly.
-
Spice it Up: Experiment with adding ginger or cardamom to the spice mix for a new flavor profile that makes these cookies uniquely yours.
-
Citrus Zest: Infuse the dough with lemon or orange zest for a refreshing citrusy lift that brightens up the traditional flavors.
-
Nutty Crunch: Fold in chopped nuts, such as walnuts or almonds, to introduce a wonderful crunch that contrasts beautifully with the chewiness.
-
Honey Drizzle: For an extra touch of elegance, drizzle with warm honey right before serving to amplify that delightful sweetness.
By mixing and matching these variations, you’re sure to create an irresistible batch of cookies that suits your preferences perfectly. Whether you want to spice things up or stick to the classic flavors, these adaptations will allow your culinary artistry to shine through. Don’t forget to pair them with a cup of coffee, or indulge after a delicious meal alongside some Orange Shortbread Cookies for a delightful dessert experience!
How to Store and Freeze Italian Honey Cookies
Room Temperature: Keep cookies in an airtight container at room temperature for up to 1 week to maintain their soft and chewy texture.
Fridge: For longer freshness, store in the refrigerator for up to 2 weeks; however, note that the texture may become slightly firmer.
Freezer: Freeze Italian Honey Cookies in a single layer on a baking sheet, then transfer to a zip-top bag or airtight container for up to 3 months.
Reheating: To enjoy them warm, reheat frozen cookies in a preheated oven at 350°F (175°C) for 5-7 minutes until soft and fragrant again.
What to Serve with Italian Honey Cookies
As these delightful cookies cool, envision the perfect meal setting, elevating your gathering with beautiful pairings that awaken the senses.
- Creamy Mashed Potatoes: The rich, buttery texture adds a comfort element that balances the sweetness of the cookies.
- Spiced Chai Latte: A warm cup infused with spices complements the cookies’ flavors, creating a cozy pairing.
- Fresh Fruit Salad: Crisp, juicy fruits provide a refreshing contrast, lightening the dessert experience wonderfully.
- Savory Cheese Platter: Sharp cheeses offer a delightful contrast, enhancing the honey’s sweetness without overwhelming the palate.
- Vanilla Ice Cream: The creamy richness enhances the cookies’ texture, providing a dreamy meld of flavors when enjoyed together.
- Herbal Tea: A soothing mint or chamomile tea creates a serene experience and pairs well with the cookies’ aromatic spices.
- Chocolate Fondue: The gooey warmth of melted chocolate invites joyous dipping and a delightful indulgence alongside the cookies.
- Honey Lemonade: A zesty and sweet drink that refreshes and uplifts, perfectly complementing the cookies’ honey nuances.
Italian Honey Cookies Recipe FAQs
How do I choose the best honey for my cookies?
When selecting honey for your Italian Honey Cookies, opt for raw, local honey if possible. This type retains its natural flavor and health benefits. Look for honey that’s amber-colored and free from any additives to ensure the best taste. Avoid honey that has dark spots or a funky smell, as this can affect the flavor of your cookies negatively.
How should I store my Italian Honey Cookies?
Absolutely! Store your Italian Honey Cookies in an airtight container at room temperature for up to 1 week. This will help them maintain their delightful soft and chewy texture. If you want to keep them longer, you can refrigerate them for up to 2 weeks, though they may become a tad firmer. For optimal freshness, I recommend enjoying them as soon as possible!
Can I freeze Italian Honey Cookies? How?
Certainly! To freeze your Italian Honey Cookies, first, lay them out in a single layer on a baking sheet. Place the sheet in the freezer for about 1-2 hours until the cookies are firm. Once frozen, transfer them to a zip-top bag or airtight container, labeling with the date. They’ll keep well for up to 3 months. When you’re ready to enjoy, simply preheat your oven to 350°F (175°C) and reheat for 5-7 minutes until warm and fragrant.
What if my dough is too sticky?
If you find your Italian Honey Cookie dough is too sticky and hard to work with, don’t worry! Simply sprinkle a little extra flour onto your work surface and lightly dust the dough while shaping it into cookies. Alternatively, you can chill the dough in the refrigerator for about 30 minutes, making it easier to scoop and shape without sticking.
Are there gluten-free options for this recipe?
Very much so! You can easily make Italian Honey Cookies gluten-free by substituting all-purpose flour with almond flour or a gluten-free all-purpose flour blend. Just keep in mind that the texture might be slightly different. I often recommend adding a tablespoon of cornstarch to the gluten-free blend for an even softer cookie. Enjoy knowing that everyone can savor this traditional treat!
Italian Honey Cookies: A Sweet Taste of Tradition at Home
Ingredients
Equipment
Method
- Preheat your oven to 350°F (175°C). Gather all your ingredients and equipment.
- In a large mixing bowl, whisk together flour, baking soda, spices, and salt until well combined.
- In a separate bowl, whisk together honey, eggs, and any additional flavorings you desire.
- Gradually pour the wet honey mixture into the bowl of dry ingredients and gently fold together.
- Scoop tablespoon-sized dollops of dough onto your prepared baking sheet, spacing them about two inches apart.
- Bake for 10-12 minutes until edges are golden brown and centers remain soft.
- Remove from oven and cool on the baking sheet for 5 minutes before transferring to a wire rack.
Leave a Reply