
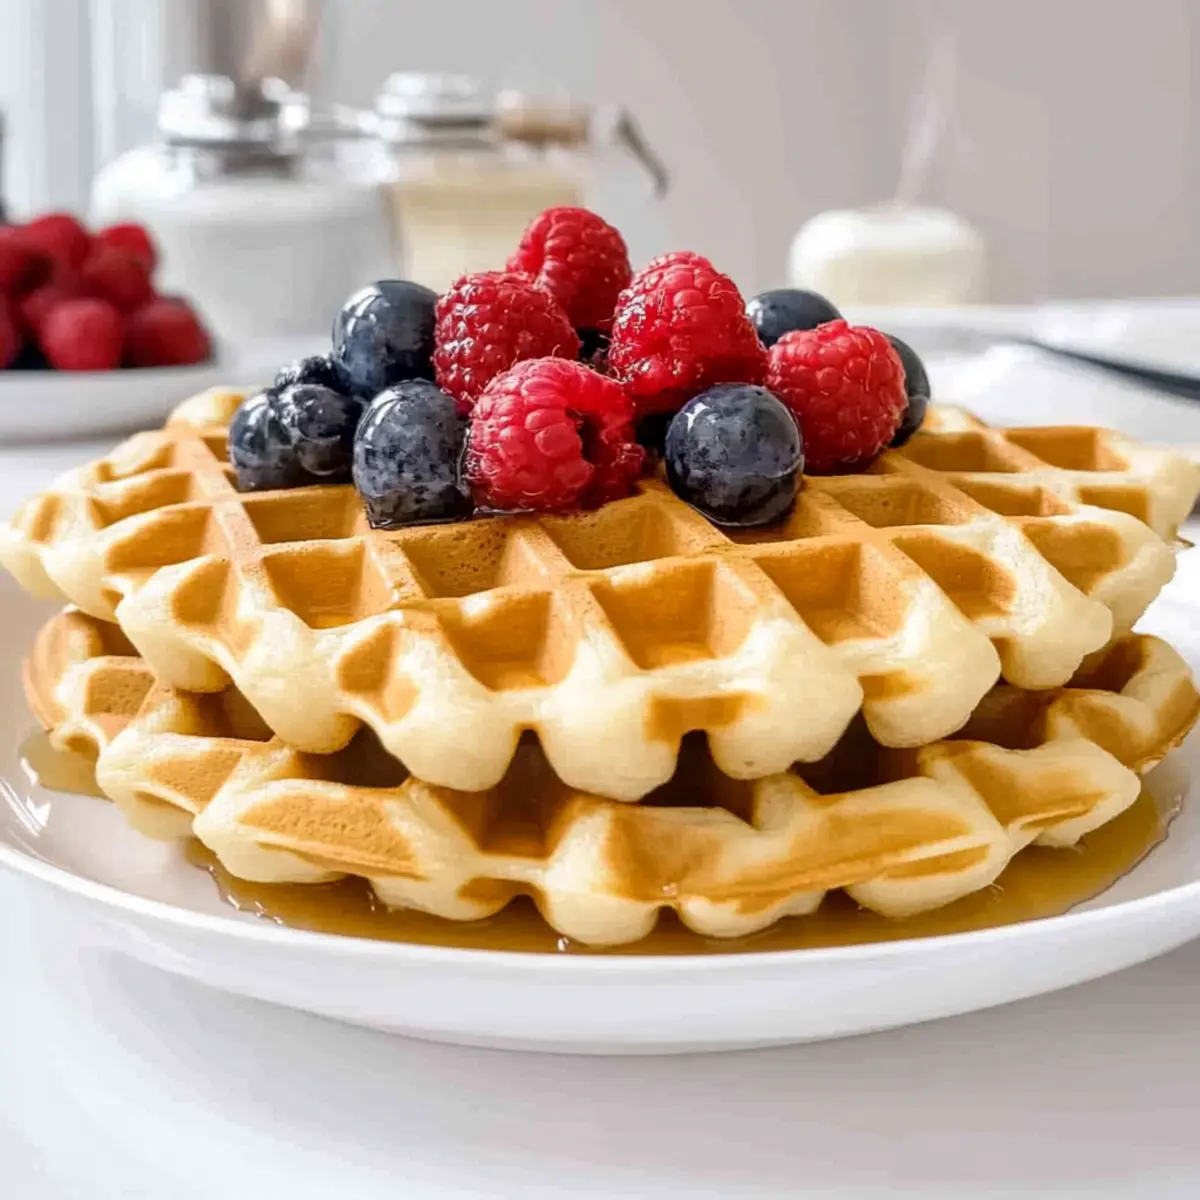
The aroma of waffles wafting through the kitchen can instantly brighten your morning. And if you’re looking for a delightful, homemade breakfast that fits into a gluten-free lifestyle, you’ve stumbled upon the perfect recipe: The Best Gluten Free Waffles Recipe. These airy waffles not only boast crisp edges but also promise a quick and easy prep, making them a go-to for busy mornings. You can whip them up in no time and adapt them to be dairy-free with your favorite plant-based milk. Imagine sinking your teeth into a stack topped with fresh fruit, a drizzle of warm maple syrup, or even a dollop of yogurt. Who could resist? Let’s dive into the magic of making the fluffiest, gluten-free waffles that will surely impress anyone gathered around your breakfast table. Curious to know the secret to achieving that perfect texture? Keep reading!
What makes these waffles so irresistible?
Fluffy Perfection: These gluten-free waffles are designed to be airy while maintaining a delightful crispness on the outside.
Quick & Easy: With simple ingredients and straightforward steps, you’ll have these warm, delicious waffles ready in minutes!
Dairy-Free Delight: Adaptable for various diets, just swap in your favorite plant-based milk for a creamy touch.
Customizable Flavors: Whether you add nuts, berries, or spices like cinnamon, each bite can be tailored to your personal taste.
Crowd-Pleaser: Serve them at brunch or breakfast gatherings, and watch your family and friends rave about these delightful treats!
Have your fluffiest breakfast yet with these incredible waffles, and while you’re at it, check out my recipes for Coconut Oatmeal Cookie or Corn Pudding for more tasty inspirations!
The Best Gluten-Free Waffles Ingredients
For the Batter
• Gluten-Free Flour – Bob’s Red Mill 1 to 1 is recommended for a light and fluffy texture.
• Sugar – Adds sweetness; feel free to substitute with coconut sugar for a healthier option.
• Baking Powder – This leavening agent ensures your waffles puff up nicely.
• Sea Salt – A pinch enhances the overall flavor of the waffles.
• Whole Milk – Adds moisture; swap it for almond or coconut milk for a dairy-free option.
• Canola Oil/Coconut Oil – Both are great for adding moisture; choose based on your preference.
• Large Eggs – Essential for binding ingredients together and giving waffles their fluffiness.
• Vanilla – This adds a lovely flavor that elevates your waffles.
Now that you’re set with the ingredients, get ready to whip up the best gluten-free waffles recipe that will have everyone asking for seconds!
Step‑by‑Step Instructions for The Best Gluten Free Waffles Recipe
Step 1: Combine Dry Ingredients
In a large mixing bowl, whisk together 2 cups of gluten-free flour, 2 tablespoons of sugar, 1 tablespoon of baking powder, and 1/2 teaspoon of sea salt. Ensure the ingredients are evenly mixed to avoid any clumping. This blend is essential for creating the perfect foundation for your waffles, contributing to their light and airy texture.
Step 2: Mix Wet Ingredients
In another bowl, whisk together 1 1/2 cups of whole milk (or your preferred plant-based milk), 1/3 cup of canola or melted coconut oil, and 1 teaspoon of vanilla extract. Then, add in 2 large eggs and mix until fully combined. This wet mixture will bring moisture and flavor to The Best Gluten Free Waffles, ensuring a delightful taste with every bite.
Step 3: Combine Wet and Dry Mixtures
Pour the wet ingredients into the dry mixture and gently stir them together until just combined. The batter may be slightly lumpy, which is perfectly fine; do not overmix. This step is crucial, as it allows the ingredients to marry without losing the fluffiness expected in your gluten-free waffles.
Step 4: Preheat the Waffle Iron
As you prepare the batter, preheat your waffle iron according to the manufacturer’s instructions and lightly grease it with cooking spray to prevent sticking. Make sure it’s properly heated to achieve that golden-brown crispiness on the edges. You’ll know it’s ready when it indicates that it’s preheated, or you can test it with a drop of water that sizzles away.
Step 5: Cook the Waffles
Pour the recommended amount of batter into the preheated waffle iron, typically around 1/2 to 3/4 cup, depending on your waffle iron’s size. Close the lid and cook according to the manufacturer’s guidelines, usually for about 4-5 minutes, or until the waffles are golden brown and crispy, with steam subsiding from the edges.
Step 6: Serve Immediately
Once cooked, carefully remove the waffles using a fork or tongs, allowing any excess steam to escape. Serve them immediately while they’re warm, pairing them with fresh fruit, a drizzle of warm maple syrup, or even a dollop of yogurt. These waffles are sure to brighten up your breakfast table with their fluffy texture and delightful flavor!
Make Ahead Options
These delightful gluten-free waffles are perfect for meal prep enthusiasts! You can prepare the batter in advance and refrigerate it for up to 24 hours, which saves precious time on busy mornings. To do this, simply whisk together the dry ingredients and store them in one bowl, while combining the wet ingredients (milk, oil, eggs, and vanilla) in another. Just before you’re ready to serve, mix the two together, and pour them into your preheated waffle iron. For an even quicker option, cook the waffles and let them cool before storing in the refrigerator for up to 3 days, or freeze them for up to 2-3 months. When reheating, pop them in the oven at 350°F for 3-5 minutes to restore that crispy texture. Enjoy a breakfast that’s just as delicious without the morning rush!
Tips for the Best Gluten-Free Waffles
-
Avoid Overmixing: Stir the batter gently until just combined; overmixing can create dense waffles instead of the light and fluffy texture you desire.
-
Grease Generously: Even if your waffle iron is non-stick, spray it well with cooking spray to prevent the waffles from sticking.
-
Check for Doneness: If you want extra crispiness, cook the waffles for an additional minute—just keep an eye to prevent burning!
-
Layer the Batter: For fun flavor variations, layer in additions like chocolate chips or blueberries directly into the batter before cooking.
-
Storage Tips: Any leftover batter can be stored in the refrigerator for 2-3 days. When you’re ready, simply reheat on the waffle iron for fresh waffles.
-
Serve Warm: For the best experience, serve these gluten-free waffles immediately after cooking with your favorite toppings—fresh fruit, syrup, or yogurt!
Storage Tips for The Best Gluten Free Waffles
-
Fridge: Store cooked waffles in an airtight container in the refrigerator for up to 2-3 days. Reheat them in the toaster for a quick breakfast.
-
Freezer: For longer storage, freeze the waffles in a single layer until solid, then transfer them to a freezer bag. They can be kept for up to 2-3 months.
-
Reheating: To restore their crispiness, reheat frozen waffles in the oven at 350°F for 3-5 minutes, or in a toaster for 2-3 minutes until warm.
-
Leftover Batter: Any leftover batter can be covered and stored in the fridge for 2-3 days. Reheat on the waffle iron before making fresh waffles whenever you crave the best gluten-free waffles!
What to Serve with Fluffy Gluten-Free Waffles
Feel the warmth of a cozy kitchen as you pair soft, fluffy delights with these scrumptious companions.
-
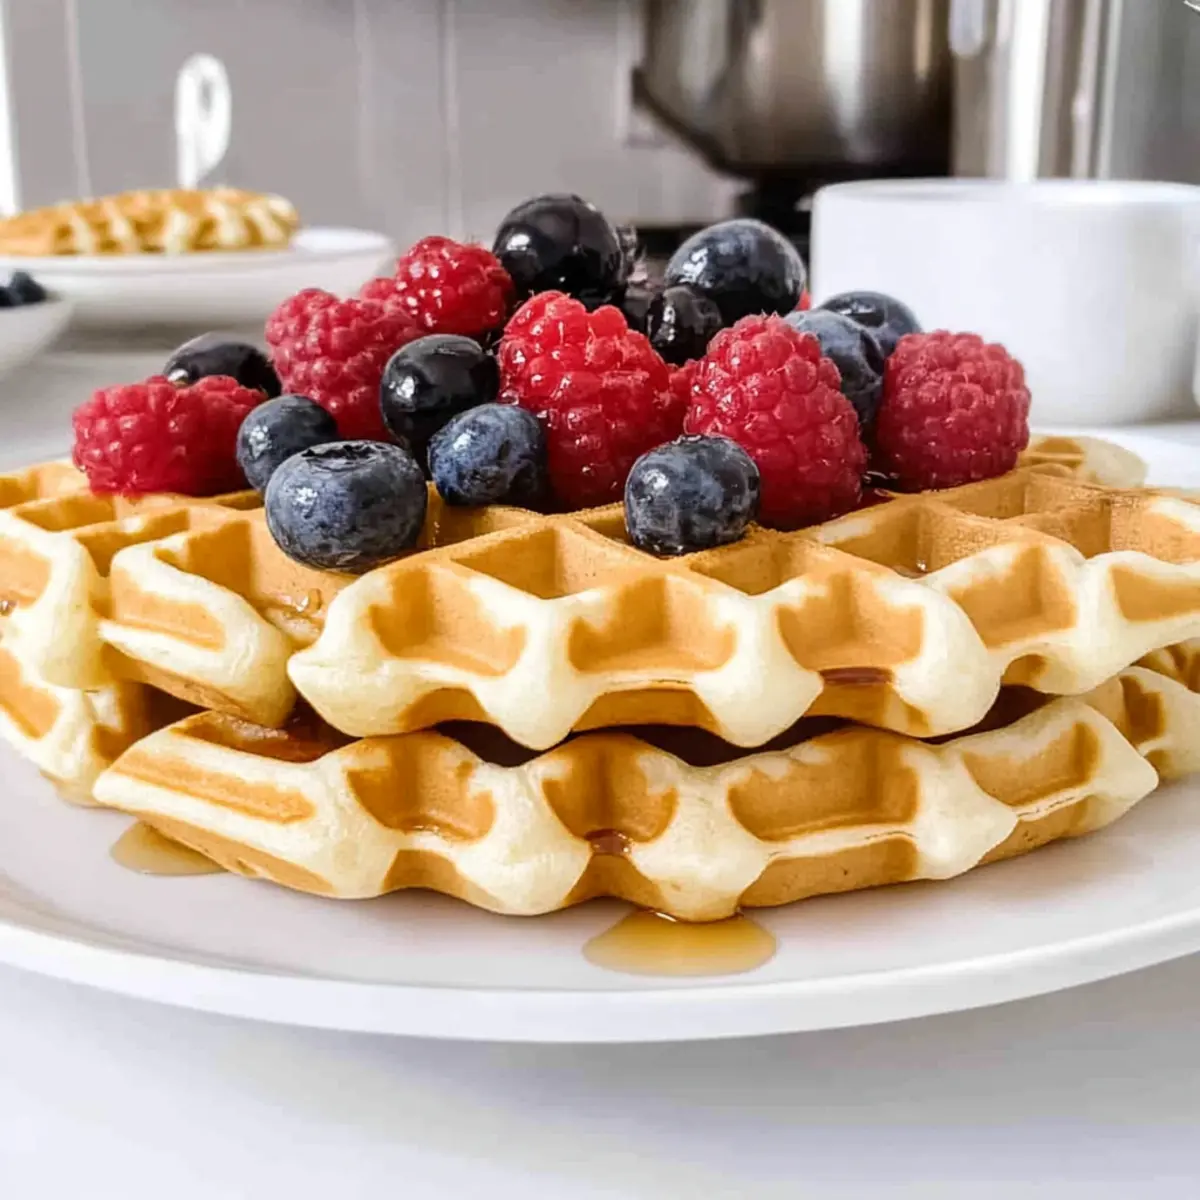
Fresh Fruit: A medley of berries or sliced bananas adds a burst of fresh flavor, complementing the waffles’ sweetness beautifully.
-
Warm Maple Syrup: Drizzling warm syrup creates a sweet harmony, making every bite utterly irresistible and enhancing the waffle’s crispiness.
-
Whipped Cream: Light and airy, whipped cream brings a touch of decadence, elevating your breakfast experience to something truly special.
-
Yogurt Parfait: Layering the waffles with creamy yogurt and granola introduces a delightful crunch, perfect for a hearty breakfast or brunch.
-
Crispy Bacon: The salty, savory taste of bacon offers a wonderful contrast to the sweetness of waffles, creating a balanced and fulfilling meal.
-
Chai Tea: A warm cup of chai adds spices and warmth that echo the flavors of breakfast, turning your morning into a sensory celebration.
-
Chocolate Chips: Sprinkle some chocolate chips into the batter for a sweet twist or serve them on top, creating a fun and indulgent treat.
-
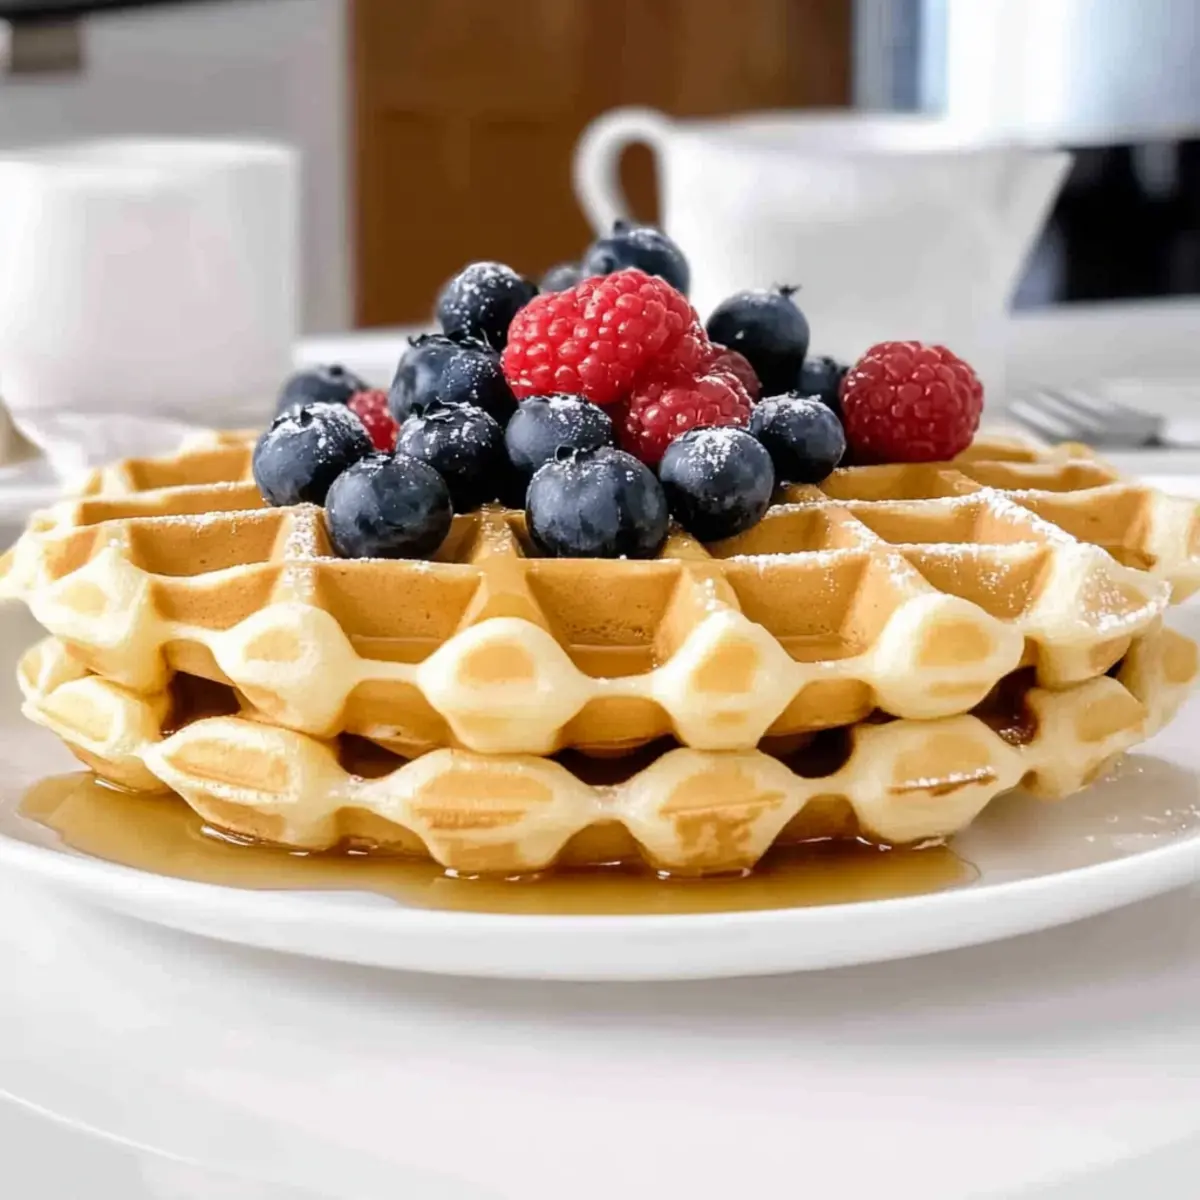
Powdered Sugar: A simple dusting of powdered sugar adds a touch of elegance and sweetness that beautifully complements the fluffy texture of the waffles.
The Best Gluten Free Waffles Recipe Variations
Feel free to explore different twists on this delightful recipe and make it your own!
-
Dairy-Free: Substitute whole milk with almond or coconut milk for a delicious dairy-free version. This change maintains the richness while keeping it light.
-
Flavor Boost: Add a teaspoon of cinnamon or vanilla extract to the wet ingredients for a warm, aromatic touch that elevates each bite. Imagine sinking into flavors that burst forth!
-
Nutty Texture: Fold in 1/2 cup of chopped nuts like walnuts or pecans for an added crunch. This not only enhances the texture but also introduces a nutty richness to your breakfast.
-
Berry Goodness: Mix in fresh or frozen berries to the batter before cooking. Blueberries, raspberries, or strawberries will offer a lovely tartness, creating pockets of fruity goodness throughout.
-
Chocolate Lovers: Toss in 1/2 cup of mini chocolate chips for a sweet surprise in each waffle. Your breakfast can transform into a tempting treat that feels indulgent yet still wholesome.
-
Savory Twist: Consider adding 1/4 cup of grated cheese and chopped herbs like chives or parsley to create savory waffles perfect for a brunch gathering. These can be balance with a dollop of sour cream or yogurt!
-
Spiced Up: Feeling adventurous? Add a pinch of cayenne or chili powder to the dry ingredients for a spicy kick, striking a delightful contrast with the sweetness of syrup.
Want to take your breakfast game even further? Try pairing these waffles with a side of Duchess Potatoes for a comforting and hearty meal!
The Best Gluten-Free Waffles Recipe FAQs
How do I choose the best gluten-free flour?
Absolutely! For the fluffiest texture, I recommend using Bob’s Red Mill 1 to 1 gluten-free flour. This blend contains xanthan gum, ensuring your waffles rise beautifully and maintain their structure. If you opt for other brands, make sure they are specifically formulated for baking to get the best results!
How should I store leftover waffles?
Very easy! Store your cooked waffles in an airtight container in the refrigerator for 2-3 days. They also taste amazing reheated! Just pop them in the toaster for a quick breakfast on the go—perfect for those busy mornings!
Can I freeze the waffles, and how?
You can definitely freeze these delightful waffles! Simply lay them out in a single layer on a baking sheet and freeze until solid. Once frozen, transfer them to a freezer bag and store for up to 2-3 months. To reheat, just pop them in the oven at 350°F for 3-5 minutes to bring back that crispy edge and warm center!
What if my batter is too thick?
No worries at all! If your batter seems a bit too thick and less pourable, you can simply thin it out by adding a splash of milk—whether whole, almond, or coconut. Start with a tablespoon at a time until you reach your desired consistency; this will ensure a perfect waffle every time!
Are these waffles suitable for my gluten-sensitive dog?
While the ingredients in these waffles are gluten-free, I advise against sharing them with your furry friends. Ingredients like sugar, baking powder, and any topping you might use (like syrup or fruit) can upset a dog’s stomach. It’s always best to stick to dog-approved treats for your pup!
Can I make dairy-free waffles?
Absolutely! To adapt this recipe for a dairy-free lifestyle, just substitute the whole milk with your favorite plant-based milk, like almond or coconut milk. They will be just as delightful, ensuring everyone can enjoy these amazing gluten-free waffles!
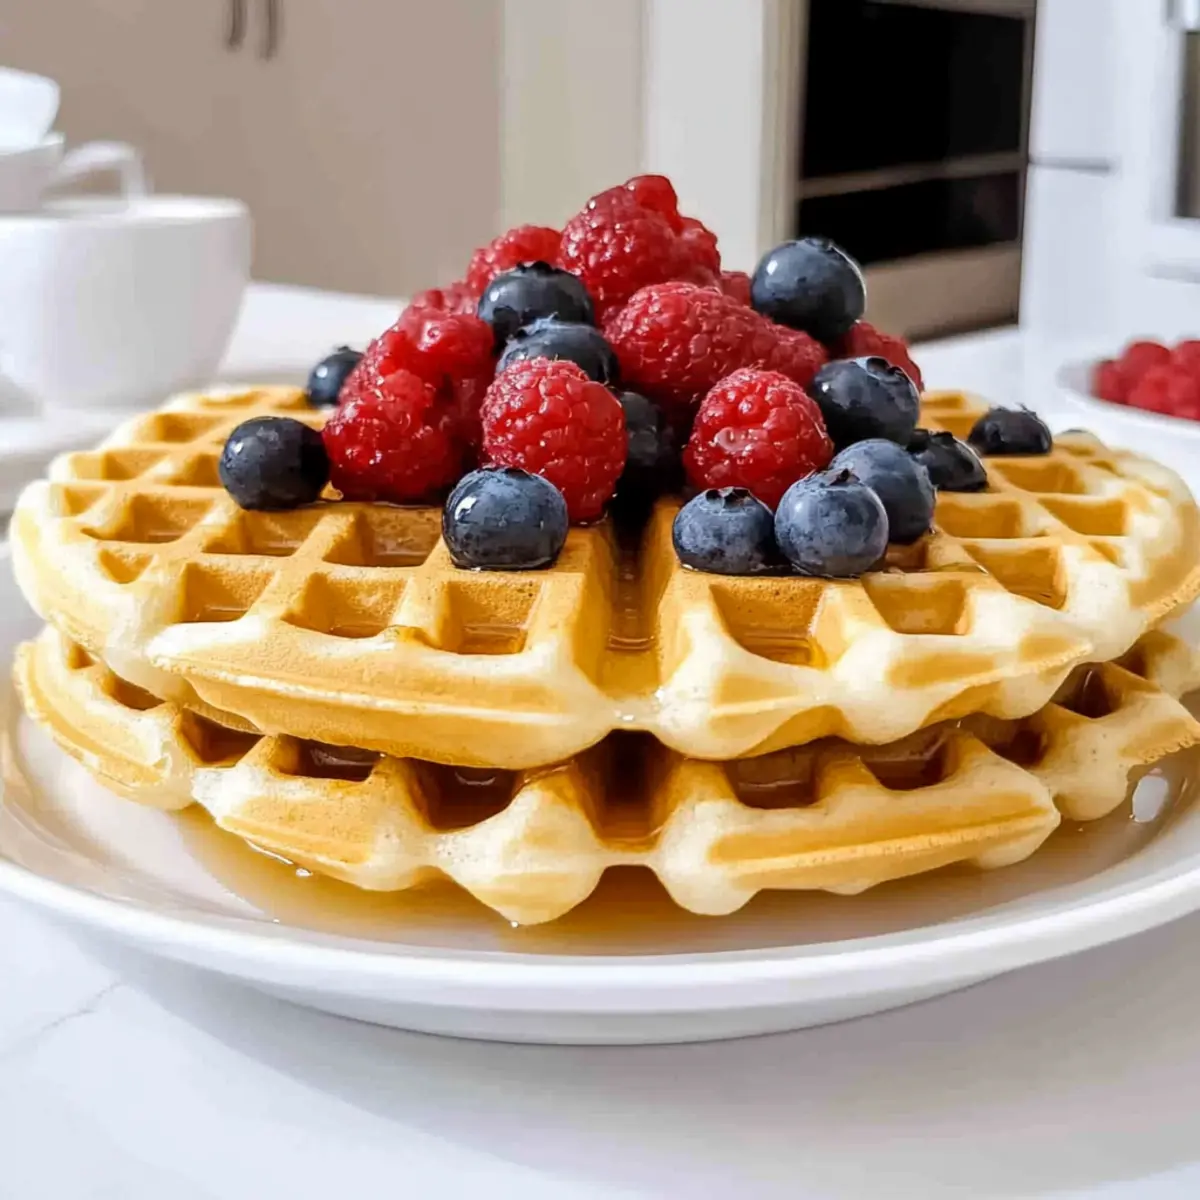
The Best Gluten-Free Waffles Recipe for Fluffy Mornings
Ingredients
Equipment
Method
- In a large mixing bowl, whisk together gluten-free flour, sugar, baking powder, and sea salt.
- In another bowl, whisk together whole milk, canola oil, and vanilla extract, then add in the eggs.
- Pour the wet ingredients into the dry mixture and gently stir until just combined.
- Preheat your waffle iron according to the manufacturer’s instructions and grease it lightly.
- Pour the recommended amount of batter into the preheated waffle iron and cook for about 4-5 minutes.
- Carefully remove the waffles and serve immediately with your favorite toppings.
Leave a Reply