
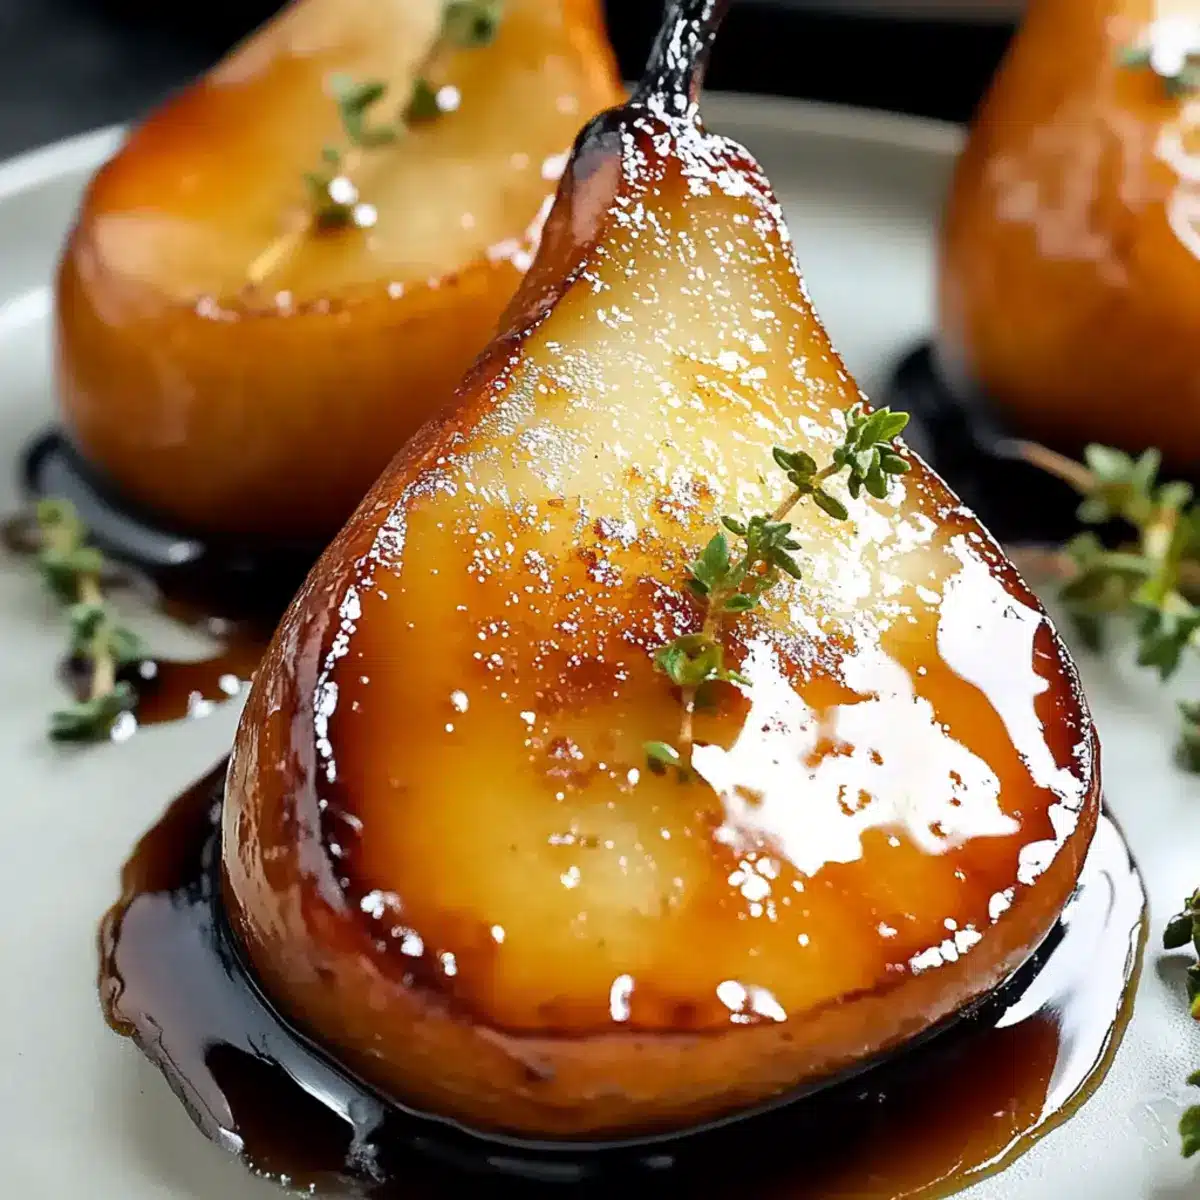
As I gathered fresh pears from my local farmer’s market, a wave of nostalgia washed over me, reminiscent of family gatherings where simple ingredients transformed into magical meals. That’s the beauty of cooking—discovering how roasted pears can turn an ordinary evening into an extraordinary occasion. This recipe for buttery roasted pears offers an easy dessert that’s not only gluten-free but also makes for a delightful make-ahead option. With just a handful of ingredients and minimal effort, you can create a treat that’s both warm and elegant, perfect for impressing guests or simply indulging yourself. Whether drizzled with honey and served warm over ice cream or tossed into a refreshing salad, these roasted pears celebrate the natural sweetness of fruit like no other. Curious about how to make this luscious dish? Let’s dive into the recipe!
Why Are Buttery Roasted Pears So Irresistible?
Simplicity at Its Best: You only need a few pantry staples to create this stunning dessert that anyone can master.
Elegant Flavor Profile: The balance of warm sweetness from the pears and rich notes from balsamic and butter make each bite a delight.
Versatile Serving Options: Whether warm over ice cream or chilled in a salad, these pears can be enjoyed in multiple ways, just like my Roasted Sweet Potato dish!
Make-Ahead Friendly: Prepare them in advance—just refrigerate and gently reheat before serving.
Gluten-Free Goodness: A delicious treat for everyone, making it a thoughtful option for gatherings.
Elevate your next meal with these delectable roasted pears; they’ll surely impress your family and friends!
Buttery Roasted Pears Ingredients
For the Pears
• Pears – Choose firm, slightly underripe varieties like Bosc or Anjou for the best results.
• Unsalted Butter – Adds creaminess and helps achieve that lovely caramelization; coconut oil works for a dairy-free option.
For the Flavoring
• Ground Cinnamon – Enhances warmth and flavor; using it is optional, but it adds depth to your buttery roasted pears.
• Balsamic Vinegar – Infuses tanginess that reduces to a sweet glaze as it roasts; opt for high-quality balsamic for the best flavors.
• Honey – Elevates sweetness beautifully; feel free to substitute with maple syrup for a different twist.
Step‑by‑Step Instructions for Buttery Roasted Pears
Step 1: Preheat the Oven
Begin by preheating your oven to 400°F (200°C). This temperature is perfect for roasting and will help your buttery roasted pears achieve that golden-brown exterior while ensuring a tender interior. An oven thermometer can help maintain accuracy and provide great results, so don’t skip this step!
Step 2: Prepare the Pears
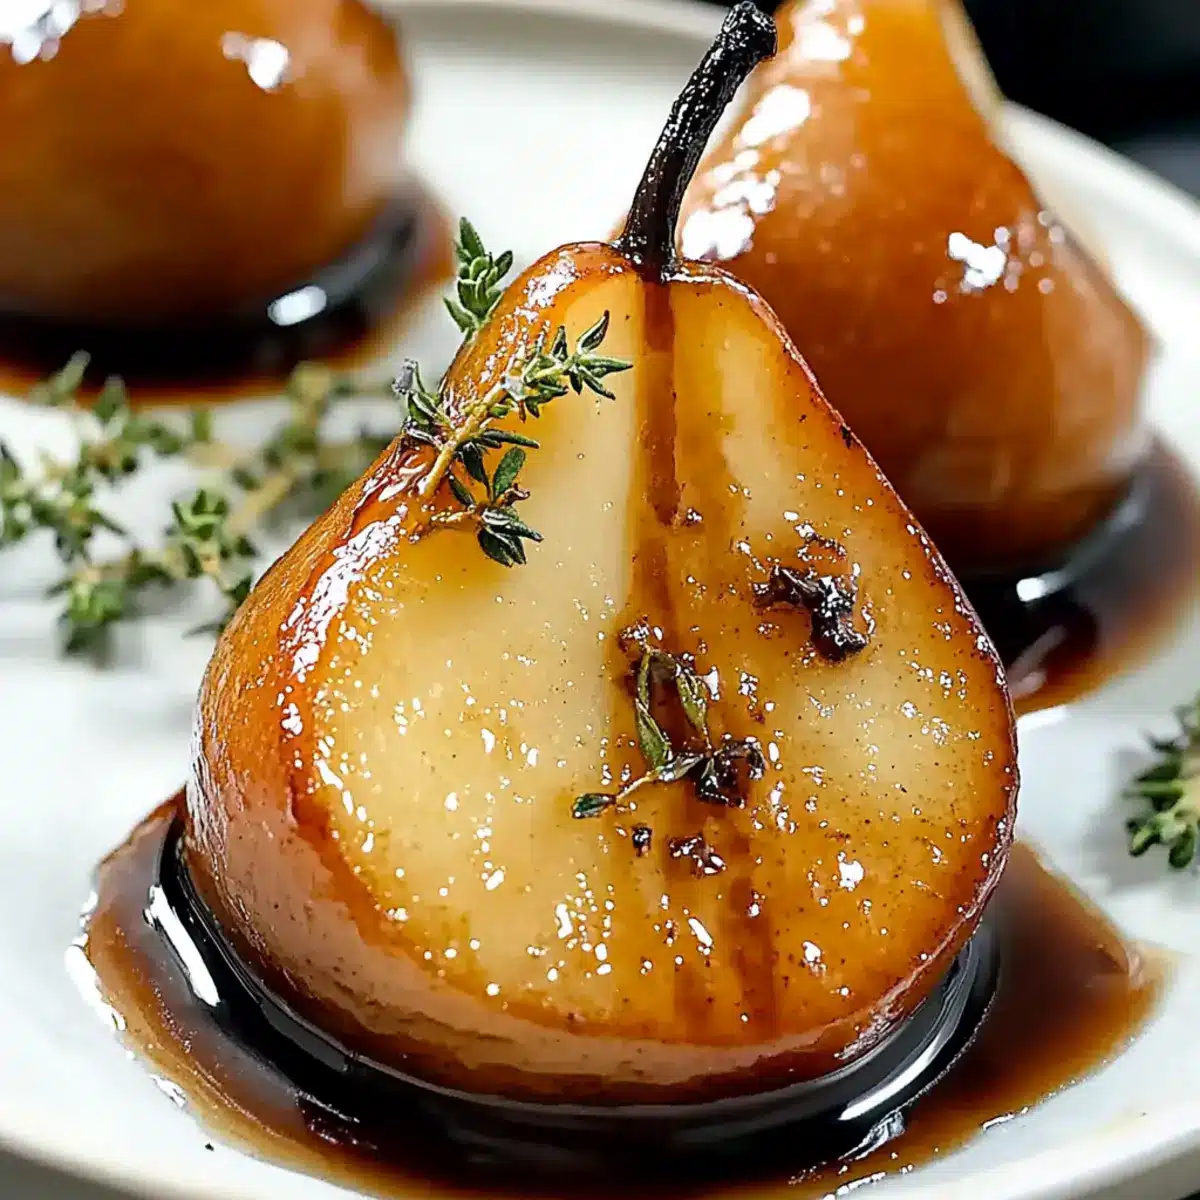
While the oven is heating, take your firm, slightly underripe pears and carefully halve them, removing the core but leaving the skin intact. This skin will provide texture and help hold the pears’ shape during roasting. Lay the halved pears cut-side up on a cutting board, ready for the next step.
Step 3: Melt the Butter
In an ovenproof skillet, melt 2 tablespoons of unsalted butter over medium heat. Keep an eye on it as it melts, and avoid browning, which could alter the flavor. Once melted, the butter will be perfect for sautéing the pears, enhancing their natural sweetness with that rich, buttery flavor.
Step 4: Sauté the Pears
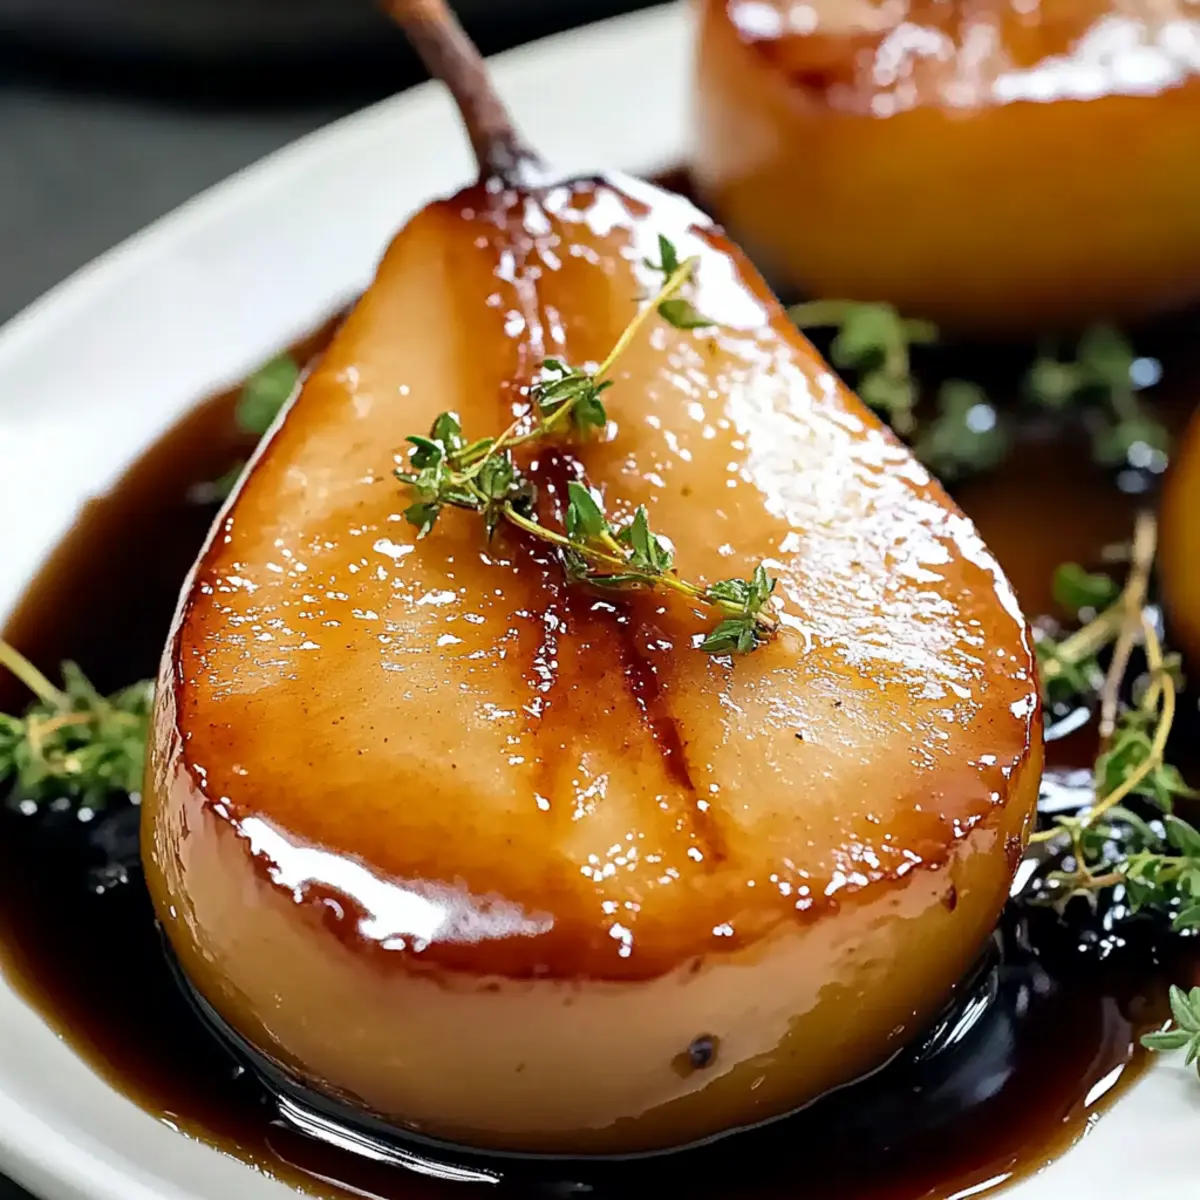
Place the halved pears cut-side down in the heated skillet, allowing them to caramelize for about 2 minutes. Watch as they gently brown, signaling that the sugars are starting to develop. This step is key to adding depth to your buttery roasted pears before they go into the oven.
Step 5: Roast the Pears
Carefully transfer the skillet with the sautéed pears to the preheated oven. Roast for 20 minutes, ensuring that the pears are nestled in the buttery sauce for optimal flavor absorption. You’ll know they are done when they appear tender and slightly wrinkled, exuding a delightful aroma filling your kitchen.
Step 6: Flip and Glaze
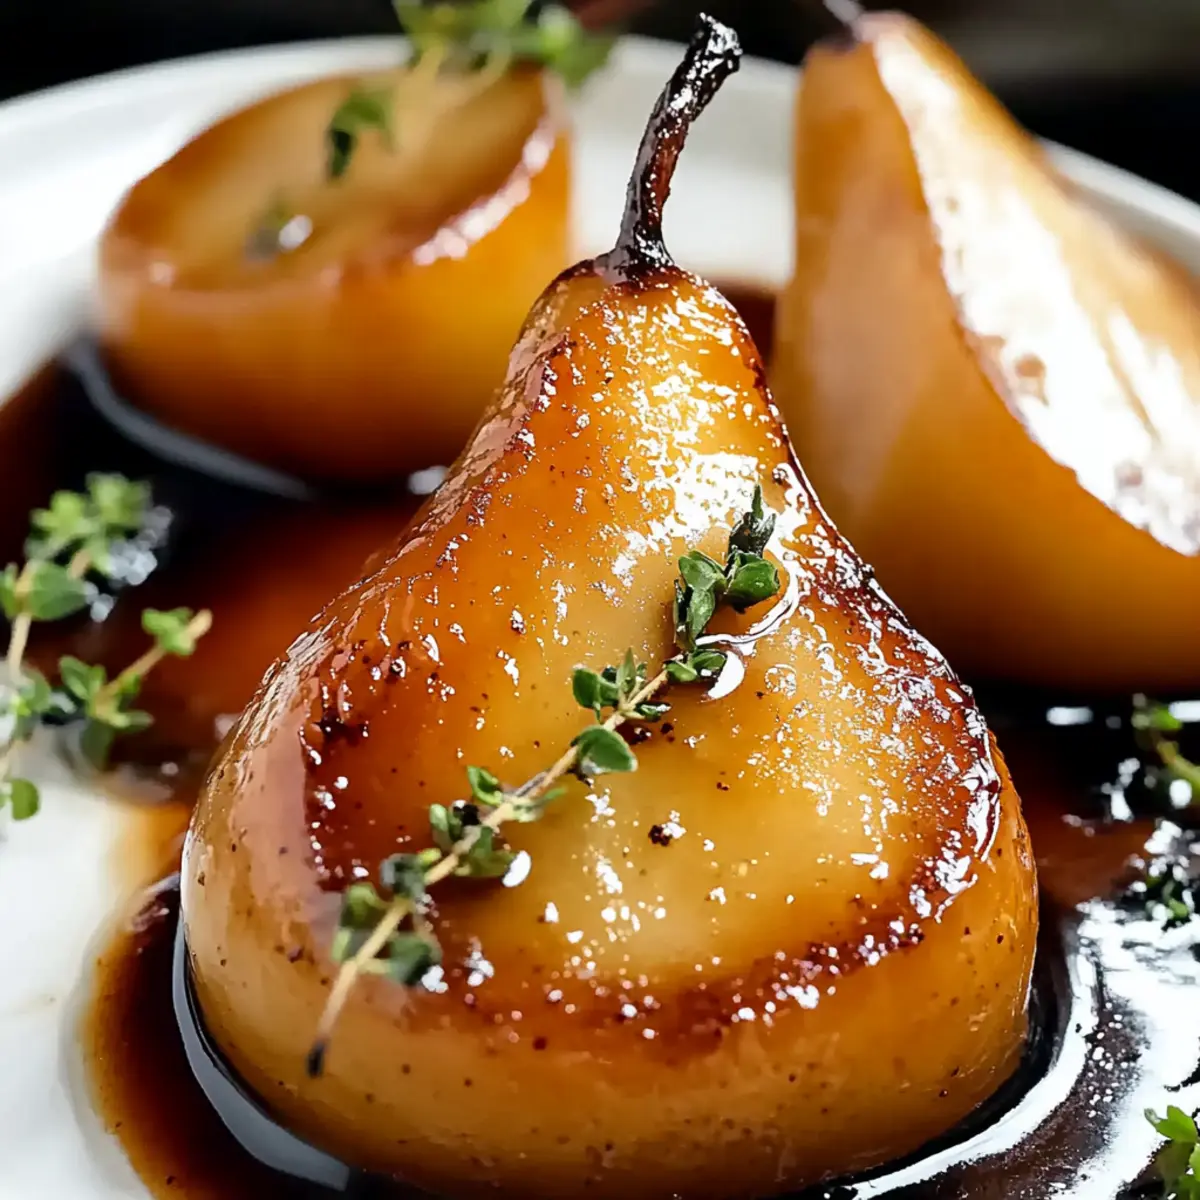
After the initial roasting, use tongs to gently flip the pears cut-side up and drizzle with balsamic vinegar. Return them to the oven for an additional 5 minutes. This final roasting allows the balsamic to reduce into a sweet glaze, enhancing the overall taste of your buttery roasted pears.
Step 7: Finish and Serve
Once done, remove the skillet from the oven and immediately drizzle the pears with honey for added sweetness. Let them cool slightly before serving, allowing flavors to meld. Pour any pan juices over the top for an exquisite finish. These buttery roasted pears are now ready to impress!
Expert Tips for Buttery Roasted Pears
-
Choose the Right Pears: Use firm, slightly underripe pears like Bosc or Anjou to avoid mushiness when roasting.
-
Butter is Key: Brush the pears with melted butter before roasting to enhance caramelization and moisture retention.
-
Quality Matters: A good-quality balsamic vinegar makes a significant difference in flavor. Avoid cheaper versions as they may not reduce to a proper glaze.
-
Monitor the Roasting: Keep an eye on the pears during the last 10 minutes of roasting. Basting with pan juices ensures even color and moisture.
-
Serve Warm or Cold: Buttery roasted pears are delicious warm over ice cream or chilled in a salad, giving you versatile options for any occasion.
Buttery Roasted Pears Variations
Feel free to let your creativity shine as you customize this simple yet elegant dessert according to your taste!
-
Dairy-Free: Swap unsalted butter for coconut oil to enjoy a creamy texture without the dairy.
-
Flavor Explosion: Add a pinch of nutmeg or cardamom along with cinnamon for a uniquely spiced profile. The warm spices will elevate the sweetness of the pears.
-
Zesty Citrus: Add a little orange or lemon zest before roasting to bring a bright, citrusy note. The zesty burst will complement the pear’s natural flavors beautifully.
-
Nutty Crunch: Sprinkle chopped walnuts or pecans on top after drizzling with honey for added texture and richness. The crunch will contrast nicely with the soft pears.
-
Sweetener Switch: Try maple syrup instead of honey for a different kind of sweetness; it pairs wonderfully with the earthy flavors of roasted pears. This twist will transform your dish with its unique taste.
-
Hot & Spicy: Add a dash of cayenne pepper or red pepper flakes if you’re looking to introduce a kick. The spice will beautifully balance the sweetness of the pears, providing an exciting flavor contrast.
-
Fresh Herb Garnish: Top with fresh mint or basil leaves right before serving for a refreshing finish. The herbaceous note will add an unexpected depth to the dish, making it truly extraordinary.
-
Additions to Salads: Incorporate these roasted pears into your salads with greens like arugula, combined with feta cheese or goat cheese for an unexpected gourmet touch. You could even drizzle with a little balsamic from your Buttery Raspberry Crumble for extra flair!
With these variations, every time you make buttery roasted pears, it can turn into a new and delightful experience!
What to Serve with Buttery Roasted Pears?
Pair your dish with delightful accompaniments that enhance the experience and create an unforgettable meal.
-
Creamy Vanilla Ice Cream: The smooth texture and cold temperature of ice cream perfectly balance the warm, buttery roasted pears, creating a comforting contrast.
-
Nutty Granola: Adding crunchy granola introduces a delightful texture, complementing the softness of the pears while adding a touch of wholesome goodness.
-
Greek Yogurt: The tangy creaminess of Greek yogurt layers flavor and adds a protein boost, making your dessert a touch more indulgent yet balanced.
-
Arugula Salad: Tossed with balsamic vinaigrette and goat cheese, an arugula salad adds freshness and depth, enhancing the caramelized flavors of the pears.
-
Toasted Nuts: Walnuts or pecans sprinkle a delightful crunch, offering a nutty contrast to the luscious sweetness of the roasted fruit.
-
Herb-Infused Sparkling Water: A refreshing drink infused with mint or basil enhances the meal’s lightness, cleansing your palate and uplifting the entire experience.
Elevate your dessert with these thoughtfully paired options, turning a simple plate of buttery roasted pears into a celebration of flavors and textures!
Make Ahead Options
These buttery roasted pears are perfect for meal prep and can save you valuable time on busy weekdays! You can prepare the pears up to 3 days in advance by halving and coring them, then storing them in an airtight container in the refrigerator to prevent browning. To maintain their quality, brush the pears lightly with melted butter before storing, which helps retain moisture. When you’re ready to enjoy this elegant dessert, simply follow the roasting instructions (sauté and roast in the oven) directly from the fridge, adding an extra couple of minutes to the cooking time if they’re cold. With this make-ahead option, you can create a deliciously warm treat with minimal effort, perfect for impressing family and friends!
Storage Tips for Buttery Roasted Pears
Fridge: Store in an airtight container for up to 3 days. These buttery roasted pears can be enjoyed both chilled and warmed.
Freezer: You can freeze them for up to 2 months. Wrap the pears individually in plastic wrap and place them in a freezer bag for best results.
Reheating: Gently reheat in the oven at 350°F (175°C) for about 10 minutes or until warmed through, ensuring they retain their rich, caramelized flavor.
Make-Ahead: Prepare these delicious buttery roasted pears in advance for effortless entertaining—just store them in the fridge and reheat before serving!
Buttery Roasted Pears Recipe FAQs
What kind of pears should I use for roasting?
Absolutely! For the best results, choose firm, slightly underripe varieties like Bosc or Anjou. These pears hold their shape well during roasting and offer a delightful natural sweetness.
How should I store leftover buttery roasted pears?
Very good question! Store any leftovers in an airtight container in the refrigerator for up to 3 days. They can be enjoyed chilled or gently reheated, making them a delicious treat whenever you want!
Can I freeze buttery roasted pears?
Yes! You can freeze buttery roasted pears for up to 2 months. Wrap each pear half individually in plastic wrap and place them in a freezer-safe bag or container. When you’re ready to enjoy, simply thaw in the refrigerator overnight and reheat before serving for the best flavor.
What if my pears turn out mushy after roasting?
If your pears end up mushy, it could be due to using overripe fruit. Always opt for firm, slightly underripe pears for roasting. Keeping an eye on the roasting time and temperature also helps prevent mushiness—check them a little earlier if you’re unsure!
Are there any allergy considerations for this recipe?
Good to know! This buttery roasted pears recipe is naturally gluten-free. However, if you are serving to others, check for allergies to ingredients like nuts, honey, or any added flavorings like cinnamon. You can also substitute honey with maple syrup for a different sweetener that may be more suitable for some dietary needs.
Can I make these roasted pears ahead of time?
Absolutely! These buttery roasted pears are make-ahead friendly. Prepare them in advance and store in the fridge; when you’re ready to serve, gently reheat them for about 10 minutes in a 350°F (175°C) oven. This way, you can spend more time with your guests and still enjoy a delicious dessert!
Buttery Roasted Pears: A Simple Dessert to Wow Everyone
Ingredients
Equipment
Method
- Preheat your oven to 400°F (200°C).
- Halve the pears and remove the core, leaving the skin intact.
- Melt the butter in an ovenproof skillet over medium heat.
- Sauté the halved pears cut-side down for about 2 minutes.
- Transfer the skillet to the oven and roast for 20 minutes.
- Flip the pears cut-side up, drizzle with balsamic, and roast for an additional 5 minutes.
- Remove from the oven and drizzle with honey before serving.
Leave a Reply