
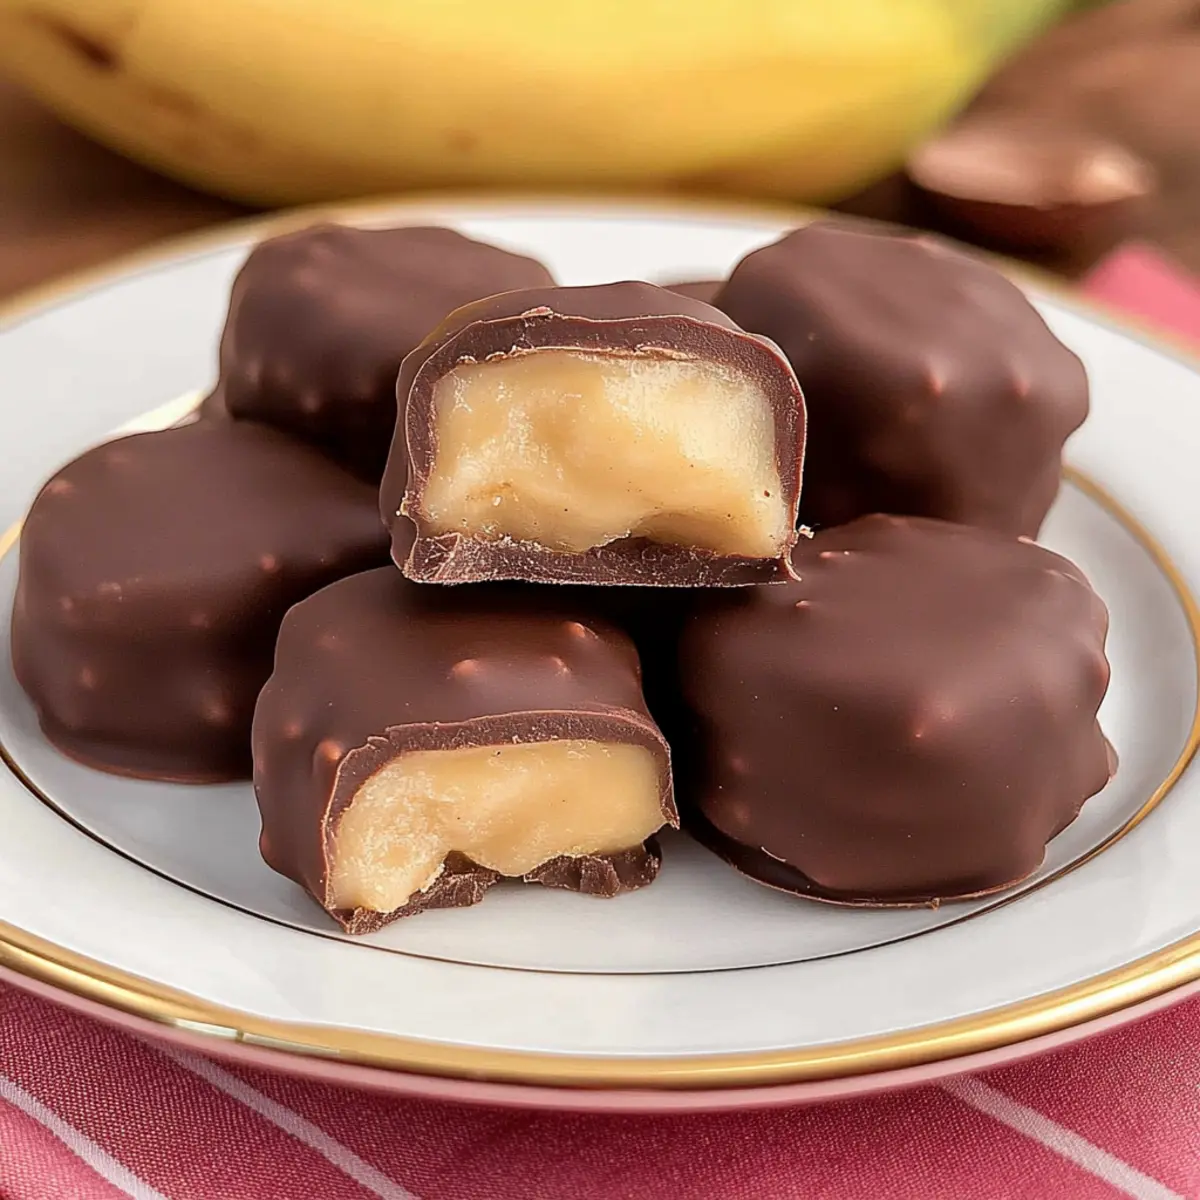
As I watched my kids dive enthusiastically into yet another frozen treat, I couldn’t help but smile. That’s when it struck me—to bring a healthier spin to their favorite afternoon snack. Enter these Chocolate Banana Peanut Butter Bites, an effortless no-bake delight that marries creamy peanut butter with sweet banana and a luscious chocolate coating. Whipping these up takes mere minutes, making them perfect for busy days when you crave something wholesome yet indulgent. Not only do they satisfy sweet tooth cravings, but they also deliver a nutritious boost, packing in flavor without the guilt. Ready to add a delicious twist to your snacking routine? Let’s dive in!
Why make Chocolate Banana Peanut Butter Bites?
Instant Hit: These bites combine three crowd-pleasers: chocolate, banana, and peanut butter, making them a guaranteed favorite for kids and adults alike.
No-Bake Convenience: With zero baking required, you can prepare these delights in no time, perfect for those mid-week snack cravings.
Healthy Ingredients: Packed with natural sweetness and protein, they offer a guilt-free indulgence that’s both satisfying and nutritious.
Customizable Fun: Feel free to swap peanut butter for almond butter or add toppings like sprinkles or coconut for an extra twist, ensuring no two batches are the same!
Ideal Snack for Busy Days: Whether you need a quick after-school treat or a refreshing dessert on a warm day, these Chocolate Banana Peanut Butter Bites fit seamlessly into any occasion.
Chocolate Banana Peanut Butter Ingredients
• Here’s what you’ll need to create these delightful bites!
For the Bites
- Bananas – Use ripe bananas for optimal sweetness and added creaminess.
- Peanut Butter – Choose creamy or crunchy peanut butter; both add rich flavor and nutrition.
- Melted Chocolate – Milk chocolate, dark chocolate, or almond bark work wonderfully for the delightful coating, depending on your taste!
For Toppings (Optional)
- Crushed Nuts – Add a delightful crunch and extra protein for a satisfying texture.
- Coconut Flakes – For a tropical twist, include unsweetened coconut flakes on top!
- Sprinkles – Fun and colorful, sprinkles can make these bites extra appealing for kids.
These chocolate banana peanut butter bites are not only quick to make but also offer a deliciously healthy snack option!
Step‑by‑Step Instructions for Chocolate Banana Peanut Butter Bites
Step 1: Prepare the Bananas
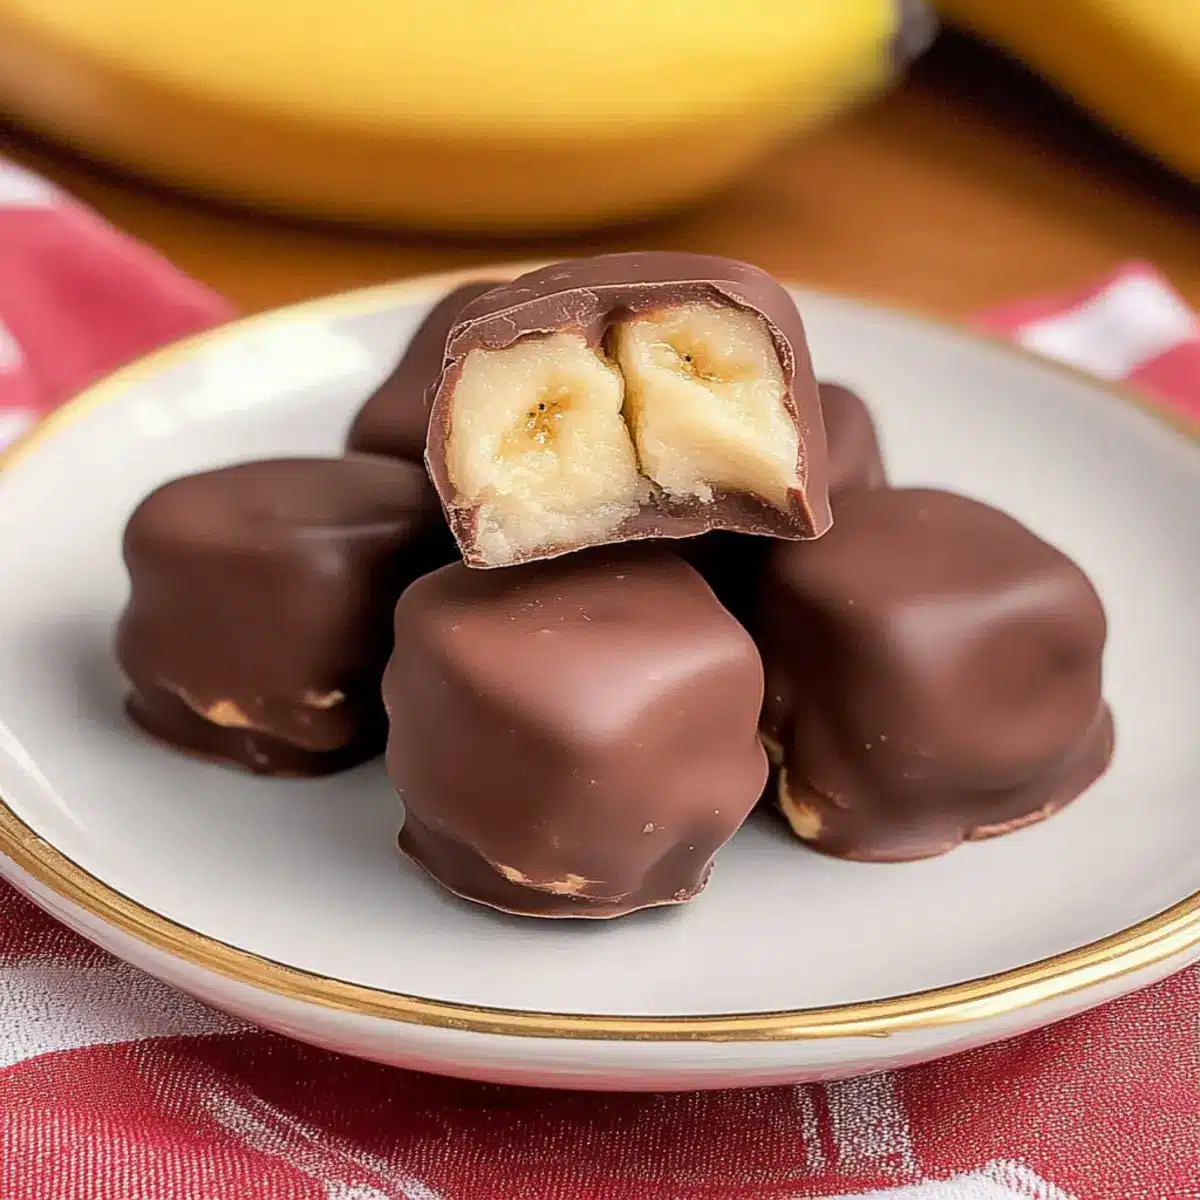
Begin by slicing your ripe bananas into ⅜” to ½” thick rounds for the Chocolate Banana Peanut Butter Bites. Aim for uniform pieces so they freeze evenly. A sharp knife and cutting board will make this process quick and safe. These slices will form the base of your delicious bites, so make sure they’re not too thin!
Step 2: Make the Peanut Butter Sandwiches
Spread a generous amount of creamy or crunchy peanut butter between two banana slices, creating a delightful sandwich. Press them gently together to ensure they stick, and repeat this for all your banana slices. This step is where the magic happens—transforming simple ingredients into an enjoyable snack the whole family will love!
Step 3: Freeze the Banana Sandwiches
Place the assembled peanut butter banana sandwiches on a parchment-lined baking sheet, ensuring they are spaced out to prevent sticking. Transfer them to the freezer and let them chill for about 30 to 60 minutes, until they are firm and hold together beautifully. This initial freeze helps solidify the flavors and prepares them for dipping in chocolate.
Step 4: Melt the Chocolate
While the banana sandwiches are freezing, it’s time to melt your chocolate. Use a microwave-safe bowl to heat your chocolate in 20-30 second intervals, stirring in between, until fully melted and smooth. Alternatively, you can use a double boiler for a gentler melt. The chocolate should be fluid and glossy, ready to generously coat your Banana Peanut Butter Bites.
Step 5: Coat the Bites in Chocolate
Retrieve the frozen banana sandwiches from the freezer. Using a toothpick or fork, dip each bite into the melted chocolate, allowing any excess to drip off before placing them back on the parchment-lined tray. Ensure each bite is thoroughly coated for that perfect chocolate shell that complements the creamy peanut butter and sweet banana.
Step 6: Freeze Until Set
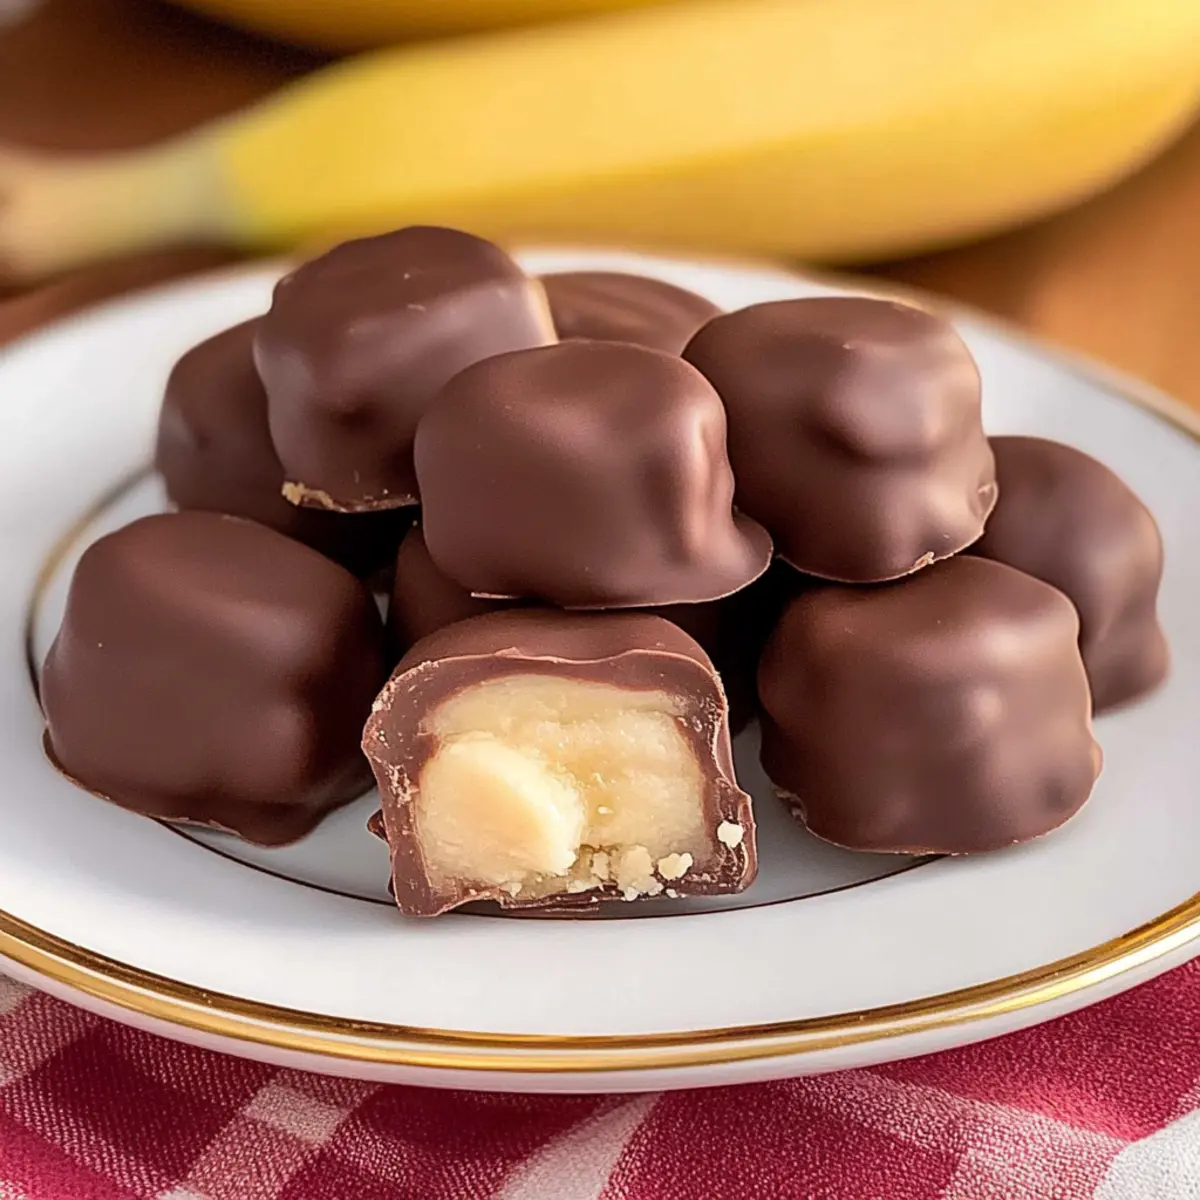
Once all the chocolate-coated bites are on the tray, return them to the freezer for another 30-60 minutes, or until the chocolate has set completely. At this point, you’ll notice a beautiful contrast between the smooth chocolate shell and the vibrant banana filling. This final chilling ensures a delightful crunch when you take a bite!
Step 7: Store or Serve
After the chocolate has hardened, store your delicious Chocolate Banana Peanut Butter Bites in a freezer-safe container, separating layers with parchment paper if necessary. They can last up to a week in the freezer, making them a perfect grab-and-go snack for busy days. Alternatively, serve them as a fun treat at family gatherings or after-school snacks!
Chocolate Banana Peanut Butter Variations
Feel free to get creative with these Chocolate Banana Peanut Butter Bites and make them your own!
- Nut-Free: Substitute peanut butter with sunbutter for a safe and tasty alternative. Your kids will love it!
- Dairy-Free: Use dark chocolate with no dairy or opt for a dairy-free chocolate coating to keep it creamy and delicious.
- Sugar-Free: Choose a sugar-free chocolate for a healthier option that still satisfies your sweet tooth. Your waistline will thank you!
- Fruit Fusion: Add a slice of strawberry or a dollop of raspberry jam between the bananas for a fruity explosion. The combination will delight your taste buds!
- Crunchy Companions: Mix in crushed pretzels or granola before freezing for a delightful crunch. It brings a fun texture twist that kids will adore.
- Flavored Peanut Butter: Experiment with flavored peanut butter, like chocolate or honey, for an unexpected burst of flavor! It’s a simple yet delightful change.
- Spicy Kick: Add a pinch of cayenne pepper to your chocolate coating for a unique twist on classic flavors. This surprising burst of heat will keep everyone guessing!
- Cozy Coconut: Roll the coated bites in shredded coconut after dipping for tropical flair. It not only looks beautiful but brings a lovely sweetness!
These simple twists will make every batch of your Chocolate Banana Peanut Butter Bites an adventure! Enjoy experimenting, and if you’re looking for more ideas on similar flavors, check out our Dark Chocolate Peppermint treats or the unique White Chocolate Orange truffles for extra inspiration!
How to Store and Freeze Chocolate Banana Peanut Butter Bites
Fridge: Keep your Chocolate Banana Peanut Butter Bites in an airtight container for up to 3 days to maintain their freshness and texture.
Freezer: Store the bites in a freezer-safe container or zip-lock bag, separating layers with parchment paper. They’ll stay delicious for up to 1 week.
Reheating: For a quick snack, simply grab one from the freezer! There’s no need to thaw, as they are perfect straight from the freezer for a chilly treat.
Expert Tips for Chocolate Banana Peanut Butter Bites
-
Choose Ripe Bananas: Make sure your bananas are ripe but firm; overly soft bananas can lead to mushy bites when frozen.
-
Chocolate Melting Method: Melt chocolate slowly over low heat or in short bursts in the microwave to avoid burning, ensuring a smooth coating.
-
Freezing Containers: Use a freezer-safe container with layers of parchment paper for easy access and to prevent sticking.
-
Try Different Flavors: Swap peanut butter with almond butter or Nutella for delightful variations while maintaining the essence of the Chocolate Banana Peanut Butter bites.
-
Add Toppings: Sprinkle crushed nuts or coconut flakes onto the chocolate coating before it sets for added texture and flavor!
Make Ahead Options
These Chocolate Banana Peanut Butter Bites are a fantastic option for make-ahead meal prep! You can prepare the peanut butter banana sandwiches up to 24 hours in advance; simply store them in the freezer on a parchment-lined tray until firm. Once frozen, transfer the sandwiches to a freezer-safe container to prevent freezer burn. When you’re ready to coat them in chocolate, just melt when needed and finish the recipe as directed. This not only saves time but also ensures you have a delicious and nutritious snack ready to go, perfect for busy weeknights or spontaneous treat cravings! Enjoy the satisfaction of having a homemade treat on hand that’s just as scrumptious as when freshly made!
What to Serve with Chocolate Banana Peanut Butter Bites
Looking to create a full and satisfying meal around these delightful bites?
-
Creamy Yogurt Dip: A tangy Greek yogurt dip complements the sweetness of the bites, adding a refreshing balance.
-
Fruit Salad Medley: A fresh fruit salad featuring mixed berries and citrus brings a burst of color and flavor to your dessert spread, enhancing the savory-sweetness.
-
Nutty Granola Bars: The crunchy texture of homemade granola bars pairs well with the soft, creamy bites, offering a wonderful contrast that everyone will love.
-
Apple Slices with Cinnamon: Crisp, sweet apple slices sprinkled with cinnamon make for a perfect crunchy side that elevates this treat into a full snack experience.
-
Watermelon Mint Refresher: A summery watermelon mint drink is hydrating and revitalizing, providing a light counterbalance to the rich peanut butter.
-
Homemade Ice Cream: Serve these bites alongside a scoop of vanilla bean ice cream for an indulgent combination that’s both fun and refreshing.
Pairing these options with Chocolate Banana Peanut Butter Bites will elevate your snack time to a whole new level!
Chocolate Banana Peanut Butter Bites Recipe FAQs
What type of bananas should I use?
Absolutely! For the best flavor and creaminess, use ripe bananas with a few brown spots. They add natural sweetness and ensure a delightful texture for your Chocolate Banana Peanut Butter Bites.
How should I store my Chocolate Banana Peanut Butter Bites?
To keep them fresh, store your bites in an airtight container in the fridge for up to 3 days. If you want to maintain their delightful crunch, place them in a freezer-safe container or zip-lock bag, separating layers with parchment paper. They’ll stay delicious in the freezer for about 1 week.
Can I freeze these bites? How do I do it?
Yes, you can freeze these bites! After coating them in chocolate, simply place your Chocolate Banana Peanut Butter Bites on a parchment-lined tray and freeze until the chocolate is solid, about 30-60 minutes. Once hardened, transfer them to a freezer-safe container, layering them with parchment to prevent sticking. They can be enjoyed for up to 1 week!
What if my chocolate isn’t melting smoothly?
Very! If your chocolate seizes up or doesn’t melt smoothly, try lowering the heat and melting it in shorter intervals, stirring frequently. If it’s too thick, you can add a teaspoon of coconut oil, which helps achieve a smoother consistency suitable for coating.
Are these bites suitable for kids with nut allergies?
Absolutely, you can easily adapt them! If your child has a nut allergy, swap the peanut butter with sunbutter (sunflower seed butter) or a similar nut-free alternative. This way, everyone can enjoy these delightful Chocolate Banana Peanut Butter Bites without worry!
How long does it take to make these bites?
On average, making these bites takes about 15-20 minutes of hands-on time plus freezing time. While the prep is quick, just remember to allow for the 30-60 minutes they need in the freezer to ensure they’re perfectly set and ready to enjoy!
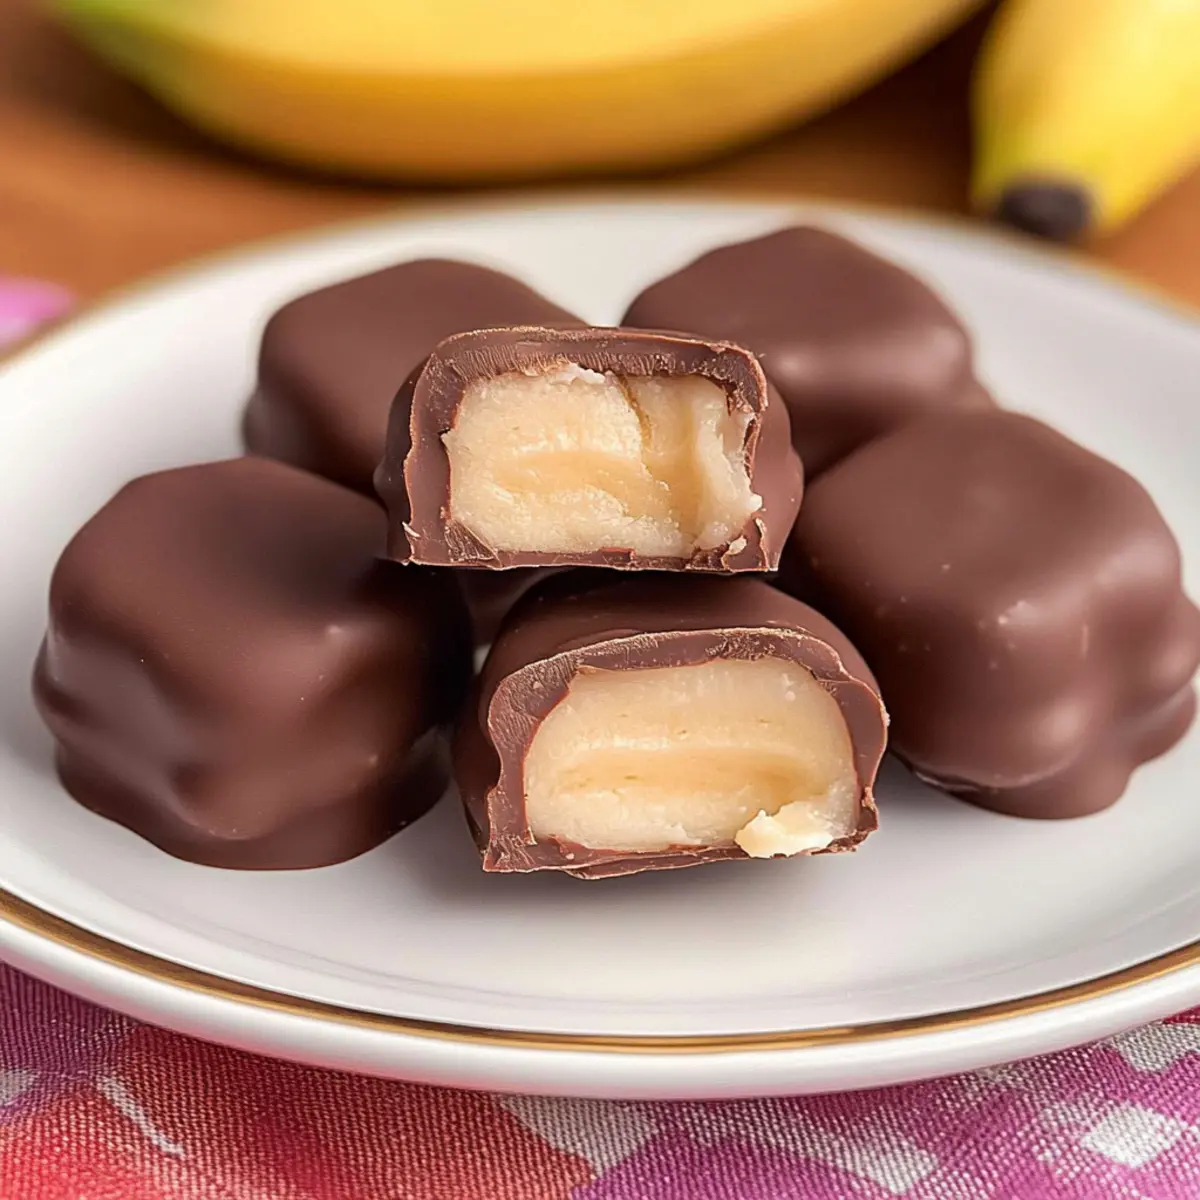
Chocolate Banana Peanut Butter Bites Your New Favorite Snack
Ingredients
Equipment
Method
- Slice your ripe bananas into ⅜" to ½" thick rounds.
- Spread peanut butter between two banana slices to create sandwiches.
- Place sandwiches on a parchment-lined baking sheet and freeze for 30 to 60 minutes.
- Melt chocolate in a microwave-safe bowl in 20-30 second intervals, stirring until smooth.
- Dip each frozen sandwich into melted chocolate, letting excess drip off.
- Return the chocolate-coated bites to the freezer for another 30-60 minutes until set.
- Store in a freezer-safe container, separating layers with parchment paper.
Leave a Reply