
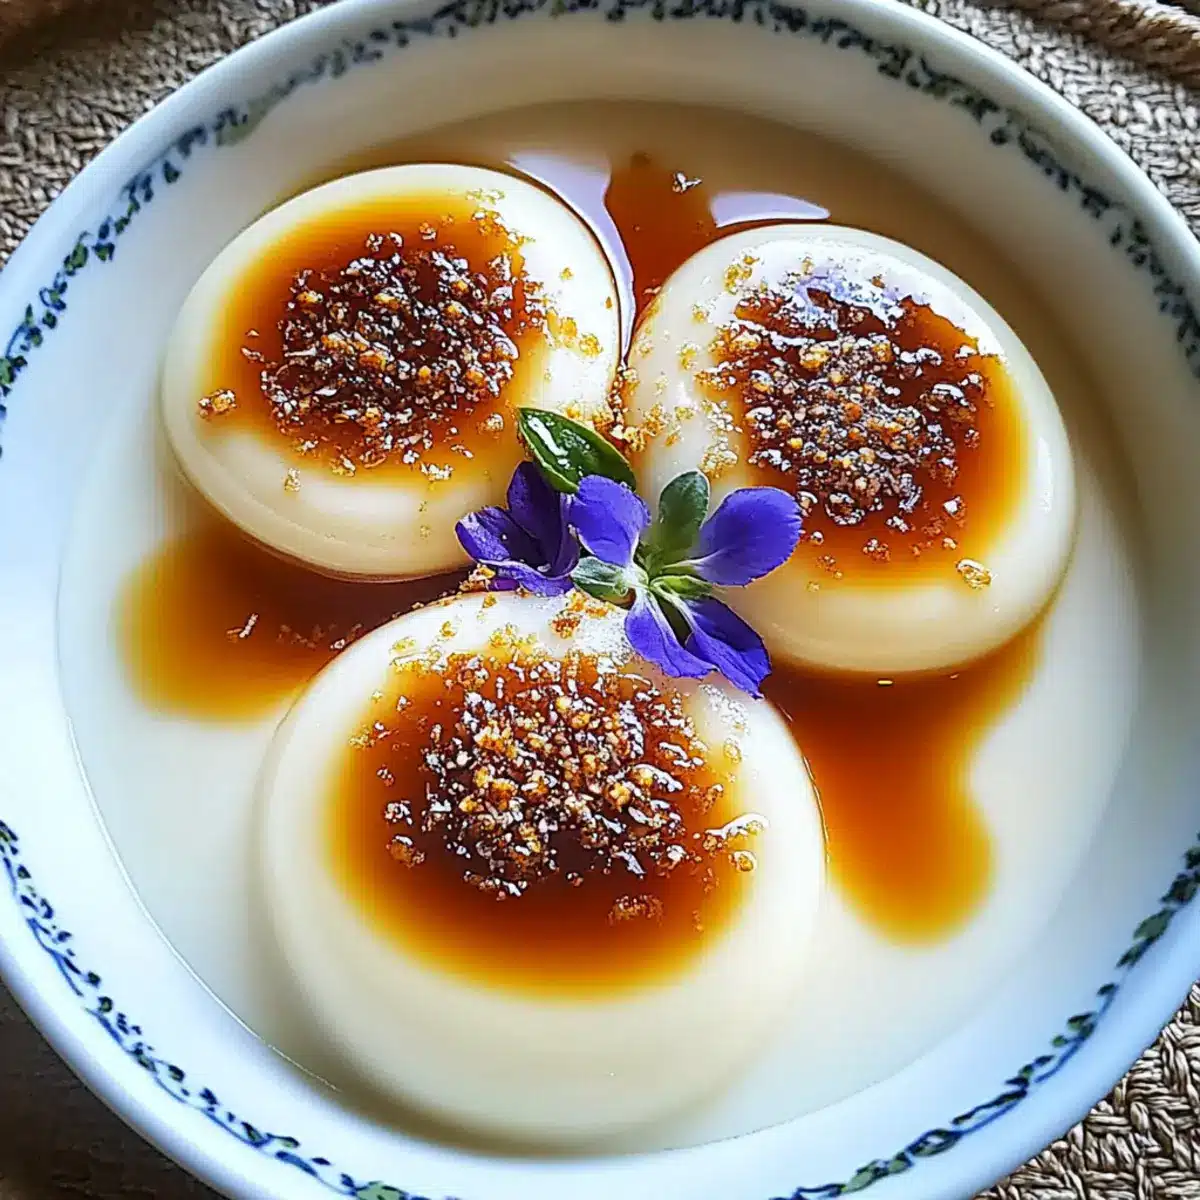
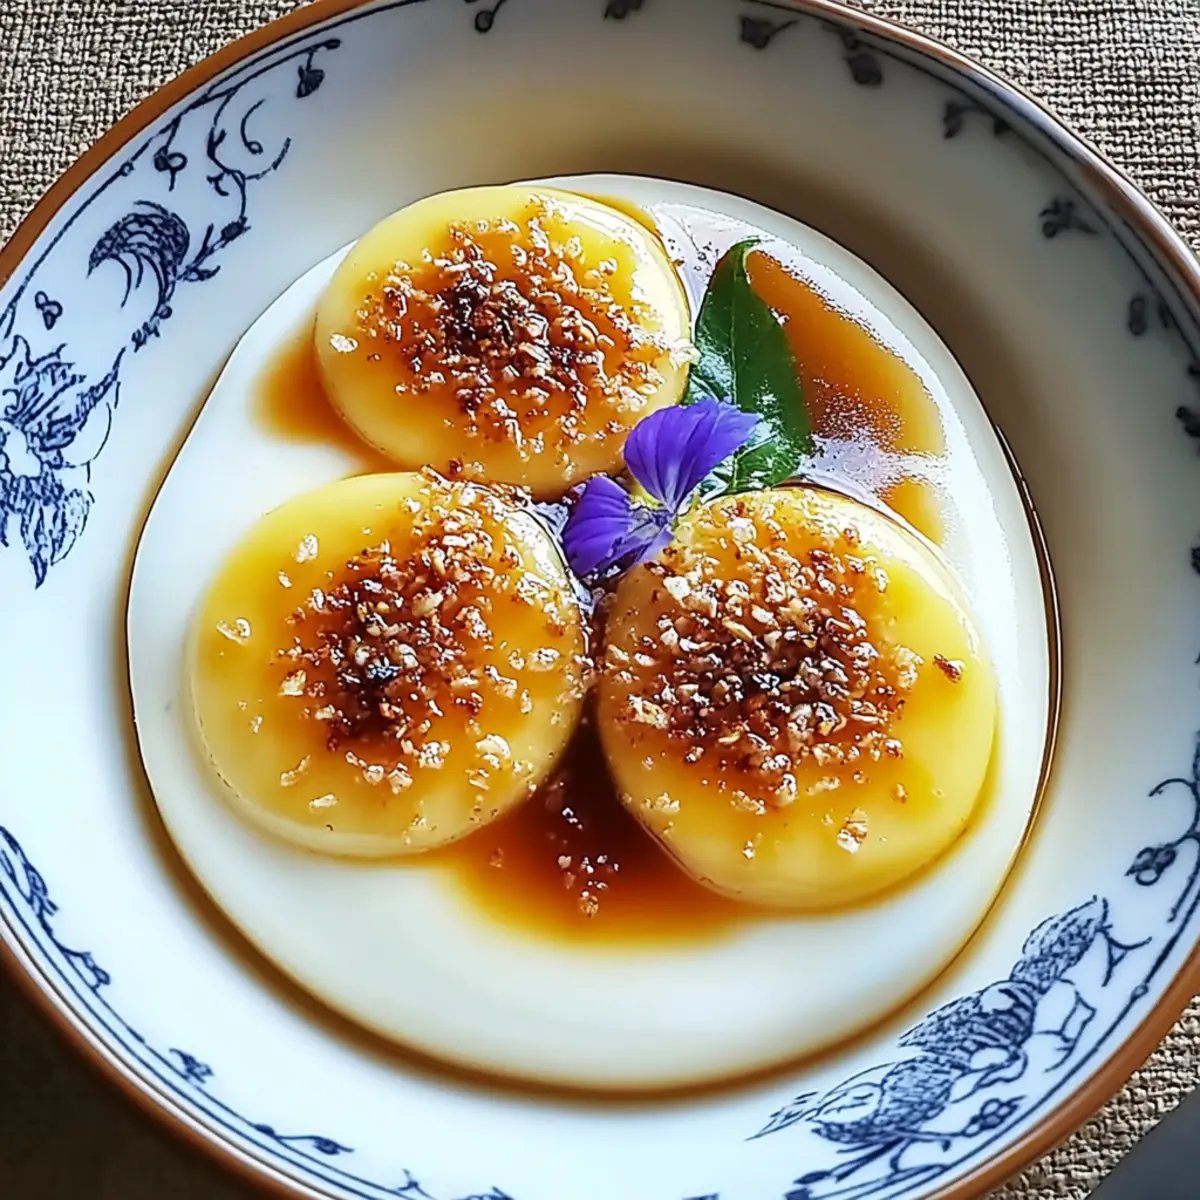
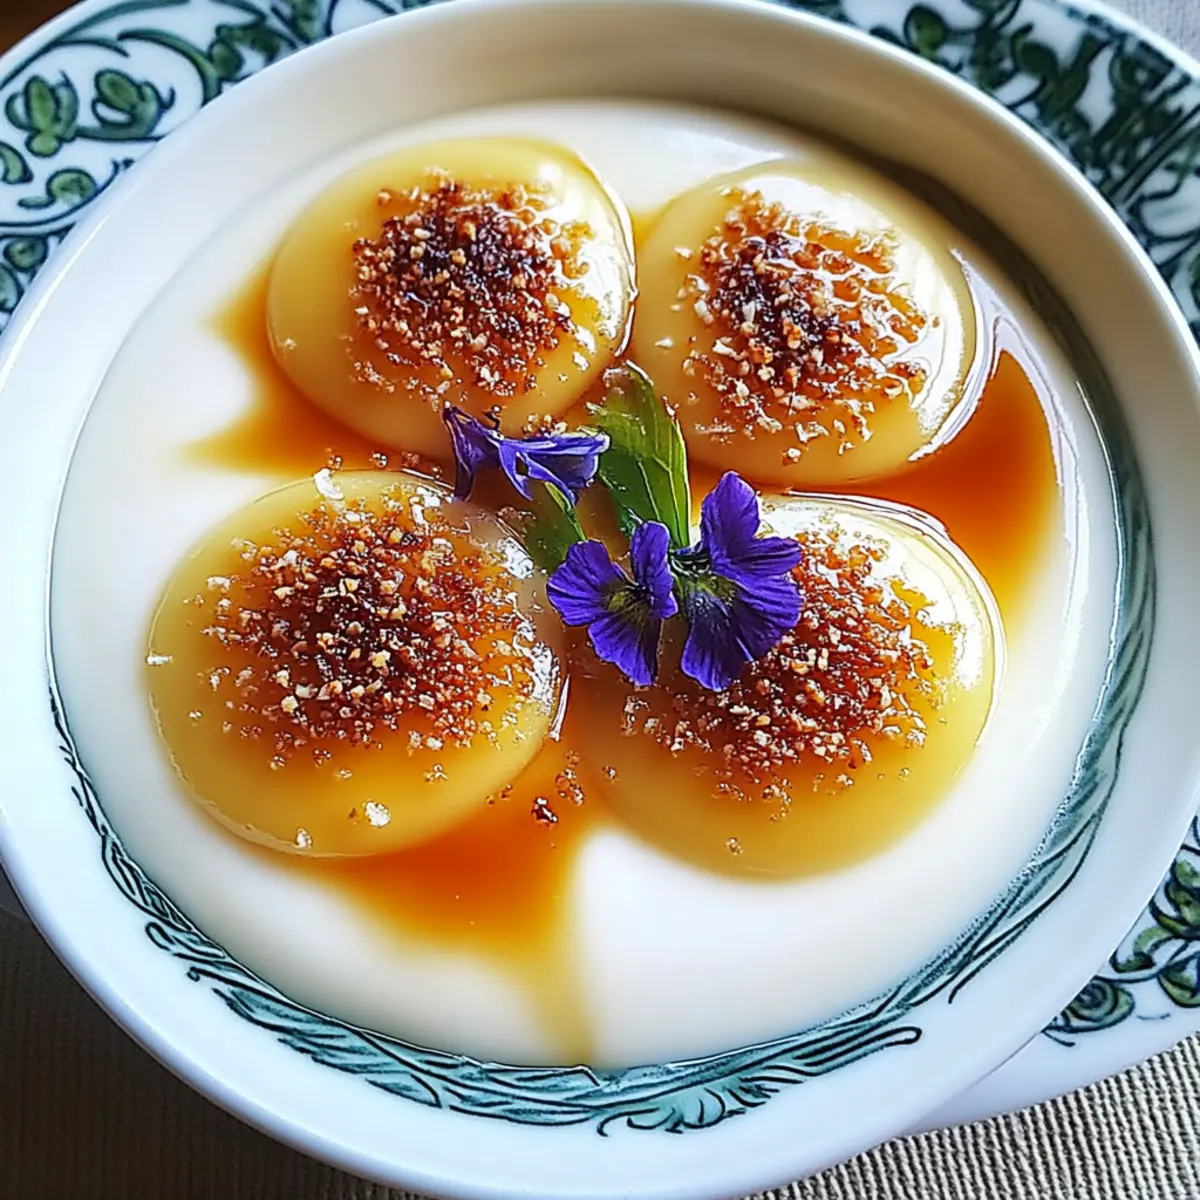
As I whisk together coconut milk and palm sugar, the enticing aroma fills my kitchen, transporting me straight to a sunny Thai beach. The recipe for Thai Coconut Custard is not just a dessert; it’s a delightful experience that transforms simple ingredients into a creamy tropical escape. What I love most about this recipe is how effortlessly it comes together, making it an ideal crowd-pleaser for any gathering. Plus, with options for dairy-free and vegan adaptations, everyone can enjoy it without a worry. Whether served warm from the oven or chilled, this custard shines at any table. Are you ready to dive into a slice of paradise? Let’s get cooking!
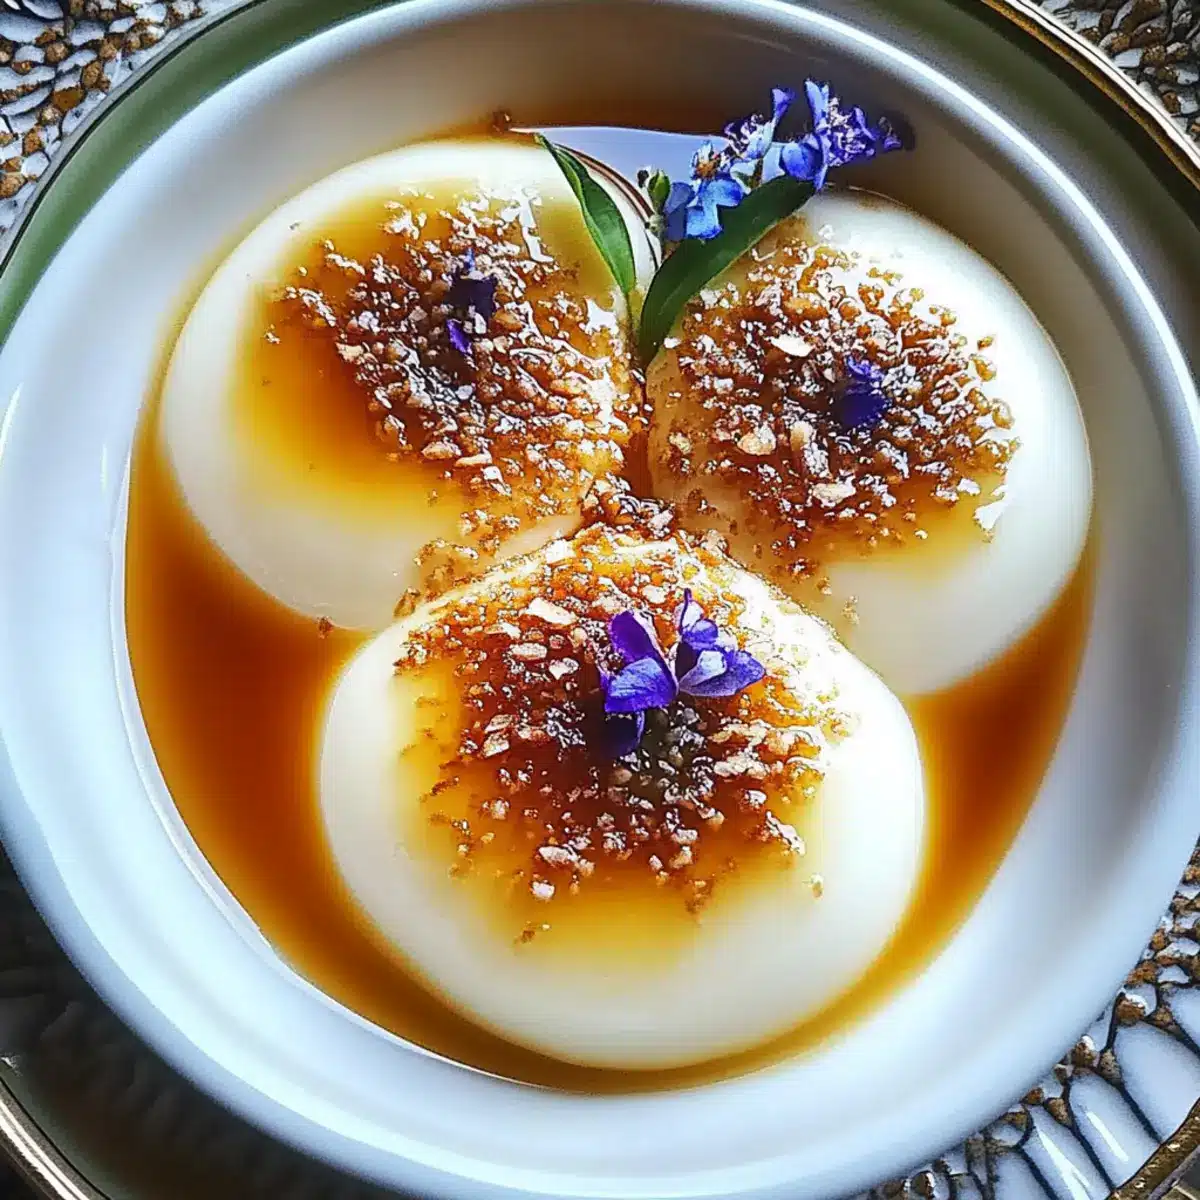
Why is Thai Coconut Custard a Must-Try?
Creamy Texture: This custard boasts a luxuriously smooth consistency that melts in your mouth, making it an irresistible treat.
Tropical Flavor: The combination of coconut milk and palm sugar delivers a rich, exotic taste that transports you to a beach paradise.
Easily Customizable: Whether you prefer a dairy-free version with almond milk or a vegan adaptation using silken tofu, this recipe caters to everyone.
Perfect for Gatherings: Its crowd-pleasing appeal means it’s a go-to dessert for parties or family dinners, sure to impress your guests.
Quick and Simple: You’ll whip this up in no time with minimal ingredients, making it a stress-free addition to your cooking repertoire.
For a delightful pairing, consider serving it alongside some fresh mango slices or toasted coconut flakes for an extra tropical touch.
Thai Coconut Custard Ingredients
For the Custard
• 4 large eggs – Provides richness and structure to the custard; ensure freshness for best flavor.
• 1 cup coconut milk – The star ingredient for a creamy texture and delicious coconut taste; substitute with almond or cashew milk for a dairy-free option.
• 3/4 cup palm sugar – Sweetens the custard with a unique caramel-like flavor; brown sugar can be used as a substitute.
• 1/4 teaspoon salt – Enhances sweetness and balances flavors.
• 1 teaspoon vanilla extract – Adds aromatic notes that beautifully complement coconut.
• 2 leaves pandan (optional) – Infuses a delightful aroma into the custard; using pandan elevates the tropical experience.
For the Base (optional)
• 1 cup sticky rice – Provides a lovely base under the custard for added surprise; soak and drain first.
This enchanting Thai Coconut Custard will undoubtedly impress your loved ones with its tropical allure and creamy goodness!
Step‑by‑Step Instructions for Thai Coconut Custard
Step 1: Preheat the Oven
Begin by preheating your oven to 350°F (175°C). If you’re using pandan leaves, line the bottom of your baking dish or individual ramekins with them for a fragrant base. This layering step not only infuses the custard with delightful aroma but also enhances the presentation of your tropical dessert, Thai Coconut Custard.
Step 2: Beat the Eggs
In a mixing bowl, gently beat the 4 large eggs with a whisk or fork until they are thoroughly combined and slightly frothy. This process should take about 1-2 minutes. It’s important not to overbeat, as you want to incorporate air while ensuring your custard remains smooth and velvety in texture.
Step 3: Combine the Ingredients
With your eggs ready, gradually mix in the 1 cup of coconut milk, 3/4 cup of palm sugar, 1/4 teaspoon of salt, and 1 teaspoon of vanilla extract. Stir gently until the palm sugar dissolves completely, which should take another couple of minutes. This well-mixed concoction captures the essence of the Thai Coconut Custard, blending sweetness and creaminess beautifully.
Step 4: Strain the Mixture
To achieve a silky smooth consistency, strain the custard mixture through a fine sieve into a clean bowl. This will remove any lumps or bits that could disrupt the luxurious texture you’re aiming for. You should see a bright, smooth liquid that promises a rich indulgence, perfect for your next step.
Step 5: Prepare the Base (Optional)
If you’re including sticky rice as a base, spread your pre-soaked and drained 1 cup of sticky rice evenly across the bottom of your prepared baking dish. This adds a lovely surprise and texture beneath the custard. Ensure the rice layer is uniform, creating a firm foundation for the creamy layer of Thai Coconut Custard to come.
Step 6: Pour the Custard
Carefully pour the strained custard mixture over the sticky rice, or directly into your baking dish if you opted out of rice. Fill it just to the top but leave a little space for bubbling and rising as it bakes. The blend of textures will create a delightful experience with every bite of your finished Thai Coconut Custard.
Step 7: Create a Water Bath
Place your filled baking dish into a larger pan. Fill the outer pan with hot water halfway up the sides of your custard dish. This water bath is essential for gently cooking the Thai Coconut Custard, ensuring it sets evenly while maintaining its creamy texture and preventing any rubbery edges.
Step 8: Bake the Custard
Slide your setup into the preheated oven and bake for 45 minutes to 1 hour. Keep an eye on it; when it’s set but still has a gentle jiggle in the center (a knife should come out clean), you know it’s perfect. Once done, the top should take on a lovely golden hue, a sign of a delicious Thai Coconut Custard.
Step 9: Cool and Chill
After baking, remove the custard from the oven and let it cool at room temperature for about 30 minutes. Once cooled, transfer it to the refrigerator to chill for at least 2 hours. Chilling enhances the flavors and provides a beautiful presentation, making it an inviting treat for your family and friends.
How to Store and Freeze Thai Coconut Custard
Fridge: Store your Thai Coconut Custard in an airtight container for up to 3 days. This will help maintain its creamy texture and delightful flavor, ensuring it’s ready for a quick dessert treat!
Freezer: For longer storage, you can freeze the custard for up to 2 months. Wrap it tightly in plastic wrap or place it in a freezer-safe container to prevent freezer burn.
Thawing: When ready to enjoy, thaw the custard overnight in the refrigerator. Reheat gently in the microwave or in a warm water bath to restore its smooth consistency.
Serving Tips: For the best taste experience, allow it to chill for a bit after thawing, bringing back that luscious texture and flavor you’re craving!
What to Serve with Thai Coconut Custard
Elevate your dessert experience with enticing accompaniments that enhance the tropical flavors and creamy textures.
-
Fresh Mango Slices: The juicy sweetness of ripe mango perfectly complements the rich custard, adding a refreshing burst of flavor that brightens each bite.
-
Toasted Coconut Flakes: A sprinkle of crispy, toasted coconut provides a delightful crunch and deepens the coconut flavor, enhancing the tropical vibe of your dessert.
-
Chilled Lychee: These sweet, fragrant fruits offer a unique contrast to the creamy custard, making for an exotic pairing that feels like a mini-vacation on your plate.
-
Mint Leaves: A few fresh mint leaves can add a lovely herbal note, making the overall dish feel lighter and more vibrant. They also create a stunning visual presentation!
-
Thick Coconut Cream: A dollop of rich coconut cream brings an extra layer of indulgence, creating a luscious mouthfeel that blends beautifully with the custard.
-
Iced Thai Tea: For a refreshing drink, serve with a chilled glass of iced Thai tea, whose spiced flavors provide a nice contrast to the sweetness of the custard.
-
Mochi Ice Cream: This chewy dessert treats add an interesting texture to your meal, and a variety of flavors can complement the tropical notes of the custard.
Expert Tips for Thai Coconut Custard
-
Strain for Smoothness: Straining the mixture is crucial. It eliminates lumps and ensures a silky smooth Thai Coconut Custard that melts in your mouth.
-
Watch the Baking Time: Keep an eye on your custard. Overbaking can lead to a rubbery texture. Aim for a gentle jiggle in the center when it’s done.
-
Water Bath Wonder: Using a water bath is key to preventing overcooking. It creates a gentle cooking environment for the custard to stay creamy and luscious.
-
Chill for Flavor: Don’t skip the chilling step! Letting the custard sit in the fridge for a few hours enhances the flavors and improves its texture.
-
Creative Serving Suggestions: Elevate your presentation by pairing the Thai Coconut Custard with fresh fruits like mangoes or lychees, adding a colorful tropical flair.
Make Ahead Options
These Thai Coconut Custards are perfect for meal prep enthusiasts looking to save time during busy weeknights! You can prepare the custard mixture up to 24 hours in advance; simply whisk together your eggs, coconut milk, palm sugar, salt, and vanilla, then strain and refrigerate the mixture. To maintain the custard’s silky texture, avoid pouring it over the sticky rice until you’re ready to bake. When you’re set to serve, preheat your oven, spread the prepared sticky rice in the baking dish, and pour the cold custard mixture over it before creating the water bath and baking as directed. With this make-ahead strategy, enjoy delightful, creamy Thai Coconut Custard whenever you desire!
Thai Coconut Custard Variations & Substitutions
Feel free to explore and personalize this Thai Coconut Custard recipe with these delightful adaptations!
- Dairy-Free: Swap regular coconut milk for almond or cashew milk for a lighter, dairy-free version.
- Vegan: Replace the eggs with 1/2 cup silken tofu and 1 tablespoon cornstarch for a creamy plant-based alternative. This not only caters to vegan diets but also adds a unique twist to the flavor.
- Chocolate Bliss: Stir in 2 tablespoons of cocoa powder into the custard mixture for a delicious chocolatey twist. Imagine enjoying a rich dessert that maintains that tropical flair!
- Tropical Toppers: Serve with fresh fruit such as mango slices, toasted coconut, or chilled lychee to complement the custard’s creamy texture beautifully. These vibrant additions take your dessert to an entirely new level.
- Layered Delight: Create exciting layers in individual cups by alternating the custard and sticky rice. This visually appealing presentation makes it even more enticing for gatherings.
- Nutty Crunch: Add chopped nuts, such as toasted almonds or peanuts, to the top of your custard for a delightful crunch. It adds texture and an extra layer of flavor to your dish.
- Spicy Hint: For a daring twist, include a pinch of cayenne pepper or chili powder for those who enjoy a touch of heat in their desserts. This surprising addition can make the sweet flavors pop in a whole new way!
Whether you decide to go classic or adventurous, these variations ensure that everyone can appreciate the charm of your Thai Coconut Custard. If you’re also interested in delightful indulgences, check out our Coconut Oatmeal Cookie or the flavorful Thai Baked Chicken for more tropical inspired recipes!
Thai Coconut Custard Recipe FAQs
What type of coconut milk should I use?
It’s best to use full-fat coconut milk for a rich and creamy texture in your Thai Coconut Custard. Look for canned varieties without unnecessary additives. If you’re aiming for a lighter option, you can substitute with light coconut milk or even almond or cashew milk for a dairy-free version.
How should I store leftover Thai Coconut Custard?
Store your Thai Coconut Custard in an airtight container in the refrigerator for up to 3 days. This keeps it fresh and ready to delight your taste buds! If you want to keep it longer, place it in a freezer-safe container or wrap it tightly in plastic wrap to prevent freezer burn, allowing you to enjoy it for up to 2 months.
Can I freeze Thai Coconut Custard?
Absolutely! To freeze your Thai Coconut Custard, ensure it’s completely cooled first. Then, wrap it tightly in plastic wrap or place it in a freezer-safe container. When you’re ready to enjoy it, thaw it overnight in the refrigerator and reheat gently. You might need to stir it a bit to bring back that silky texture after thawing.
What should I do if my custard doesn’t set properly?
If your custard isn’t setting, it could be due to underbaking. Make sure to bake it until it has a slight jiggle in the center but isn’t liquidy. If it seems overcooked and rubbery, that’s often a sign of overbaking, so do keep an eye on it. Always remember to use a water bath during baking; it significantly helps with even cooking and texture.
Are there any dietary considerations?
Absolutely! This Thai Coconut Custard can be made dairy-free by using plant-based milks like almond or cashew milk. For a vegan version, swap the eggs with 1/2 cup of silken tofu blended with 1 tablespoon of cornstarch to achieve that rich texture without eggs. Always check for allergies with any ingredient substitutions.
How can I enhance the flavors of my Thai Coconut Custard?
You can elevate your Thai Coconut Custard by adding pandan leaves, which lend it an aromatic quality. Pairing it with fresh fruit like mango or lychee not only adds a beautiful presentation but also enhances the tropical experience. A sprinkle of toasted coconut on top before serving can add a delightful crunch, too!
Coconut Lover's Dream: Thai Coconut Custard Recipe Delight
Ingredients
Equipment
Method
- Preheat your oven to 350°F (175°C). If using pandan leaves, line the bottom of your baking dish or ramekins with them.
- Gently beat the eggs in a mixing bowl until thoroughly combined and slightly frothy, taking care not to overbeat.
- Mix in the coconut milk, palm sugar, salt, and vanilla extract, stirring until the palm sugar dissolves completely.
- Strain the custard mixture through a fine sieve into a clean bowl to achieve a silky smooth consistency.
- If using sticky rice, spread the pre-soaked and drained rice evenly across the bottom of your prepared baking dish.
- Pour the strained custard mixture over the sticky rice or directly into your baking dish.
- Place the filled baking dish into a larger pan and fill the outer pan with hot water halfway up the sides of the custard dish.
- Bake in the preheated oven for 45 minutes to 1 hour, checking for a gentle jiggle in the center when done.
- Allow the custard to cool at room temperature for about 30 minutes, then transfer it to the refrigerator to chill for at least 2 hours.
Leave a Reply