
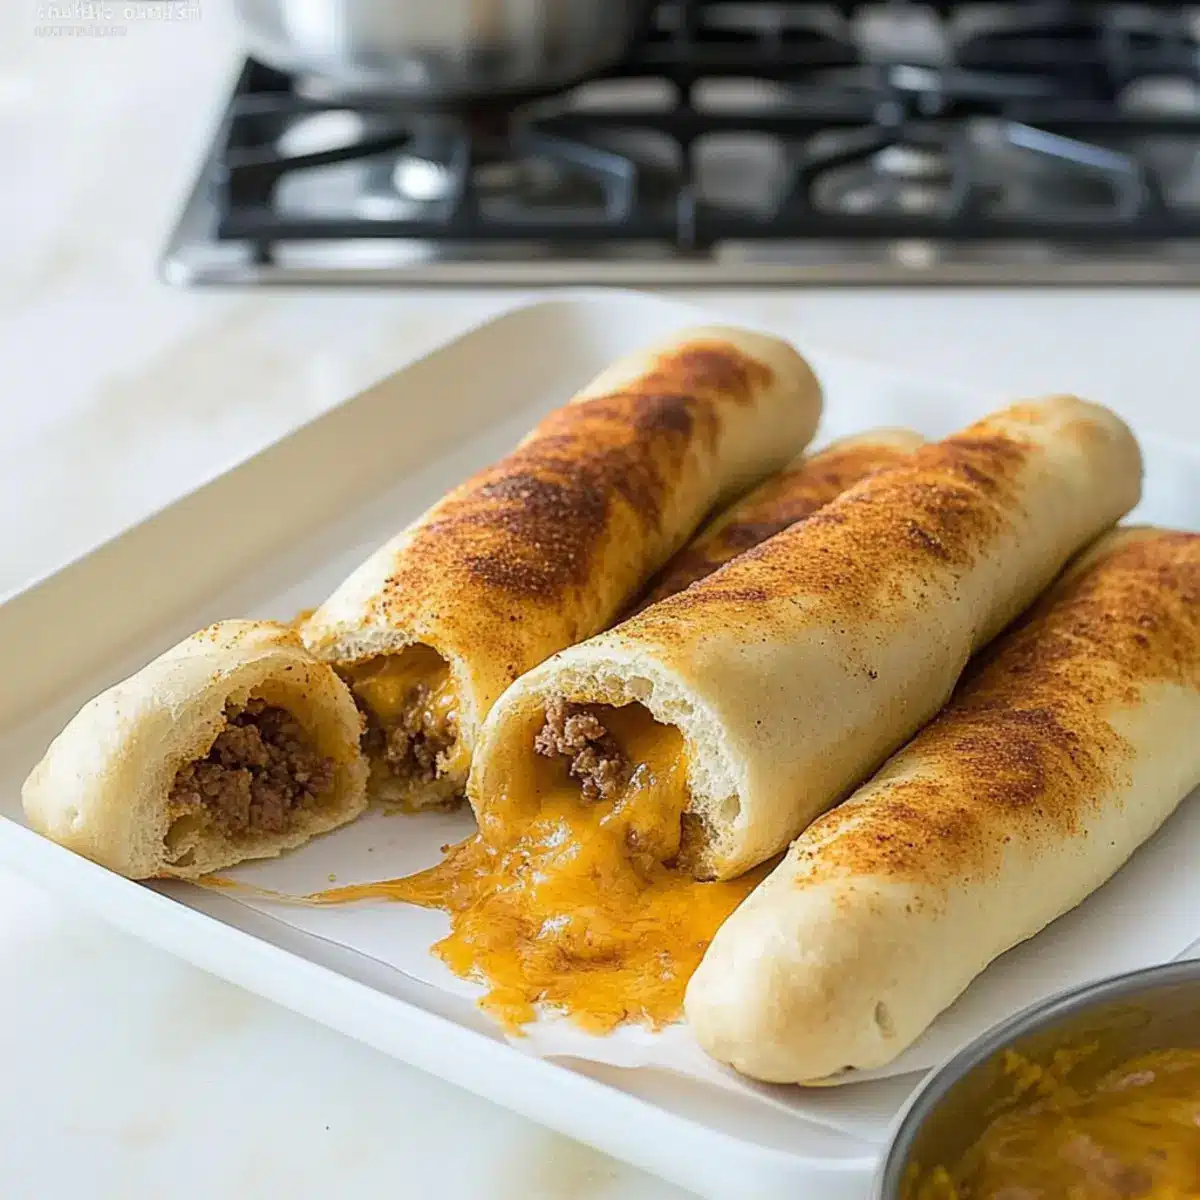
The aroma of melted cheese wafting through the kitchen is enough to whisk me back to carefree weekends with friends, a feast stretching out before us. As a home chef, I’m always on the lookout for recipes that balance simplicity and satisfaction, and today’s gem—Cheesy Taco Sticks—is just that! This thrilling appetizer not only elevates your snack game but is also a fantastic way to bring leftover taco meat back to life. Whether you’re hosting a game day party or need a quick kid-friendly treat, these easy-to-make sticks will undoubtedly impress. Plus, they’re freezer-friendly, allowing you to whip them out whenever cravings strike. Are you ready to roll up your sleeves and dive into this delicious dish?
Why Are Cheesy Taco Sticks So Irresistible?
Mouthwatering, these Cheesy Taco Sticks are an explosion of flavors that everyone will love, making them a great hit at gatherings. Kid-friendly and quick, they’re the perfect solution for busy weeknights or spontaneous gatherings. Versatile, you can easily customize them with your favorite ingredients or experiment with spicy jalapeños! Freezer-friendly means you can make a batch ahead of time, ready to heat when craving strikes. Serve them warm with a side of salsa or guacamole for a treat that’s both fun and crowd-pleasing!
Cheesy Taco Sticks Ingredients
• Get ready to create a flavor-packed snack with these essential ingredients!
For the Sticks
- Ground Beef – Provides the hearty base; feel free to substitute with shredded chicken or turkey for a lighter option.
- Taco Seasoning Mix – Enhances the overall flavor; using homemade seasoning can add a personal touch.
- Pillsbury Pizza Dough – Forms a delicious, easy crust; crescent dough can substitute for an even flakier texture.
- Colby Jack and Cheddar Cheese Sticks – Melts beautifully; cut in half for the perfect balance of cheese and stuffing.
- Butter – Bastes the sticks for an irresistible richness; olive oil serves as a lighter alternative.
- Garlic Powder – Infuses aromatic depth; substitute fresh minced garlic for a bolder flavor.
- Dried Parsley – Adds freshness and a splash of color; optional, depending on your preference.
Optional Garnishes
- Salsa – Perfect for dipping; adds a zesty kick that complements the cheesy goodness.
- Sour Cream – Provides a creamy balance; enhances flavor with a cool, tangy touch.
- Diced Jalapeños – Spice things up by adding them inside for a fiery twist!
These Cheesy Taco Sticks not only utilize leftover ingredients but are also bound to become a family favorite. Enjoy creating this delightful treat!
Step‑by‑Step Instructions for Cheesy Taco Sticks
Step 1: Prep the Meat
In a skillet over medium heat, cook the ground beef until browned, which should take about 7-10 minutes. As the meat cooks, break it apart with a spatula to ensure even cooking. Once browned, drain any excess fat and sprinkle the taco seasoning mix over the meat, adding a splash of water if needed. Stir well and let it simmer for about 2-3 minutes until fully combined.
Step 2: Prepare the Dough
On a lightly floured surface, roll out the Pillsbury pizza dough until it’s flat and smooth, ensuring it’s about ¼ inch thick. Use a sharp knife or pizza cutter to cut the dough into rectangles, approximately 3 inches by 5 inches. Keep the rectangles uniform for even cooking. This will be the base for your Cheesy Taco Sticks!
Step 3: Assemble Sticks
Take a rectangle of dough and place a generous spoonful of the seasoned taco meat in the center. Next, lay half of a cheese stick on top of the meat to ensure melty goodness. Carefully roll the dough over the filling, tucking in the edges as you go to create tight sticks. Make sure they are sealed well to prevent any filling from spilling out during baking.
Step 4: Apply Butter Mixture
Melt the butter in a small bowl and mix in the garlic powder and dried parsley for added flavor. Using a pastry brush, generously coat the tops of each rolled Cheesy Taco Stick with the buttery mixture, giving them a glossy finish. This step not only adds richness but will also help achieve that golden-brown color once baked.
Step 5: Bake
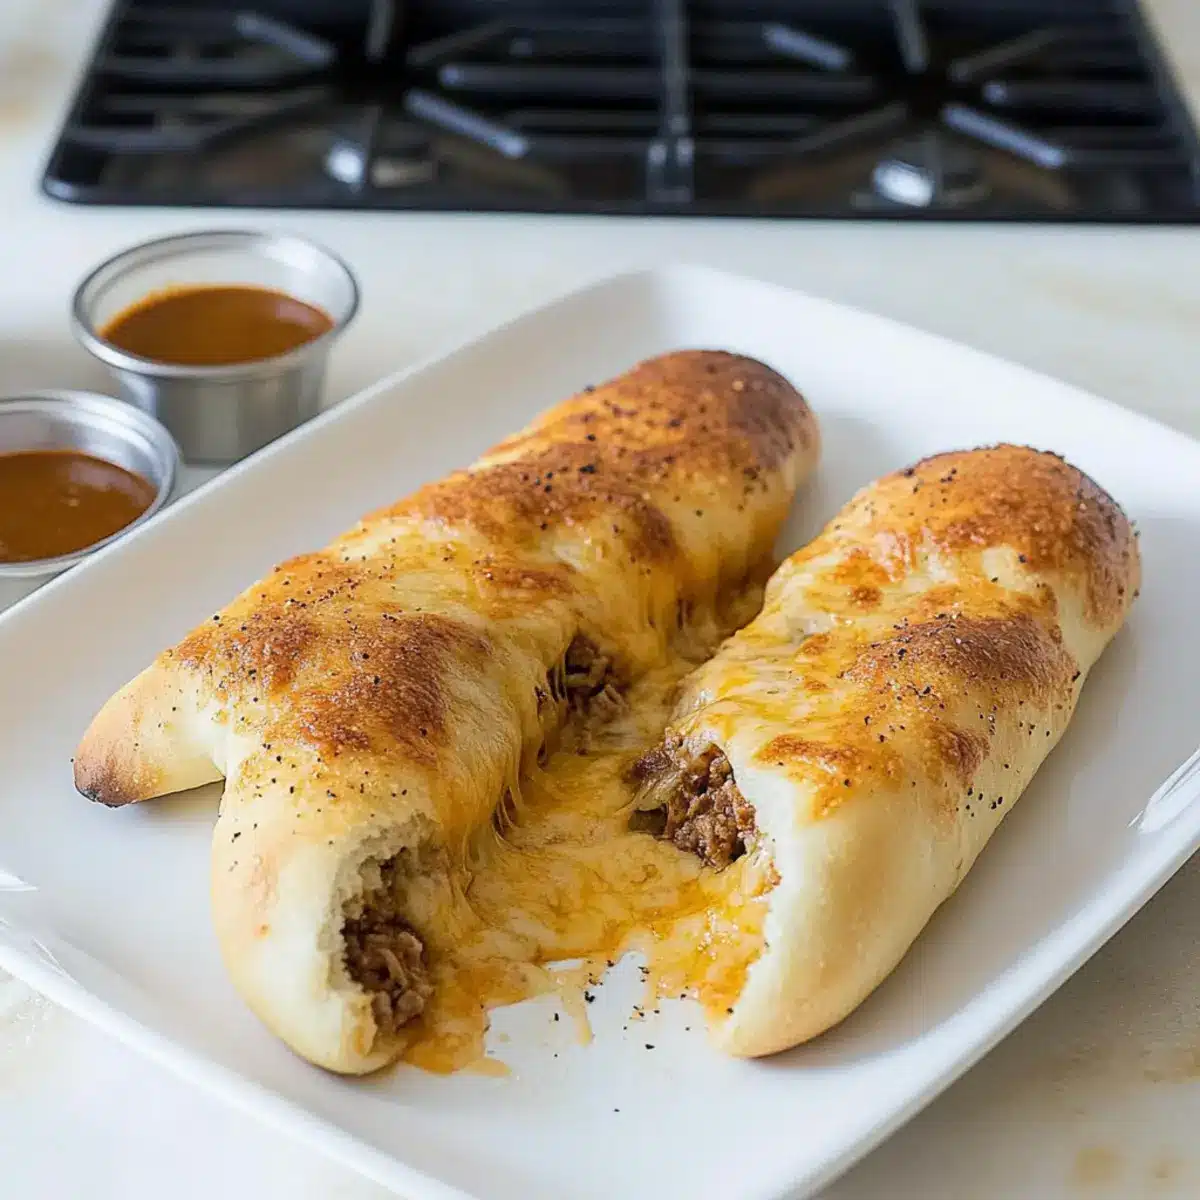
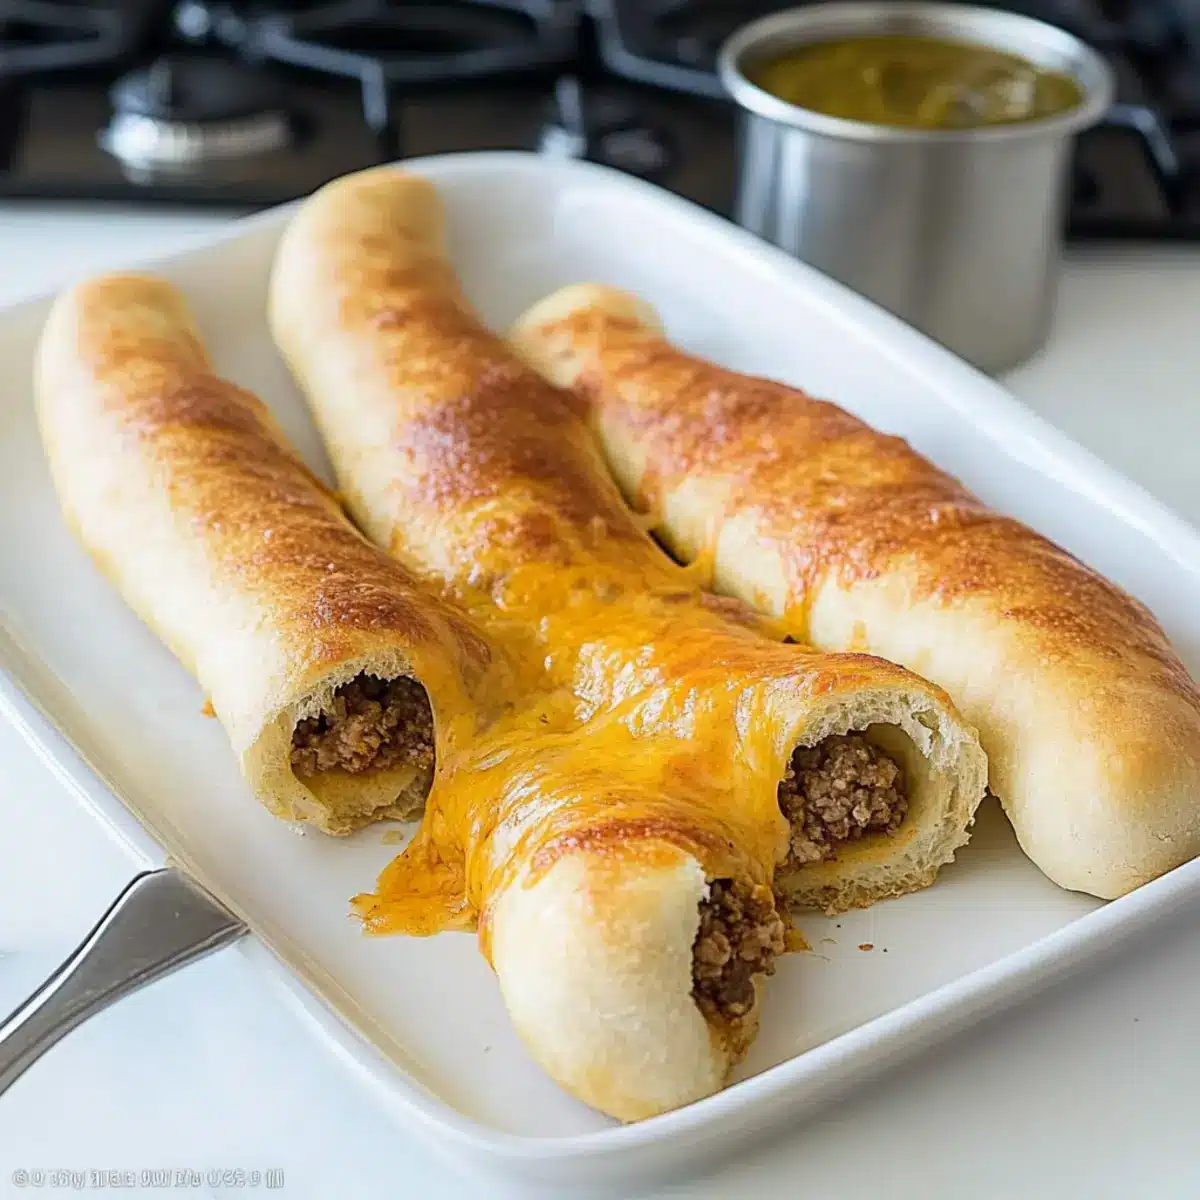
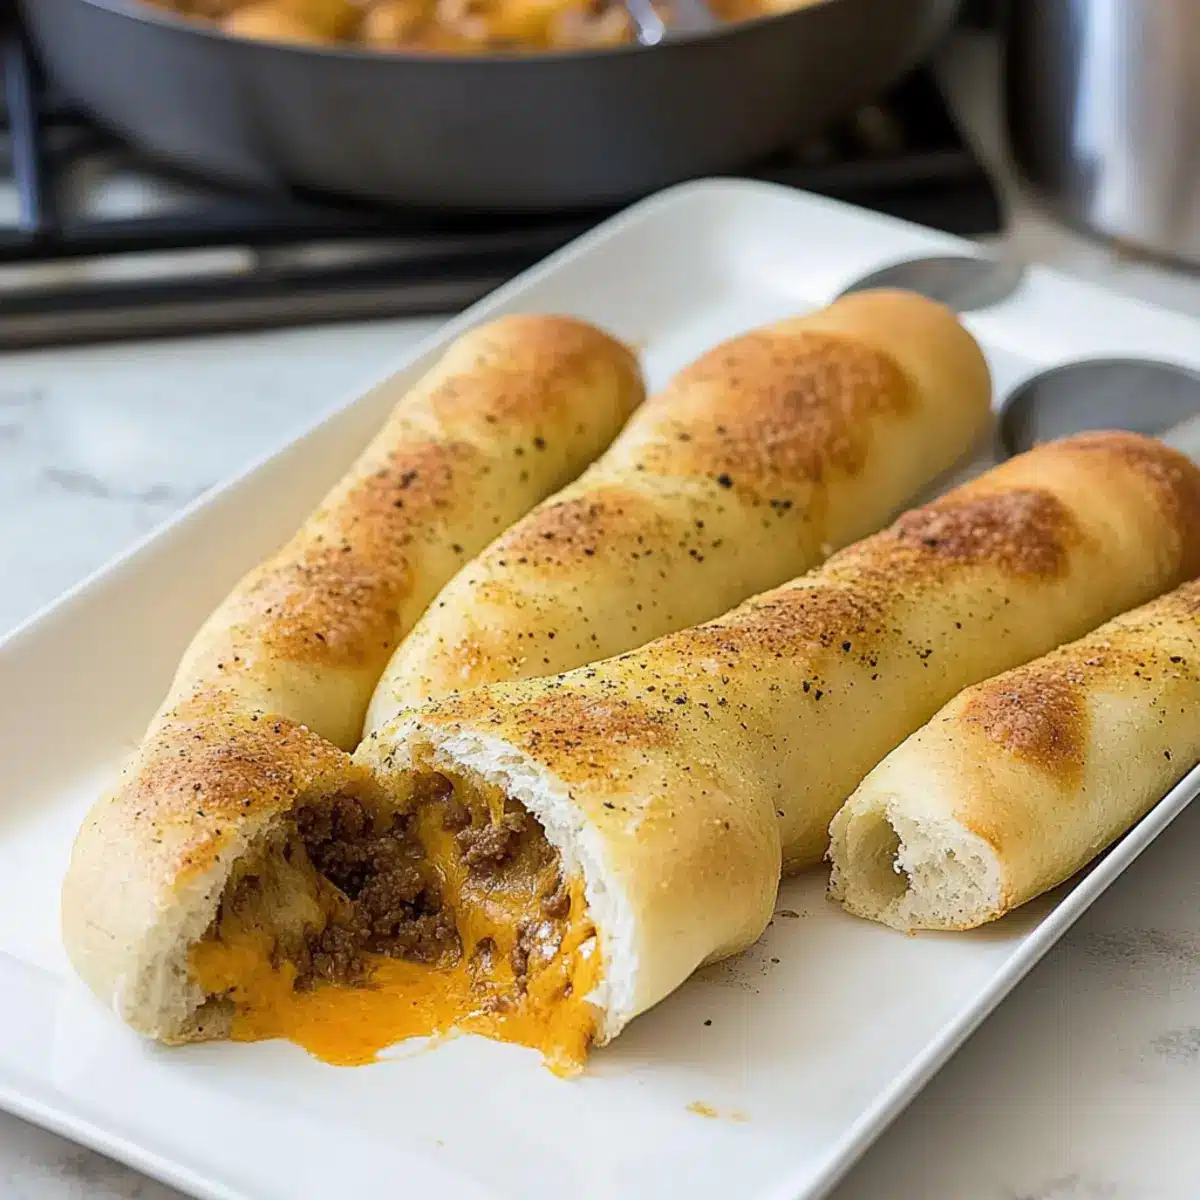
Preheat your oven to 375°F (190°C). Line a baking sheet with parchment paper and arrange the assembled Cheesy Taco Sticks on it, leaving space between each. Bake in the preheated oven for about 12-15 minutes, or until they are golden brown and the cheese is bubbling inside, creating an irresistible aroma in your kitchen.
Step 6: Serve
Once baked to perfection, remove the Cheesy Taco Sticks from the oven and let them cool for a couple of minutes on the baking sheet. Serve warm with sides of salsa and sour cream for dipping, and sprinkle some diced jalapeños on top if you crave a kick. These delightful treats are best enjoyed fresh out of the oven!
Make Ahead Options
These Cheesy Taco Sticks are perfect for meal prep enthusiasts looking to save time during busy weeknights! You can prepare the filling (ground beef mixed with taco seasoning) up to 3 days in advance, storing it in an airtight container in the refrigerator. Additionally, assemble the sticks by rolling the dough with the filling, and then keep them in the refrigerator for up to 24 hours before baking. Cover tightly with plastic wrap to maintain freshness and prevent the dough from drying out. When you’re ready to enjoy, simply preheat your oven and bake as instructed—this way, your Cheesy Taco Sticks will still be just as delicious, with that wonderful cheesy goodness waiting for you!
Cheesy Taco Sticks Variations & Substitutions
Feel free to get creative and customize your Cheesy Taco Sticks to suit your preferences and taste buds!
-
Spicy Jalapeños: Add diced jalapeños inside for a spicy kick that will awaken your senses. This lovely addition brings the perfect balance of heat and savory flavor.
-
Pepper Jack Cheese: Swap out your standard cheese for pepper jack to add a delightful spiciness. The creamy, melting nature of this cheese melds beautifully with the taco filling, offering a zesty surprise in every bite.
-
Vegetarian Twist: Use black beans or a combination of bell peppers and corn as a filling to craft a delicious vegetarian version. Packed with flavors and nutrients, it’s perfect for meatless meals while still satisfying taste buds.
-
Whole Wheat Dough: For a healthier option, replace conventional dough with whole wheat or gluten-free alternatives. This adds a nutty taste and enhances the nutritional value, proving that wholesome can be tasty!
-
Herb-Infused Butter: Elevate the flavor by mixing fresh herbs like cilantro or oregano into the butter mixture. This simple change will give your Cheesy Taco Sticks an aromatic lift that complements the filling beautifully.
-
Savory Add-Ins: Consider throwing in some sautéed mushrooms or roasted red peppers with the taco meat for added depth and hearty texture. These ingredients will enhance the flavors while providing additional moisture.
-
Cream Cheese Filling: For a creamy delightful twist, mix softened cream cheese with your taco filling. This will make your Cheesy Taco Sticks even richer and more indulgent, perfect for those special occasions!
-
Dipping Sauce: Serve your sticks with a fun dipping sauce like a chipotle mayo or zesty guacamole. These flavorful additions will bring your snack experience to a whole new level, making each bite even more enjoyable!
Feel free to explore these variations, and don’t forget to check out Pumpkin Pie Tacos or our delicious Low Carb Casserole for more culinary inspiration!
Storage Tips for Cheesy Taco Sticks
-
Fridge: Store leftover Cheesy Taco Sticks in an airtight container for up to 3 days. This keeps them fresh and prevents them from drying out.
-
Freezer: For longer storage, freeze the taco sticks individually wrapped in plastic wrap or stored in a freezer-safe bag for up to 3 months. They make for a quick and convenient snack later on!
-
Reheating: To enjoy your Cheesy Taco Sticks again, reheat in a preheated oven at 350°F (175°C) for about 10 minutes or until heated through. This preserves their crispiness and melty interior.
-
Serving Suggestions: Serve them warm with sides like salsa or sour cream for a delightful experience that brings the flavors back to life!
What to Serve with Easy Cheesy Taco Sticks
Dive into a full flavor experience by pairing these delightful cheesy bites with complementary sides and drinks.
-
Creamy Guacamole: Offers a cool contrast to the warm, cheesy sticks; perfect for dipping and adds a burst of fresh flavor.
-
Zesty Salsa: A classic accompaniment that brightens every bite; the tanginess beautifully balances the rich cheesy goodness.
-
Crisp Garden Salad: A refreshing medley of greens and veggies ensures a light touch alongside the savory taco sticks, enhancing your meal.
-
Spicy Jalapeño Poppers: For those craving extra heat, these toasty bites share the same taco-inspired flavors and deliver an added kick.
-
Smooth Queso Dip: Perfect for drizzling over your sticks or enjoying on the side; the creamy texture enhances your appetizer experience!
-
Chilled Lemonade: Nothing refreshes quite like a glass of this tangy drink, cutting through the richness while complementing the vibrant flavors.
-
Chocolate Chip Cookies: For a sweet finish, the gooey chocolate will satisfy your dessert cravings after the delightful cheesy bites.
Treat your family to a complete meal that’s both satisfying and unforgettable!
Expert Tips for Cheesy Taco Sticks
- Even Dough Thickness: Ensure the dough is rolled out evenly to promote uniform cooking, avoiding any potentially soggy or undercooked parts.
- Mind the Filling: Don’t overstuff your taco sticks. Use half cheese sticks to prevent overflow and ensure each bite has a perfect cheese-to-meat ratio.
- Air Fryer Adjustments: If using an air fryer, reduce cooking time and temperature slightly, checking frequently to avoid burning the cheesy taco sticks while also achieving that crispy exterior.
- Seal Those Edges: Make sure your dough is tightly rolled and edges are well-sealed to keep the filling from escaping during baking.
- Storage Tips: If you have leftovers, store them in an airtight container in the fridge and reheat in the oven for the best texture—avoiding the microwave.
Cheesy Taco Sticks Recipe FAQs
How do I choose ripe ingredients for my Cheesy Taco Sticks?
Absolutely! When selecting your ground beef, choose a lean blend, around 80/20, for a good flavor without being too greasy. Look for bright red meat with minimal discoloration. If you’re adding veggies like jalapeños, opt for firm ones without any dark spots, and they should have a fresh, vibrant color.
What is the best way to store leftover Cheesy Taco Sticks?
Store any leftover Cheesy Taco Sticks in an airtight container in the refrigerator for up to 3 days. Make sure they are completely cooled before sealing to maintain the best texture. Reheat in a 350°F (175°C) oven for about 10 minutes to keep them crispy and delicious.
Can I freeze Cheesy Taco Sticks?
Yes! For freezing, wrap each Cheesy Taco Stick in plastic wrap or aluminum foil, then place them in a freezer-safe bag. They can be stored for up to 3 months. When you’re ready to enjoy them, just reheat directly from the freezer in a preheated oven at 350°F (175°C) for about 15-18 minutes, or until heated through. This reheating method will help preserve their crispy crust and gooey filling.
What should I do if my taco sticks are leaking filling while baking?
Very! If you find your sticks are leaking, it may be because they were overstuffed. Try using only half of a cheese stick and a smaller portion of taco meat for each roll. Ensuring the edges are tightly sealed is another crucial step. If leaks happen, place a baking sheet below to catch any drips, and try to enjoy them nonetheless!
Are there any dietary considerations for Cheesy Taco Sticks?
Absolutely! For those with gluten sensitivities, you might consider using gluten-free pizza dough or tortillas as an alternative. Additionally, if you or someone in your household has allergies to dairy, using dairy-free cheese alternatives can ensure that everyone can enjoy this treat. Always check ingredient labels to account for possible allergens.
Can I make Cheesy Taco Sticks vegetarian?
Yes, you can easily create a vegetarian version! Replace the ground beef with a mixture of black beans or lentils and riff on the taco seasoning. Roasted vegetables such as zucchini and bell peppers would also add fantastic flavor. These adaptations can create a delightful twist on the original recipe, making it suitable for everyone at the table!
Melt-in-Your-Mouth Cheesy Taco Sticks for Game Day Fun
Ingredients
Equipment
Method
- In a skillet over medium heat, cook the ground beef until browned, about 7-10 minutes. Drain excess fat and mix in taco seasoning. Simmer for 2-3 minutes.
- Roll out pizza dough until flat and thin, about ¼ inch thick. Cut into rectangles, approximately 3 inches by 5 inches.
- Place a spoonful of seasoned meat in the center of each rectangle, top with half a cheese stick, and roll up tightly.
- Melt butter and mix with garlic powder and parsley. Brush the mixture on the tops of the rolled sticks.
- Preheat oven to 375°F (190°C). Line a baking sheet with parchment paper and arrange the sticks on it. Bake for 12-15 minutes until golden brown.
- Let cool slightly before serving warm with salsa and sour cream, sprinkled with diced jalapeños if desired.
Leave a Reply