
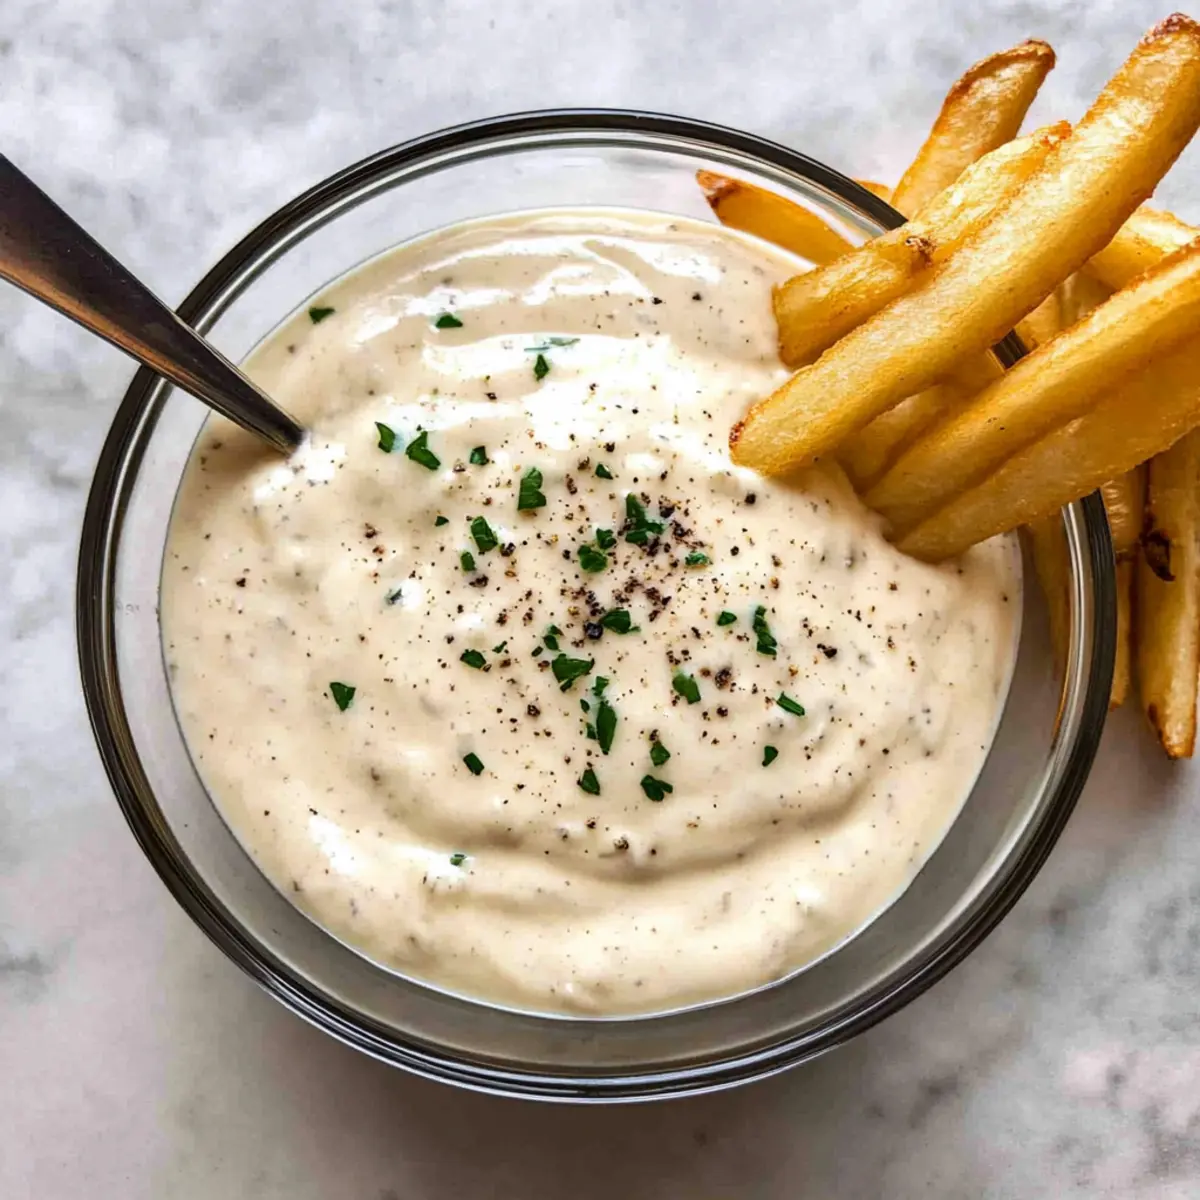
As I stood by the stove, the aroma of freshly grated garlic wafting through the air, I couldn’t help but feel a thrill of excitement. It’s amazing how just six simple ingredients can come together in mere minutes to create something truly unforgettable—like this Quick and Creamy Garlic Aioli. The rich, tangy flavor makes it the perfect partner for crispy fries or as a zesty spread on sandwiches. Plus, with its quick prep time, you can whip it up without breaking a sweat. Trust me, this aioli elevates any meal from ordinary to extraordinary. So, are you ready to impress your taste buds?
Why is Garlic Aioli a Must-Try?
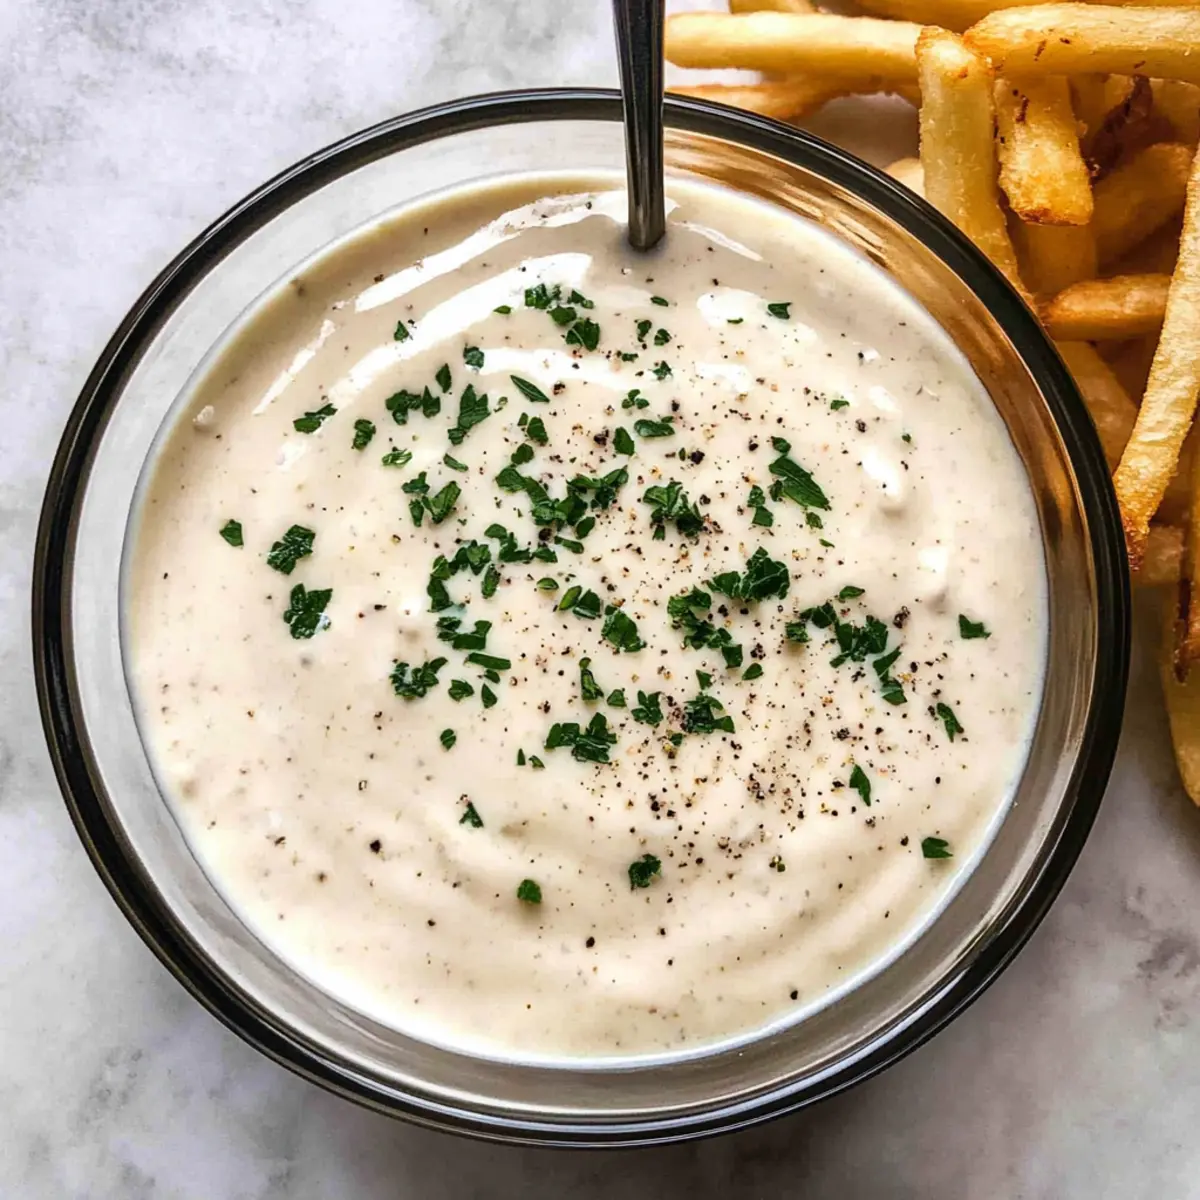
Creamy, velvety texture: The harmonious blend of mayonnaise and freshly grated garlic creates a delightful consistency that’s perfect for dipping.
Quick to prepare: With just six ingredients, you can whip this aioli together in under five minutes, making it an effortless addition to any meal.
Versatile condiment: From crispy fries to sandwiches, this garlic aioli enhances the flavor of your favorite dishes, transforming everyday meals into gourmet experiences.
Fresh ingredients: Using real garlic and freshly squeezed lemon juice ensures a robust flavor that outshines any store-bought option. Try pairing this with Garlic Butter Steak for a memorable dinner!
Make-ahead friendly: Prepare it in advance and enjoy it for up to five days, allowing flavors to meld beautifully, making it an ideal companion to quick meals or snacks.
Garlic Aioli Ingredients
For the Base
• Mayonnaise – The creamy foundation of this aioli; opt for Hellman’s for the best flavor.
• Garlic – Freshly grated; use a microplane to ensure a smooth consistency.
• Lemon Juice – Freshly squeezed for that tangy bite; essential for vibrant flavor.
For the Seasoning
• Salt – Enhances the overall taste; tweak to your preference based on other ingredients.
• Sugar – Just a pinch can balance the sharpness of garlic; can be omitted if desired.
• Black Pepper – Freshly ground offers a hint of warmth; it’s the perfect finishing touch.
• Garlic Powder – A subtle additive to enhance the garlic depth; complements the fresh garlic beautifully.
Embrace the delightful flavor of this Garlic Aioli that’s quick and easy to make!
Step‑by‑Step Instructions for Garlic Aioli
Step 1: Combine the Ingredients
In a small mixing bowl, combine the creamy mayonnaise, freshly grated garlic, and freshly squeezed lemon juice. Add a pinch of salt, a touch of sugar (if using), freshly ground black pepper, and a sprinkle of garlic powder. The vivid contrast in colors and aromas will get your taste buds tingling as you prepare this Garlic Aioli.
Step 2: Whisk Together
Using a whisk, vigorously mix the ingredients together until you achieve a smooth, cohesive blend. This should take about 30 seconds to 1 minute. You’ll know it’s ready when the mixture is thick and creamy, with no visible clumps of garlic. The garlic and lemon should meld seamlessly into the mayonnaise for a rich flavor profile.
Step 3: Let it Rest
Transfer the Garlic Aioli to an airtight container and refrigerate for at least 15 minutes. This resting period allows the flavors to meld beautifully, enhancing the garlic and lemon elements. Keep an eye out for the mixture thickening slightly as it chills, making it the perfect accompaniment to your favorite snacks.
Step 4: Serve and Enjoy
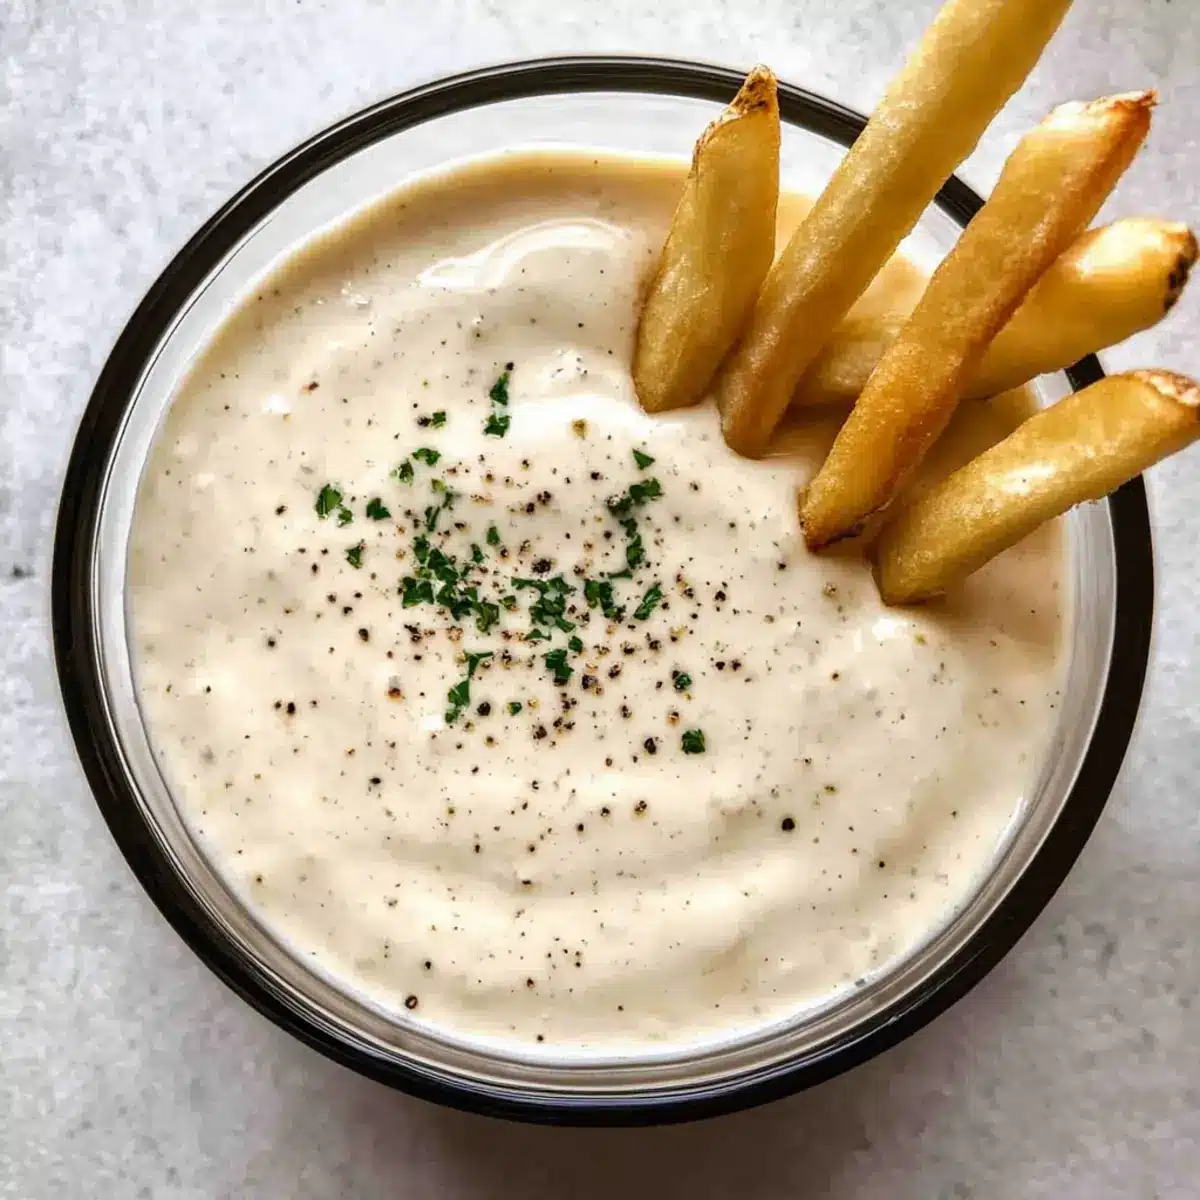
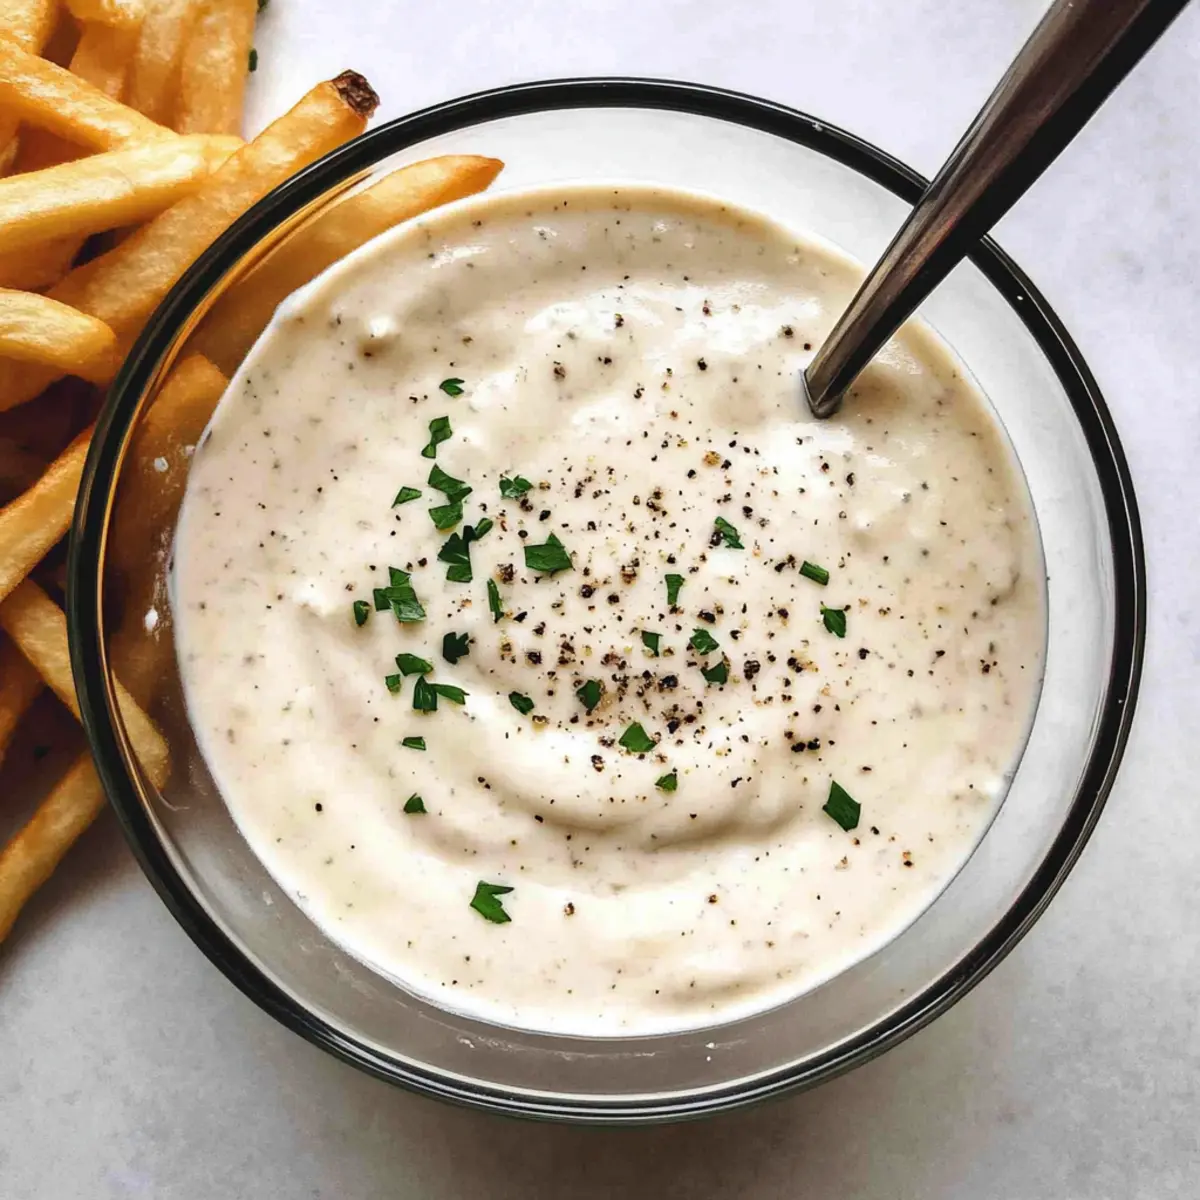
When ready to serve, give the aioli a quick stir to re-emulsify. Scoop some onto a small serving dish and pair it with crispy fries, onion rings, or fresh veggies for dipping. The creamy texture and robust flavor of this Garlic Aioli will make every bite a delicious experience.
Expert Tips for Garlic Aioli
- Chill for Flavor: Refrigerate for at least 15 minutes before serving to allow the flavors to meld, enhancing the overall taste of your garlic aioli.
- Use Fresh Ingredients: Always opt for fresh garlic and lemon juice; they make a significant difference in flavor compared to dried or bottled alternatives.
- Watch the Whisking: Be careful not to over-whisk, as this can make your aioli too thin. Aim for a thick, creamy consistency!
- Adjust to Taste: Feel free to tweak the salt and sugar levels according to your preference, ensuring the garlic doesn’t become overwhelming.
- Storage Tips: Store any leftover garlic aioli in an airtight container in the fridge for up to five days to maintain its freshness and flavor.
Garlic Aioli Variations & Substitutions
Feel free to get creative and personalize this Garlic Aioli to match your tastes—each variation adds its own special twist!
-
Greek Yogurt: Substitute Greek yogurt for mayonnaise to create a lighter, tangy version that’s just as delicious.
-
Fresh Herbs: Add dill, parsley, or basil to your aioli for a fresh herbaceous flair; these herbs brighten the flavors beautifully.
-
Cayenne Pepper: Spice things up with a pinch of cayenne pepper for a gentle kick that elevates the aioli to new flavor heights.
-
Smoked Paprika: Incorporate a dash of smoked paprika to introduce a depth of flavor; the smoky undertones pair beautifully with fried foods.
-
Roasted Garlic: For a sweeter, milder taste, use roasted garlic instead of fresh garlic; simply mash it into the mixture for a smooth blend.
-
Vegan Variation: Swap out mayonnaise for a plant-based alternative, keeping the flavor fabulous without the eggs.
-
Citrus Blend: Experiment with lime juice or even a splash of orange juice for a different citrus profile that adds a delightful twist.
-
Sun-Dried Tomatoes: Blend in finely chopped sun-dried tomatoes for a Mediterranean flair; it not only adds flavor but also a lovely color contrast.
Each of these variations can lead you down a delightful culinary path, pairing beautifully with dishes like Garlic Butter Steak or fresh veggies. The possibilities are endless!
How to Store and Freeze Garlic Aioli
Fridge: Store your leftover garlic aioli in an airtight container in the refrigerator for up to 5 days. This keeps it fresh and flavorful, perfect for your next meal.
Freezer: While not ideal for freezing due to its creamy texture, you can freeze garlic aioli in an airtight container for up to 2 months. Thaw overnight in the fridge before use.
Reheating: If you prefer to bring it back to room temperature, let it sit out for 30-60 minutes before serving. Stir gently to re-emulsify the mixture, restoring its creamy consistency.
What to Serve with Quick and Creamy Garlic Aioli
Elevate your meals with delightful pairings that enhance the creamy, tangy goodness of garlic aioli.
- Crispy Fries: Their golden crunch perfectly contrasts the smooth aioli, making each dip a burst of flavor.
- Onion Rings: The sweet, caramelized bite of onion complements the garlic, adding an irresistible crunch.
- Fresh Veggies: Crisp carrots and cucumbers provide a refreshing, healthy balance to the rich aioli.
- Grilled Chicken: Roasted or grilled, chicken benefits from the aioli’s zesty kick, making it a crowd-pleaser.
- Roasted Potatoes: The creamy garlic dressing drizzled on these herbed potatoes adds depth and comfort to your dish.
- Sandwiches and Wraps: Elevate lunchtime with a smear of aioli, delivering a zesty punch to your favorite fillings.
- Salads: Drizzle over fresh greens for a creamy dressing that beautifully pairs with the vibrant flavors of vegetables.
- Sparkling Wine: A glass of bubbly perfectly complements the bold flavors of garlic, making your meal feel extra special.
Make Ahead Options
These Garlic Aioli are perfect for busy home cooks looking to save time! You can prepare the aioli up to 5 days in advance to enjoy its flavors at their best. Simply whisk together all the ingredients as per the recipe and transfer them to an airtight container. For optimal flavor melding, refrigerate the aioli for at least 15 minutes before serving. To maintain its creamy texture, avoid over-whisking when preparing in advance. When you’re ready to serve, just give it a quick stir to recombine before pairing it with your favorite crispy fries or veggie platters. Enjoy fresh, restaurant-quality taste effortlessly!
Garlic Aioli Recipe FAQs
What types of garlic should I use for the best garlic aioli?
Absolutely! Fresh garlic is key to achieving that vibrant flavor in your aioli. I recommend using whole bulbs of garlic and freshly grating it with a microplane for the best results. Avoid dried or pre-minced garlic, as their flavor is often muted and lacks the robust kick that fresh garlic provides.
How should I store leftover garlic aioli, and how long will it last?
You can store your garlic aioli in an airtight container in the fridge for up to 5 days. Just make sure to keep it well-sealed to prevent it from absorbing other odors. To retain its creamy texture, give it a gentle stir before serving if any separation occurs.
Can I freeze garlic aioli?
While it’s generally not recommended to freeze garlic aioli due to its creamy texture, if you need to, you can freeze it in an airtight container for up to 2 months. To thaw, simply place it in the fridge overnight, and before serving, let it sit at room temperature for 30-60 minutes. Stir gently to restore its creamy consistency, and you’re good to go!
What if my garlic aioli turns out too thin?
Very! If you find your aioli is too thin, this could be due to over-whisking. To remedy this, let it chill in the fridge for at least 15 minutes, allowing it to thicken. Alternatively, you can add a bit more mayonnaise to achieve a thicker consistency.
Is this garlic aioli suitable for people with allergies?
For sure! The base of this garlic aioli is mayonnaise, which contains eggs. If you or your guests have egg allergies, you can substitute mayonnaise with a plant-based alternative. Always check labels for allergens if you’re serving it to guests, especially if they have dietary restrictions.
Can I use pre-made mayonnaise, or do I have to make my own?
Absolutely! For this garlic aioli, I suggest using a quality store-bought mayonnaise like Hellman’s for optimal flavor and convenience. It saves time and ensures that you get that creamy base without any hassle. However, if you’re feeling adventurous, homemade mayonnaise can take your aioli to the next level!
Creamy Garlic Aioli in 5 Minutes for Delicious Dips
Ingredients
Equipment
Method
- In a small mixing bowl, combine the creamy mayonnaise, freshly grated garlic, and freshly squeezed lemon juice. Add a pinch of salt, a touch of sugar (if using), freshly ground black pepper, and a sprinkle of garlic powder.
- Using a whisk, vigorously mix the ingredients together until you achieve a smooth, cohesive blend.
- Transfer the Garlic Aioli to an airtight container and refrigerate for at least 15 minutes.
- When ready to serve, give the aioli a quick stir to re-emulsify. Scoop some onto a small serving dish and pair it with crispy fries, onion rings, or fresh veggies.
Leave a Reply