
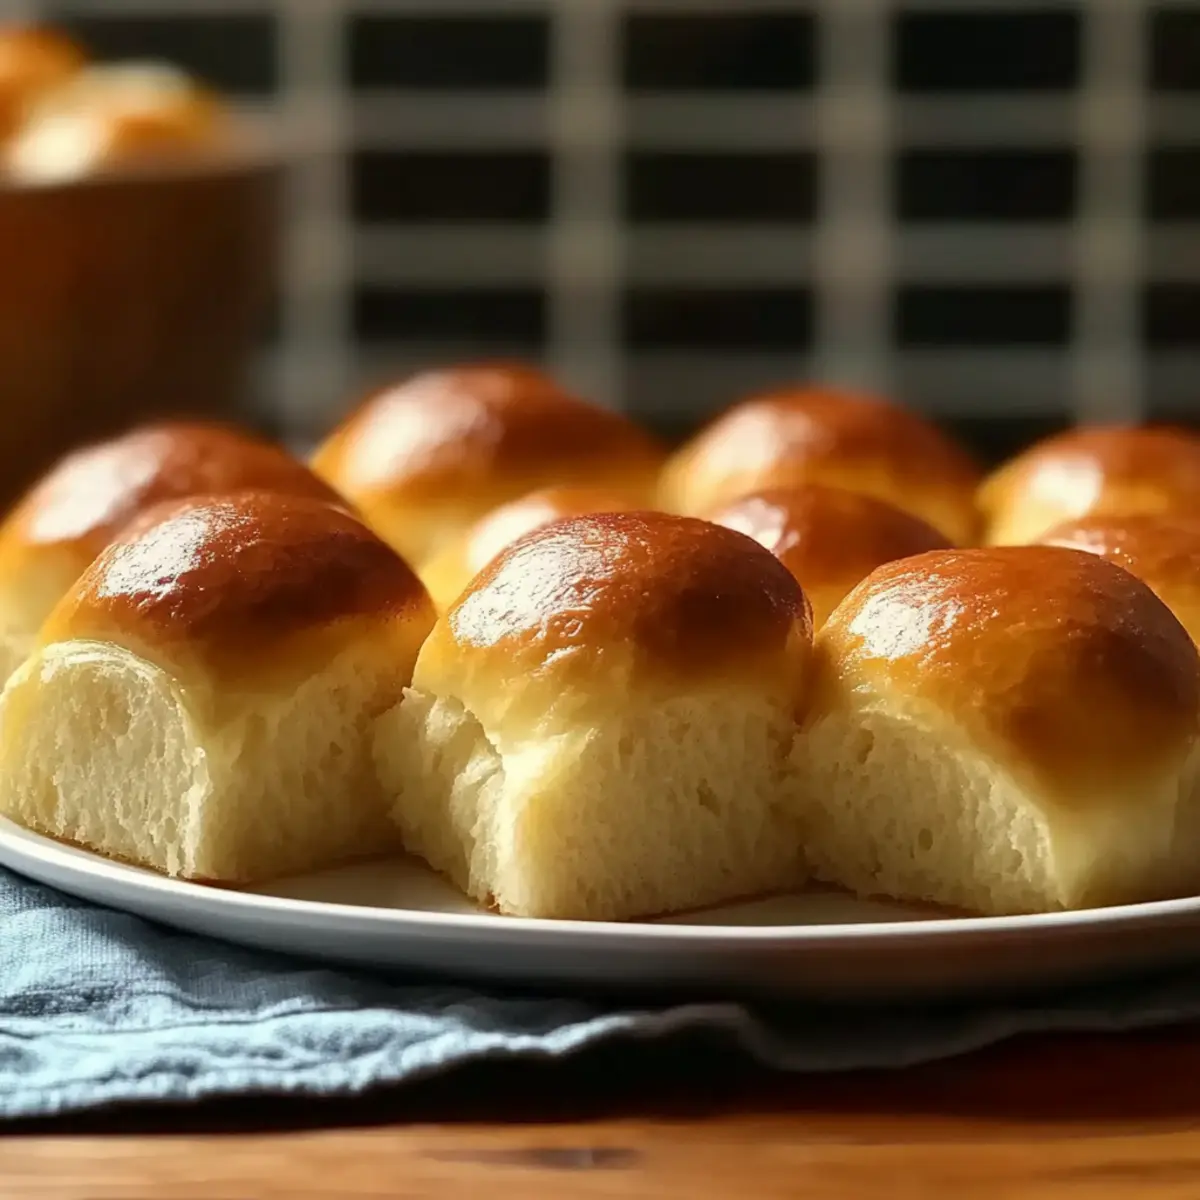
An unexpected aroma wafts through my kitchen, transporting me to the sunny shores of Hawaii. These Gluten-Free Hawaiian Rolls are my delicious answer to enjoying fluffy, sweet rolls without the gluten. Perfect for anyone looking to indulge in a comforting treat, this recipe not only caters to gluten-free diets but also adds a delightful twist to traditional dinners. What I love most about these rolls is that they’re quick to whip up and versatile enough to pair with a variety of dishes or shine on their own. Imagine biting into a soft, pillowy roll fresh from the oven, lightly brushed with melted butter. What will you serve them with?
Why Are These Rolls So Irresistible?
Deliciously Sweet: These gluten-free Hawaiian rolls pack a subtle sweetness that elevates any meal – perfect for accompanying savory dishes or as a standalone treat.
Easy to Make: With simple instructions and readily available ingredients, you’ll find that creating homemade rolls can be both approachable and fun!
Versatility: Whether served with butter or transformed into sliders, these rolls adapt beautifully to any dining occasion.
Warming Aroma: The delightful scent of these rolls wafting through your kitchen will have everyone eagerly anticipating the first bite.
Diet-Friendly: Not just gluten-free! This recipe can easily be modified to cater to dairy-free diets, ensuring everyone can enjoy them.
Get ready to impress dinner guests or simply enjoy a comforting snack at home, just like how you might appreciate the Grilled Cheese Hawaiian variation!
Gluten-Free Hawaiian Rolls Ingredients
• Discover the delightful components behind your favorite rolls!
For the Dough
- Gluten-Free Flour Blend – This is the essential base for your rolls, combining rice flour, potato starch, and tapioca flour for the perfect texture. Tip: Ensure precise measurement by spooning and leveling or weighing it (about 420g).
- Xanthan Gum – Vital for replicating gluten’s elasticity in gluten-free baking; skip it if using a blend that already contains it.
- Instant Yeast – Critical for creating airy, fluffy rolls; mix directly with dry ingredients, and always check for freshness.
- Granulated Sugar – Adds that distinctive touch of sweetness loved in Hawaiian rolls; honey is a great alternative for extra moisture.
- Warm Milk (or Pineapple Juice) – Milk enriches the dough; for a tropical twist, combine equal parts milk and canned pineapple juice warmed to about 110°F.
- Melted Butter (or Dairy-Free Butter) – Adds a rich, buttery texture; choose unsalted butter for full flavor control, or dairy-free for specific dietary needs.
- Eggs – Essential for adding moisture and helping the dough rise; use eggs at room temperature for optimal results.
- Salt – This not only enhances flavors but also balances the sweetness, preventing bland rolls.
Embrace the joy of baking these gluten-free Hawaiian rolls – a deliciously fluffy treat that fits beautifully into any meal!
Step‑by‑Step Instructions for Gluten-Free Hawaiian Rolls
Step 1: Prepare Dry Ingredients
In a stand mixer bowl, whisk together 420g gluten-free flour blend, xanthan gum (if using), granulated sugar, instant yeast, and salt. Make sure the ingredients are evenly mixed for a consistent dough. This dry mixture forms the base of your gluten-free Hawaiian rolls, ensuring they rise beautifully once combined with wet ingredients.
Step 2: Mix Wet Ingredients
In a separate jug, combine warm milk (or pineapple juice), melted butter, and eggs. Ensure the liquid mixture reaches around 110°F, which should feel pleasantly warm to the touch without being hot. This step is crucial for activating the yeast, ensuring your rolls will be light and fluffy.
Step 3: Combine Ingredients
Pour the warm liquid ingredients into the bowl of dry ingredients. Using the paddle attachment on your mixer, blend on low speed for 1 minute, then increase to medium-high for an additional 3 minutes. The resulting dough should be thick and sticky, resembling a cake batter, perfect for forming those delightful gluten-free Hawaiian rolls.
Step 4: Shape the Rolls
Grease a 9×13-inch baking pan to ensure easy removal later. Using a lightly oiled cookie scoop or your hands, portion the sticky dough into 12 equal pieces. Smooth the tops with wet fingers to create an attractive shape. Nestle the rolls close together in the prepared pan, ready for their first rise.
Step 5: First Rise
Cover the pan with oiled plastic wrap or a damp kitchen towel, and place it in a warm, draft-free area. Allow the rolls to rise for 45-60 minutes, or until they have doubled in size and are gently touching each other. This step is essential for achieving the soft, pillowy texture characteristic of gluten-free Hawaiian rolls.
Step 6: Preheat Oven & Bake
While the rolls are rising, preheat your oven to 375°F (190°C). Once the rolls have completed their rise, place the pan in the preheated oven and bake for 20-25 minutes. Watch for the tops to turn a lovely golden brown color, and cover with foil if they start browning too quickly.
Step 7: Finishing Touch
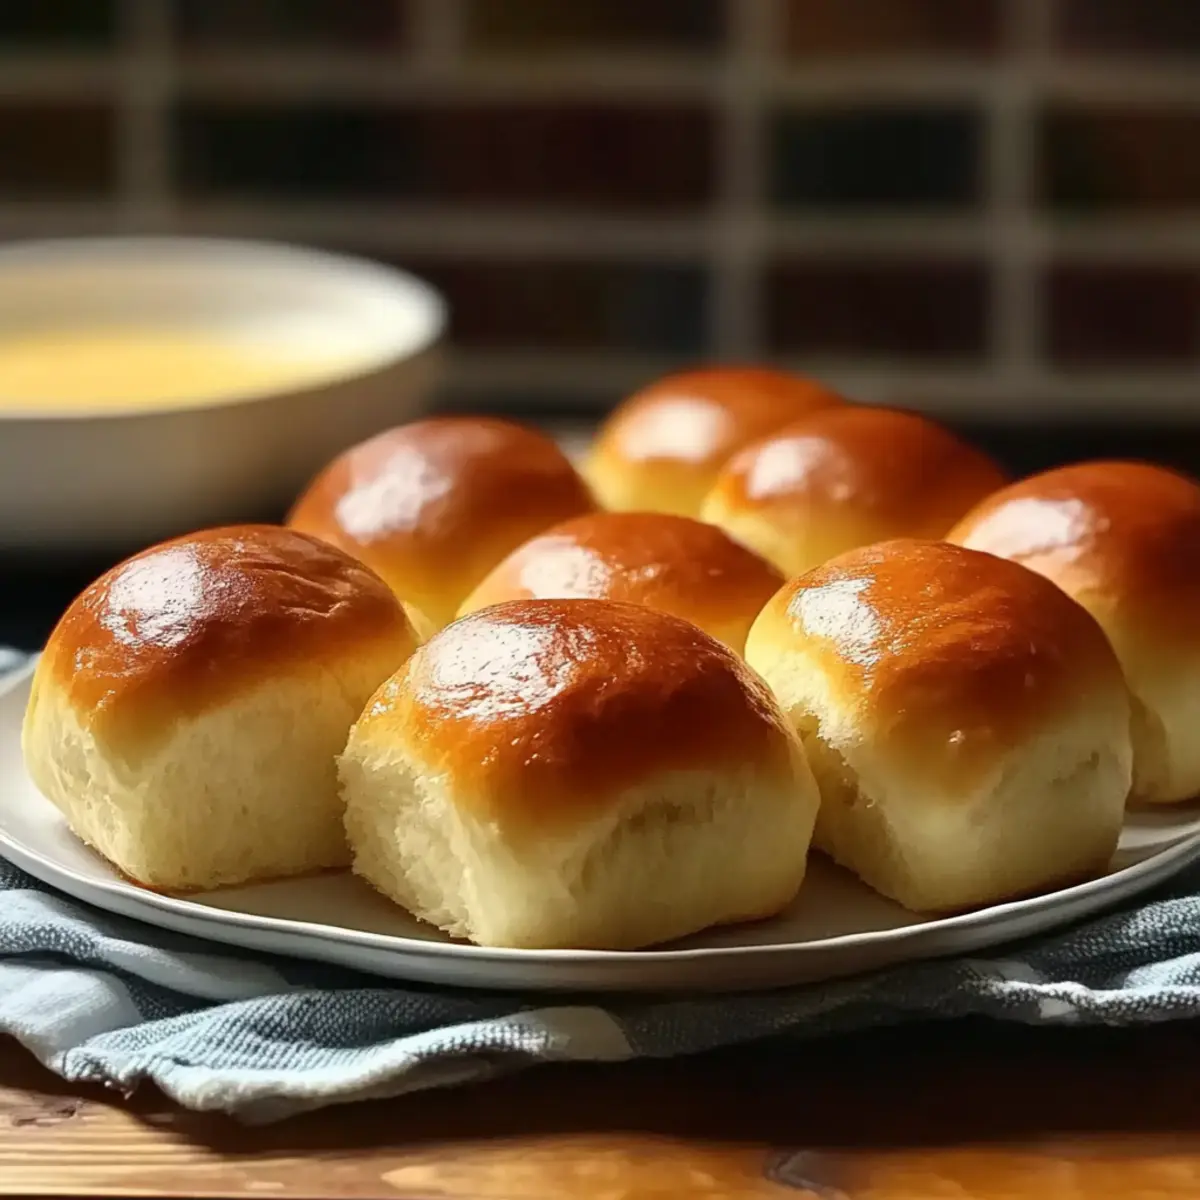
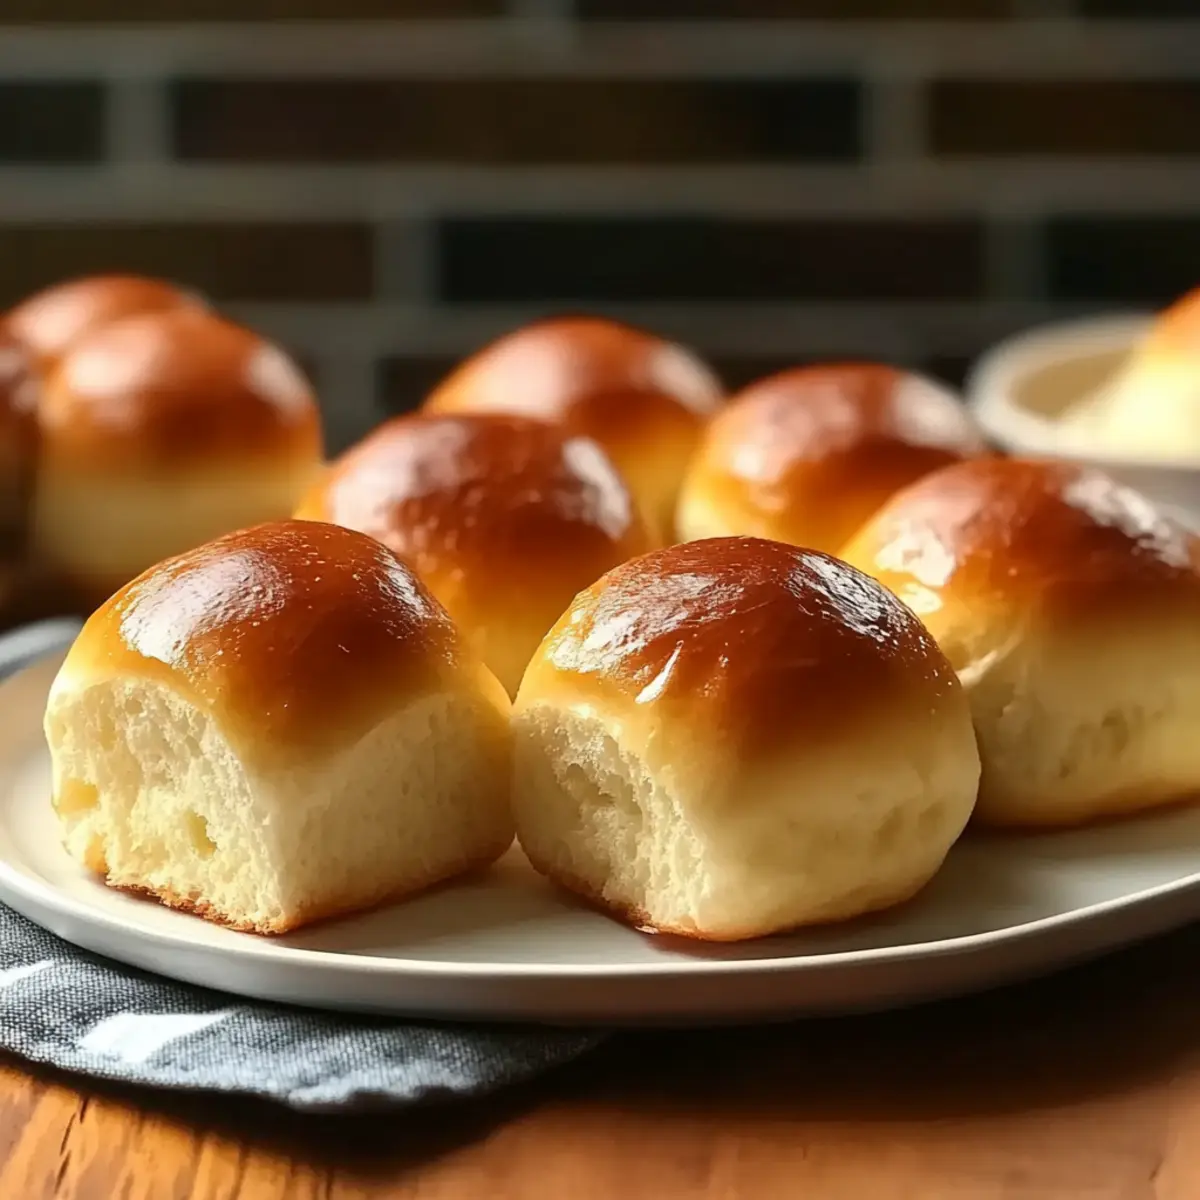
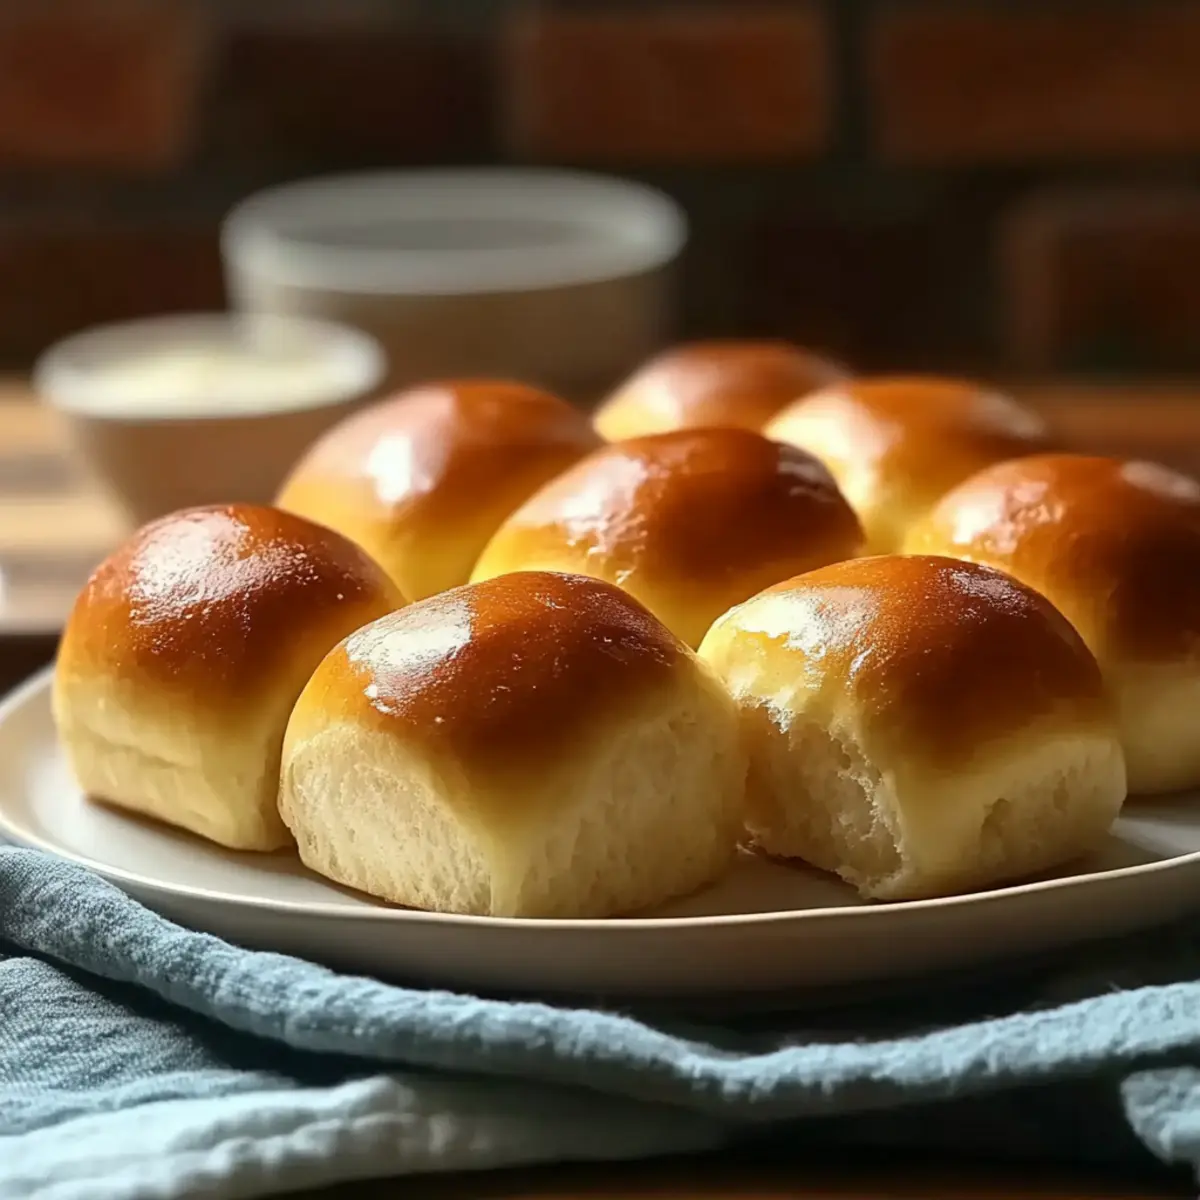
When the gluten-free Hawaiian rolls are golden and baked through, remove them from the oven. Immediately brush the tops with melted butter for an extra touch of flavor and shine. Allow the rolls to cool in the pan for at least 30 minutes before serving, enhancing their texture and taste.
How to Store and Freeze Gluten-Free Hawaiian Rolls
Room Temperature: Store rolls in an airtight container at room temperature for up to 2 days. They are best enjoyed fresh but can maintain moisture for a short time.
Freezer: For longer storage, wrap leftover rolls tightly in plastic wrap and then aluminum foil. Freeze for up to 3 months. Thaw at room temperature or reheat straight from the freezer.
Reheating: To reheat, place rolls in a preheated 350°F (175°C) oven for 10-15 minutes until warmed through. Brush with melted butter for extra flavor before serving.
Tip: For optimal texture, enjoy your gluten-free Hawaiian rolls fresh!
Expert Tips for Gluten-Free Hawaiian Rolls
-
Precise Measurements: Spoon and level your gluten-free flour instead of scooping to avoid dense rolls. This will ensure your gluten-free Hawaiian rolls are light and fluffy.
-
Warm Ingredients: Ensure your milk and other liquids are warm but not hot. This step activates the yeast and promotes a lovely rise during baking.
-
Sticky Dough Handling: Embrace the sticky consistency of gluten-free dough. Use oiled hands or utensils instead of flour to shape your rolls, preventing unnecessary dryness.
-
Fresh Yeast Checks: Always check your instant yeast’s freshness before use. Expired yeast will result in flat rolls with no rise, so keep it stored correctly for best results.
-
Perfecting the Rise: If your kitchen is too cool, consider placing the dough in a slightly warmed oven (turned off) to encourage a better rise during the first proofing stage.
-
Customize the Flavor: For a unique twist, replace half the milk with pineapple juice for added moisture and authentic Hawaiian flavor in your rolls.
Gluten-Free Hawaiian Rolls Variations
Feel free to get creative with these gluten-free Hawaiian rolls and craft the perfect version for you and your family!
-
Dairy-Free: Substitute melted butter with a dairy-free alternative and use almond or coconut milk for a vegan-friendly treat. These rolls will still be irresistibly fluffy!
-
Honey-Sweetened: Swap granulated sugar for honey to infuse a touch of floral sweetness. You might find these rolls are even more delightful when slathered with honey butter!
-
Pineapple Twist: Enhance the tropical flavor by adding crushed pineapple to the dough. This adds extra moisture and a delicious fruity bite that’s hard to resist.
-
Savory Spin: Mix in fresh herbs like rosemary or thyme for a savory twist. Imagine the aromatic goodness with a hint of garlic butter served alongside your favorite main dishes.
-
Mini Rolls: Divide the dough into smaller portions to create mini rolls perfect for sliders. These are great for lunch boxes or family gatherings.
-
Cinnamon Swirl: Add a swirl of cinnamon and brown sugar for a sweet breakfast treat. These rolls could be an indulgent way to start the day, especially with a drizzle of icing!
-
Spicy Kick: For those who enjoy a bit of heat, fold in chopped jalapeños or other spicy peppers. This adds an exciting flavor profile that pairs well with BBQ dishes.
-
Stuffed Rolls: Create a surprise element by stuffing them with your choice of filling, such as shredded meat, cheese, or sautéed vegetables for a hearty option.
No matter how you choose to customize these gluten-free Hawaiian rolls, they will undoubtedly be a hit at your next family dinner or cozy gathering. Need more inspiration? Try these Grilled Cheese Hawaiian bites or the sweet delight of Blueberry Cinnamon Rolls for a fun twist!
What to Serve with Gluten-Free Hawaiian Rolls?
Imagine a soft, fluffy roll ready to complement your favorite savory dishes or to be enjoyed with a simple smear of butter.
-
Savory Ham:
This classic pairing balances the sweetness of the rolls, creating a delightful contrast that’s simply irresistible. -
Tropical Fruit Salad:
A light and refreshing side, bursting with vibrant flavors that enhance the rolls’ sweetness. -
Garlic Butter Shrimp:
The tender, buttery shrimp plays off the rolls’ soft texture while adding a punch of flavor that leaves you wanting more. -
Creamy Coleslaw:
The crunchy texture and tangy dressing of coleslaw provide a crunchy, satisfying offset to the sweet softness of the rolls. -
Honey Glazed Carrots:
Sweet and vibrant, these carrots mirror the Hawaiian influence and add a pop of color to your plate. -
Grilled Pineapple:
Caramelized pineapple slices echo the tropical theme, enhancing the Hawaiian essence of these rolls and making for a delightful side. -
Creamy Potato Salad:
The richness of potato salad complements the fluffy rolls, ensuring a filling, hearty meal that everyone will love. -
Pineapple Coconut Smoothie:
Pair your rolls with a refreshing smoothie for a quick, delightful drink that embodies the tropical essence of Hawaii. -
Chocolate Chip Cookies:
What better way to finish a meal than with warm, gooey cookies that echo the sweetness of your gluten-free Hawaiian rolls?
Make Ahead Options
These Gluten-Free Hawaiian Rolls are perfect for meal prep enthusiasts! You can prepare the dough up to 24 hours in advance by following the first five steps of the recipe, then cover your shaped rolls with oiled plastic wrap and refrigerate them until ready to bake. This allows the dough to rise slowly for enhanced flavor. When you’re ready to serve, simply preheat the oven and bake them directly from the fridge, adding an extra minute or two if needed. This method lets you skip the stressful rush on busy nights, ensuring your rolls are just as delicious as if made fresh!
Gluten-Free Hawaiian Rolls Recipe FAQs
How do I choose the right gluten-free flour blend?
Absolutely! When selecting a gluten-free flour blend, look for one that contains a mixture of rice flour, potato starch, and tapioca flour. This combination provides the right structure and texture for your rolls. Avoid blends with too many additives or preservatives for the best results. If possible, choose a blend specifically labeled for baking.
How should I store my gluten-free Hawaiian rolls?
For optimal freshness, store your rolls in an airtight container at room temperature for up to 2 days. If you want to keep them longer, wrap them tightly in plastic wrap, followed by aluminum foil, and freeze for up to 3 months. They can be thawed at room temperature or reheated in a preheated oven at 350°F (175°C) for about 10-15 minutes until warmed through.
Can gluten-free Hawaiian rolls be frozen?
Yes, indeed! To freeze your gluten-free Hawaiian rolls, first allow them to cool completely after baking. Once cooled, wrap each roll individually in plastic wrap, then place them in a freezer-safe bag or container. This helps prevent freezer burn and keeps them fresh. When you’re ready to enjoy, simply thaw them at room temperature or reheat from the freezer without thawing for a delightful treat anytime!
What should I do if my dough is too sticky?
Very common! Gluten-free dough can be sticky, so don’t worry. Use oiled hands or utensils to handle the dough instead of adding more flour, which can make the rolls dense. If it’s particularly sticky, let it rest for a few minutes before shaping to allow the flour to absorb more moisture. You want that soft, pillowy texture, so embrace the stickiness!
Are these rolls suitable for people with dairy allergies?
Yes! You can easily adapt this gluten-free Hawaiian rolls recipe to be dairy-free. Simply substitute the melted butter with a dairy-free alternative like coconut oil or dairy-free butter. Additionally, use plant-based milk or other dairy-free milk options in place of regular milk. Always check labels on the products to ensure they meet your dietary needs.
Can I use honey or another sweetener in place of granulated sugar?
Absolutely! You can substitute granulated sugar with honey for a moister roll. If you choose honey, use approximately ¾ cup instead of 1 cup of sugar, and reduce the liquid ingredients slightly to maintain the right dough consistency. Likewise, coconut sugar is another excellent alternative that provides a subtle caramel note while keeping the rolls deliciously sweet.
Delicious Gluten-Free Hawaiian Rolls That Everyone Will Love
Ingredients
Equipment
Method
- Prepare Dry Ingredients: In a stand mixer bowl, whisk together gluten-free flour blend, xanthan gum, granulated sugar, instant yeast, and salt.
- Mix Wet Ingredients: In a separate jug, combine warm milk (or pineapple juice), melted butter, and eggs.
- Combine Ingredients: Pour the warm liquid ingredients into the bowl of dry ingredients, blend on low speed for 1 minute, then medium-high for 3 minutes.
- Shape the Rolls: Grease a 9x13-inch baking pan, portion the dough into 12 pieces, and place in the pan.
- First Rise: Cover the pan and let the rolls rise in a warm area for 45-60 minutes.
- Preheat Oven & Bake: Preheat oven to 375°F (190°C) and bake for 20-25 minutes until golden brown.
- Finishing Touch: Brush tops with melted butter after baking and cool for at least 30 minutes.
Leave a Reply