
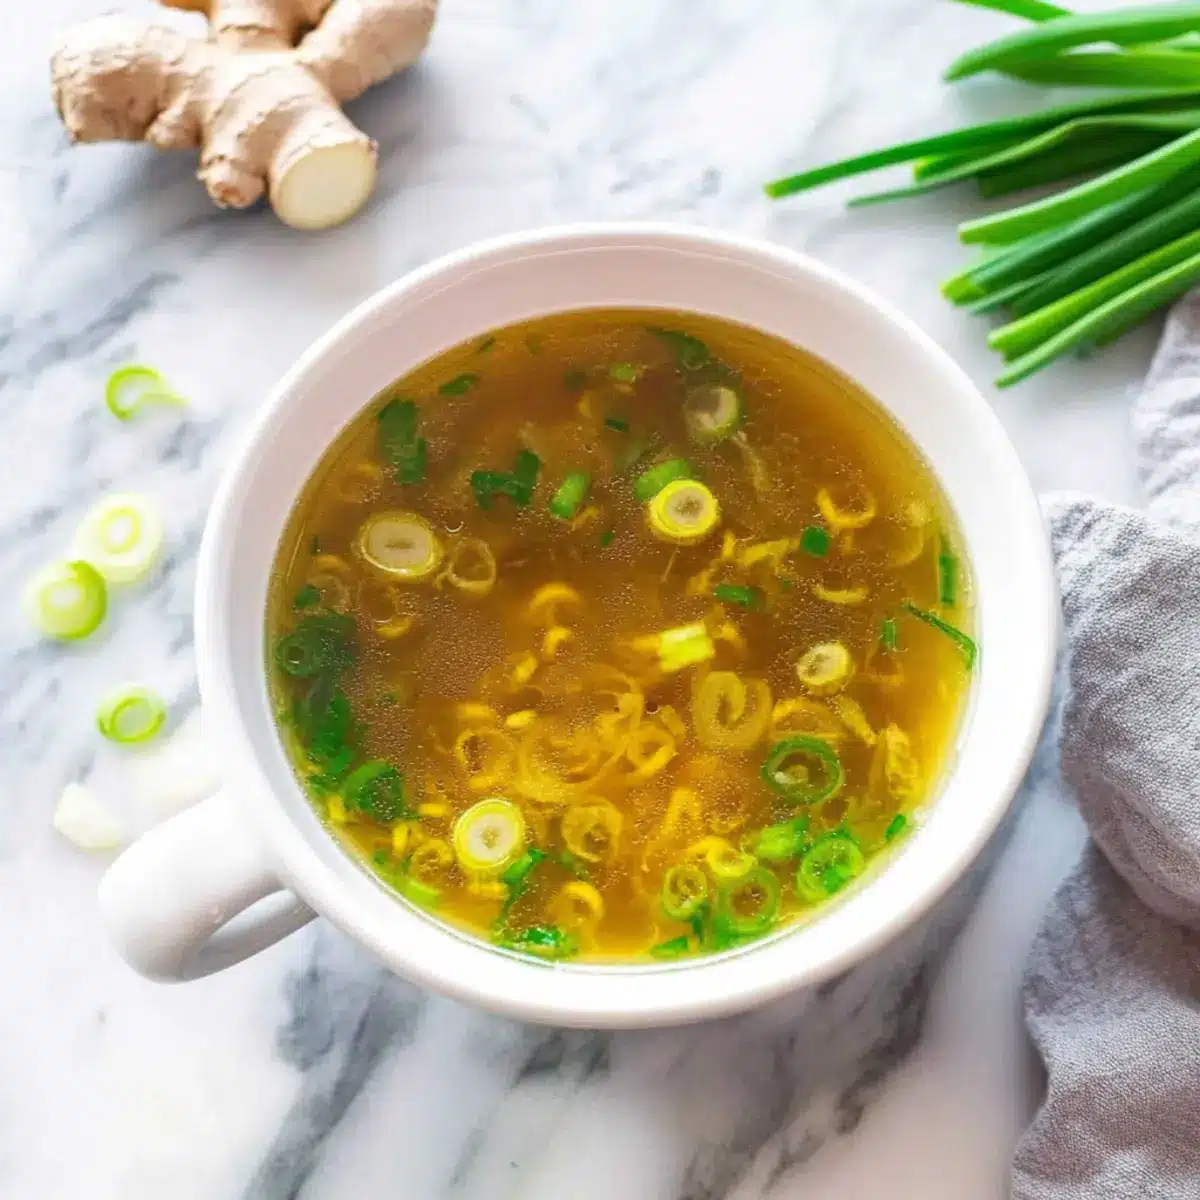
As I stirred the bubbling pot, a wave of warmth and comfort washed over me—one that only a homemade broth can provide. This 10-Minute Immune Boosting Broth is my secret weapon against the hustle and bustle of life, a quick remedy packed with the vibrant flavors of garlic, ginger, and turmeric. With just a handful of wholesome ingredients, I’m not only nurturing my taste buds but also fortifying my immune system. This broth is both dairy-free and gluten-free, making it a fantastic choice for everyone from busy families to health-conscious foodies. And the best part? It’s ready in a flash! So, why not take a moment to sip something that soothes while you unwind? What will you add to make it your own?
Why is this broth a must-try?
Quick and Easy: Whip up this Immune Boosting Broth in just 10 minutes, making it perfect for busy weeknights or unexpected cravings.
Nutrient-Packed: Loaded with immune-boosting ingredients like garlic and ginger, this broth offers a robust flavor and wellness benefits in every sip.
Versatile Base: Enjoy it as a soothing drink, or elevate your meals by adding vegetables, noodles, or tofu for a heartier dish.
Dairy-Free & Gluten-Free: With its inclusive ingredients, this broth caters to various dietary needs, ensuring that everyone can indulge guilt-free.
Comforting Goodness: The warm, golden broth delivers a cozy experience, reminiscent of traditional recipes that embrace health and flavor, similar to my Caramelised Soy Chicken.
Immune Boosting Broth Ingredients
For the Broth Base
• Water – Essential for hydration and flavor extraction, it’s the heart of your broth.
• Gluten-Free Mellow White Miso – Adds rich umami and probiotics; for a soy-free option, try chickpea miso.
• Salt – Balances flavors and enhances the taste, just the right touch for your Immune Boosting Broth.
For the Flavor Boost
• Garlic (8 cloves, grated) – Known for its antiviral properties, it imparts a robust flavor to your broth.
• Ginger (2 tablespoons, peeled and grated) – Offers warmth and anti-inflammatory benefits with each sip.
• Scallion (1, sliced) – Adds an aromatic profile that brightens the broth’s flavor.
• Horseradish (1 tablespoon, peeled and grated) – Provides heat and vitamin C; cayenne can be a great substitute if fresh is hard to find.
For the Enriching Fats
• Avocado Oil or Coconut Oil (2 teaspoons) – Adds beneficial fats for a rich texture; either option works beautifully.
For the Zesty Finish
• Raw Apple Cider Vinegar (2 tablespoons) – Enhances acidity and is great for your gut health.
• Ground Turmeric (1 teaspoon) – Adds a stunning golden color and offers anti-inflammatory benefits; embrace its earthy flavor!
By gathering these wholesome ingredients, you’re getting ready to create a comforting bowl of goodness that will warm your soul!
Step‑by‑Step Instructions for Immune Boosting Broth
Step 1: Boil the Water
In a large pot, pour in 8 cups of water and place it over high heat. Bring the water to a rolling boil, which should take about 5-7 minutes. As the bubbles begin to form, you’ll notice a lively sound—this indicates that your broth base is ready to come alive with flavor.
Step 2: Incorporate the Miso
Once the water is boiling, lower the heat to medium-low and carefully stir in 1 cup of gluten-free mellow white miso. Mix until it dissolves completely, ensuring you achieve a smooth consistency. This step is crucial as it begins to introduce that rich umami flavor essential for your Immune Boosting Broth.
Step 3: Add Fresh Ingredients
Next, toss in the grated garlic, grated ginger, sliced scallion, and grated horseradish into the pot. Stir these vibrant ingredients for 1-2 minutes, allowing their aromas to release and intermingling beautifully within the broth. The mixture will start to smell fragrant, signaling that you’re enhancing the broth’s taste.
Step 4: Enrich with Oils and Acidity
Drizzle in 2 teaspoons of avocado oil or coconut oil along with 2 tablespoons of raw apple cider vinegar. Stir gently for another 1-2 minutes to incorporate these ingredients. This step enhances the texture and adds probiotic benefits, making your Immune Boosting Broth both smooth and healthful.
Step 5: Season and Simmer
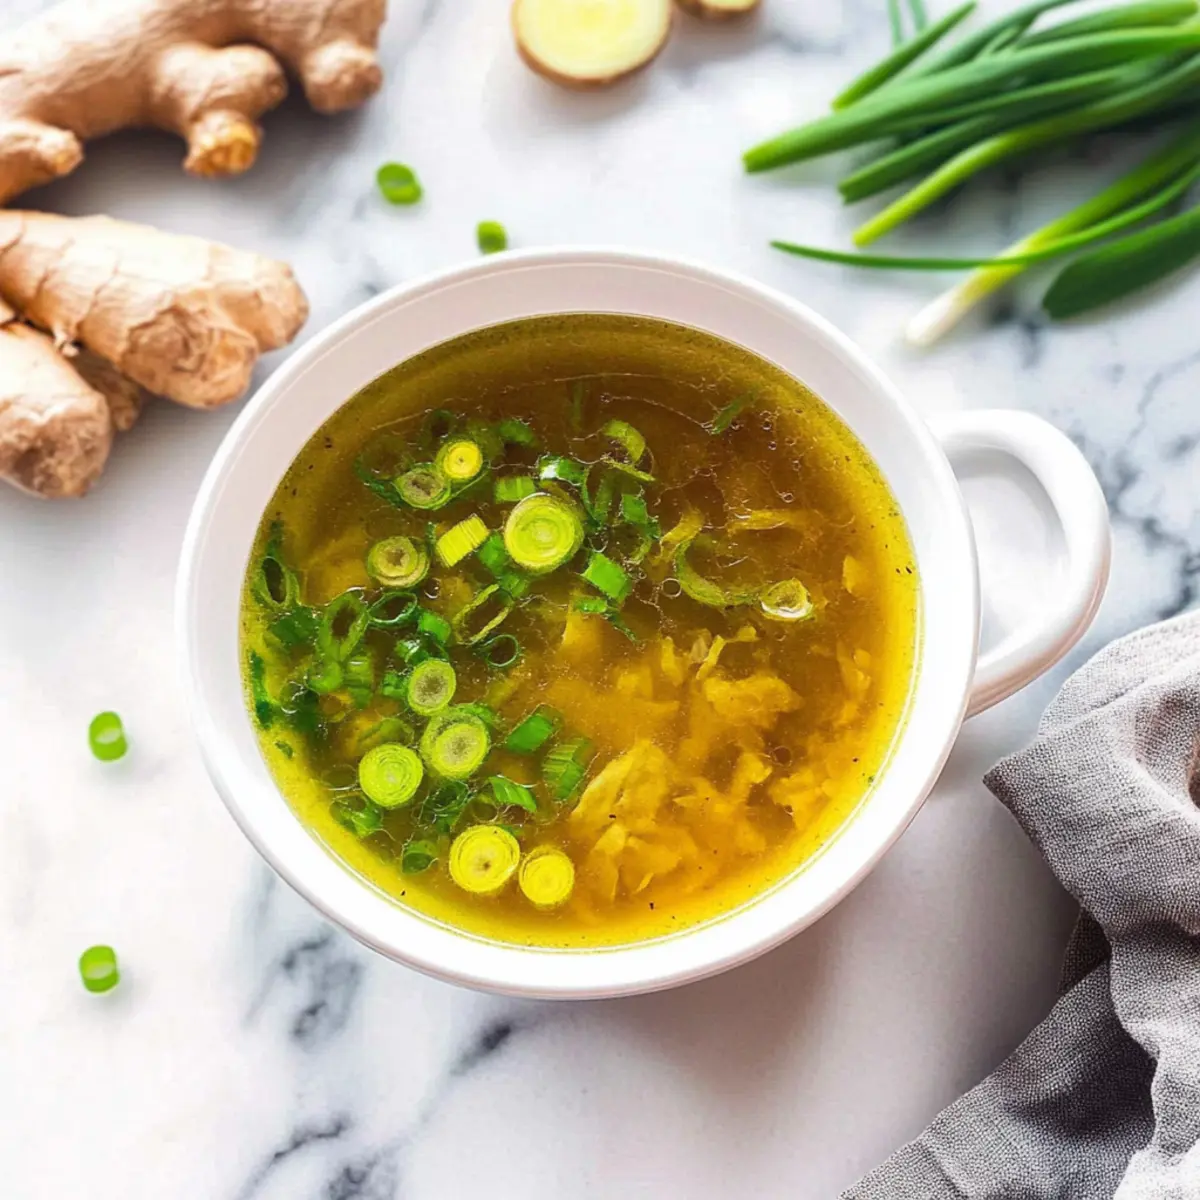
Sprinkle in 1 teaspoon of ground turmeric and ½ teaspoon of salt, stirring well for an even distribution. Allow the broth to simmer on medium-low heat for an additional 2-3 minutes. You’ll see the broth take on a beautiful golden hue, indicating that it’s packed with flavor and ready to nourish.
Step 6: Serve Warm or Store
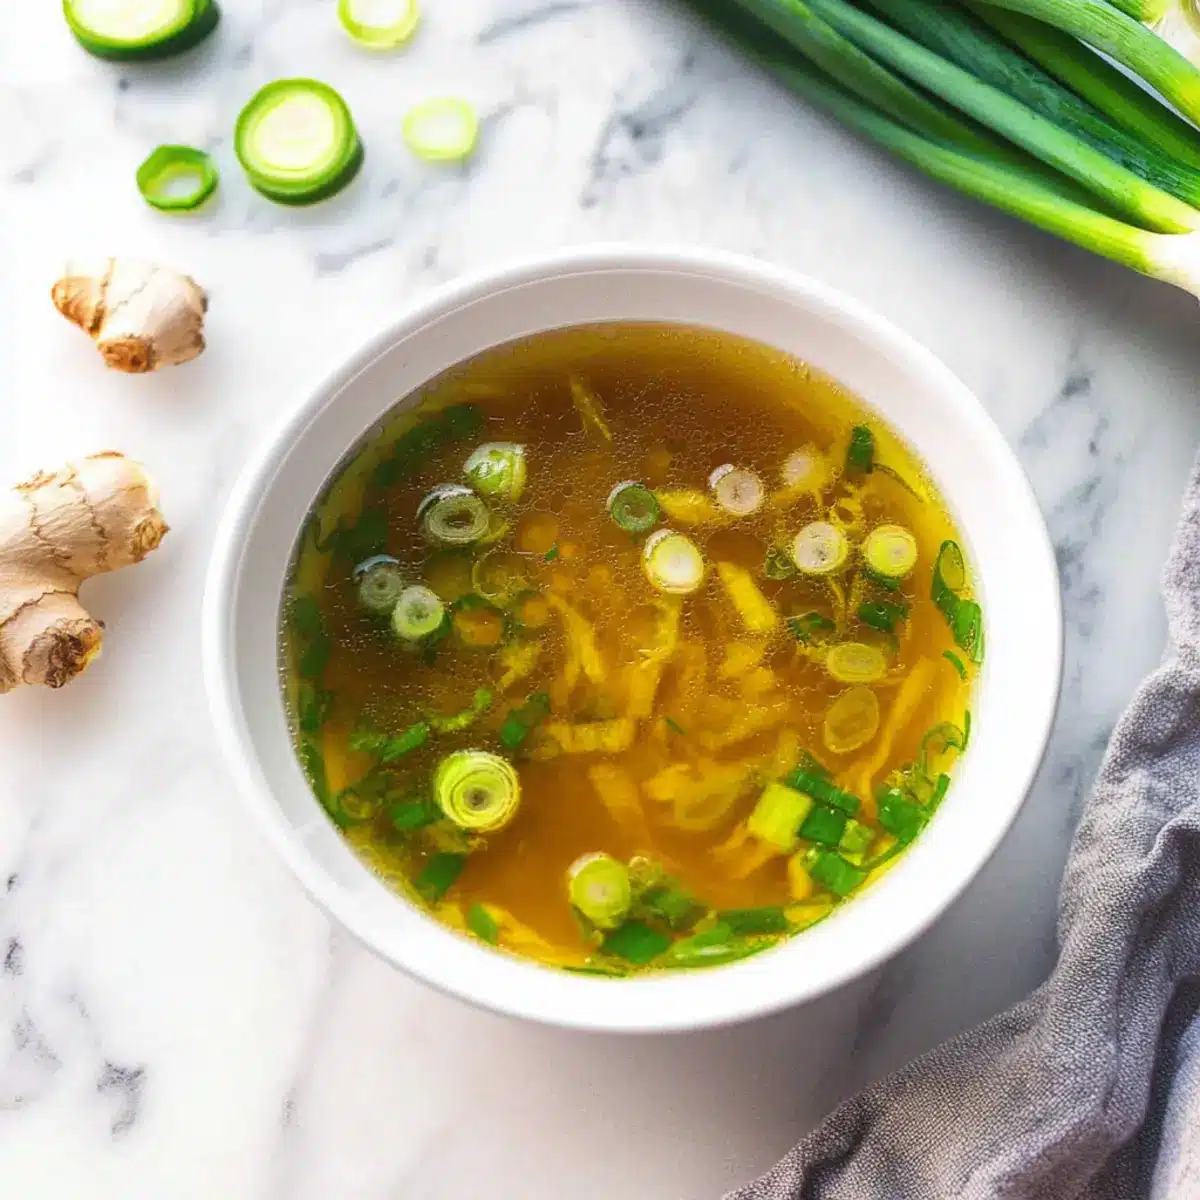
Once the broth has simmered, it’s ready to be served hot as a comforting drink or as a flavorful base for soups. Pour it into bowls and enjoy the warmth. If you have leftovers, store them in the refrigerator for 3-5 days, or freeze for future cozy meals—your homemade Immune Boosting Broth is now complete!
How to Store and Freeze Immune Boosting Broth
Fridge: Store your Immune Boosting Broth in an airtight container for up to 5 days. This keeps it fresh and full of flavor for quick meals.
Freezer: For longer storage, freeze the broth in portion-sized containers or freezer bags. It can last for up to 3 months—ideal for making easy warm meals later!
Reheating: To reheat, thaw overnight in the fridge, then gently warm on the stovetop until heated through. Avoid boiling to preserve the goodness.
Labeling: Don’t forget to label your containers with the date, so you can enjoy your broth at its best!
Make Ahead Options
Preparing this Immune Boosting Broth in advance can save you precious time during busy weeknights! You can chop the garlic, ginger, and scallions, and grate the horseradish up to 24 hours ahead. Store these prepped ingredients in an airtight container in the refrigerator to maintain their freshness. Additionally, you can mix the miso, turmeric, and salt together and keep it refrigerated for added convenience. When you’re ready to enjoy your broth, simply bring the water to a boil, stir in the miso mixture, and add the chopped ingredients, simmering for just a few minutes to infuse the flavors. This way, you’ll have a nourishing, homemade broth ready in no time!
Immune Boosting Broth Variations
Embrace the creative possibilities with this broth and tailor it to your tastes or dietary needs!
- Soy-Free: Swap the gluten-free mellow white miso for chickpea miso for a delightful, soy-free alternative.
- Hearty Addition: Add diced vegetables like carrots, spinach, or sweet potatoes for an extra boost of nutrients and color.
- Protein Boost: Stir in soft or firm tofu for added protein, making it a filling meal.
- Heat Level: For those who love a kick, sprinkle in some red pepper flakes or a dash of sriracha for a spicy twist!
- Citrus Zest: Brighten up the flavors by adding a squeeze of fresh lemon or lime just before serving. The citrus will enhance the broth’s brightness.
- Herb Infusion: Toss in fresh herbs like cilantro or parsley right before serving for an aromatic finish.
- Creamy Texture: Blend in a splash of coconut milk for a creamy version of the broth, adding richness without dairy.
- Easy Substitute: If fresh horseradish is hard to find, reach for prepared horseradish in a jar without additives for convenience.
Feel free to explore these variations and make this broth your own! For additional hearty meals, consider pairing it with my delightful Caramelised Soy Chicken.
Expert Tips for Immune Boosting Broth
Miso Matters: Ensure you add the gluten-free miso after removing the broth from heat. Boiling miso destroys its beneficial probiotics.
Fresh Ingredients: Use fresh garlic and ginger for maximum flavor and health benefits. Avoid pre-minced versions, as they lose potency.
Storage Solutions: Keep leftovers in an airtight container in the fridge for up to 5 days, or freeze portions for quick access to your Immune Boosting Broth.
Flavor Variations: If fresh horseradish is scarce, don’t hesitate to substitute it with cayenne pepper for similar heat and flavor.
Add-Ins Galore: Experiment with adding your favorite vegetables or proteins, like tofu or chickpeas, to create a heartier meal from your broth.
What to Serve with Immune Boosting Broth
Savoring this healing broth sets the stage for nourishing your body while enjoying comforting flavors that warm the soul.
-
Fresh Greens Salad: The crispness of mixed greens with a light vinaigrette contrasts beautifully with the warmth of the broth, adding a refreshing balance.
-
Quinoa Pilaf: Nutty quinoa brings a hearty texture that complements the broth’s lightness, making for a wholesome meal packed with protein.
-
Garlic Breadsticks: These savory breadsticks make for perfect dipping companions, soaking up the delicious broth and heightening the experience.
-
Steamed Veggies: Brightly colored veggies, like broccoli and carrots, provide vibrant colors and nutrients, enhancing the health benefits of your meal.
-
Chickpea Salad: A protein-rich salad with lemon and herbs echoes the broth’s zest while contributing hearty, satisfying components.
-
Lemonade or Herbal Tea: Pairing your broth with a refreshing beverage like a chilled lemonade or soothing herbal tea can enhance the entire experience, uplifting your palate.
Immune Boosting Broth Recipe FAQs
What type of garlic should I use for the broth?
I recommend using fresh, whole garlic cloves for the best flavor. Avoid pre-minced or jarred garlic as they can lose their potency and antiviral benefits. Grating the garlic yourself allows you to capture its robust taste, which is essential for a good Immune Boosting Broth.
How should I store leftover broth?
Store your Immune Boosting Broth in an airtight container in the refrigerator for up to 3-5 days. To keep it fresh, let it cool to room temperature before sealing it. Always reheat gently on the stovetop to preserve its flavor and nutritional benefits.
Can I freeze the broth?
Absolutely! To freeze your broth, pour it into portion-sized containers or freezer bags. Make sure to leave some space at the top to allow for expansion as it freezes. Your broth can last for up to 3 months in the freezer, perfect for quick meals on busy days!
What should I do if the broth tastes too salty?
If your broth turns out too salty, you can balance it out by adding more water or a few pieces of sliced potatoes. Simmer for 5-10 minutes and then remove the potatoes. They’ll absorb excess salt, helping you achieve a more enjoyable flavor without compromising the broth’s integrity.
Is this broth suitable for everyone?
Yes! The Immune Boosting Broth is dairy-free, gluten-free, and vegan, making it accessible to various dietary needs. However, if you have specific allergies (like to miso), feel free to substitute it with chickpea miso or nutritional yeast for a similar umami flavor without the allergens.
How long does the broth last in the freezer?
Your Immune Boosting Broth can be stored in the freezer for up to 3 months. It’s best to use within this timeframe to maintain its flavor and immunological benefits. When you’re ready to enjoy it again, just thaw it in the fridge overnight and reheat gently.

Delicious Immune Boosting Broth Ready in Just 10 Minutes
Ingredients
Equipment
Method
- In a large pot, pour in 8 cups of water and place it over high heat. Bring the water to a rolling boil, which should take about 5-7 minutes.
- Once the water is boiling, lower the heat to medium-low and carefully stir in 1 cup of gluten-free mellow white miso. Mix until it dissolves completely.
- Toss in the grated garlic, grated ginger, sliced scallion, and grated horseradish into the pot. Stir these ingredients for 1-2 minutes.
- Drizzle in 2 teaspoons of avocado oil or coconut oil along with 2 tablespoons of raw apple cider vinegar. Stir gently for another 1-2 minutes.
- Sprinkle in 1 teaspoon of ground turmeric and 0.5 teaspoon of salt, stirring well for uniform distribution. Allow the broth to simmer on medium-low heat for an additional 2-3 minutes.
- Once the broth has simmered, serve it hot as a comforting drink or use it as a base for soups.
Leave a Reply