
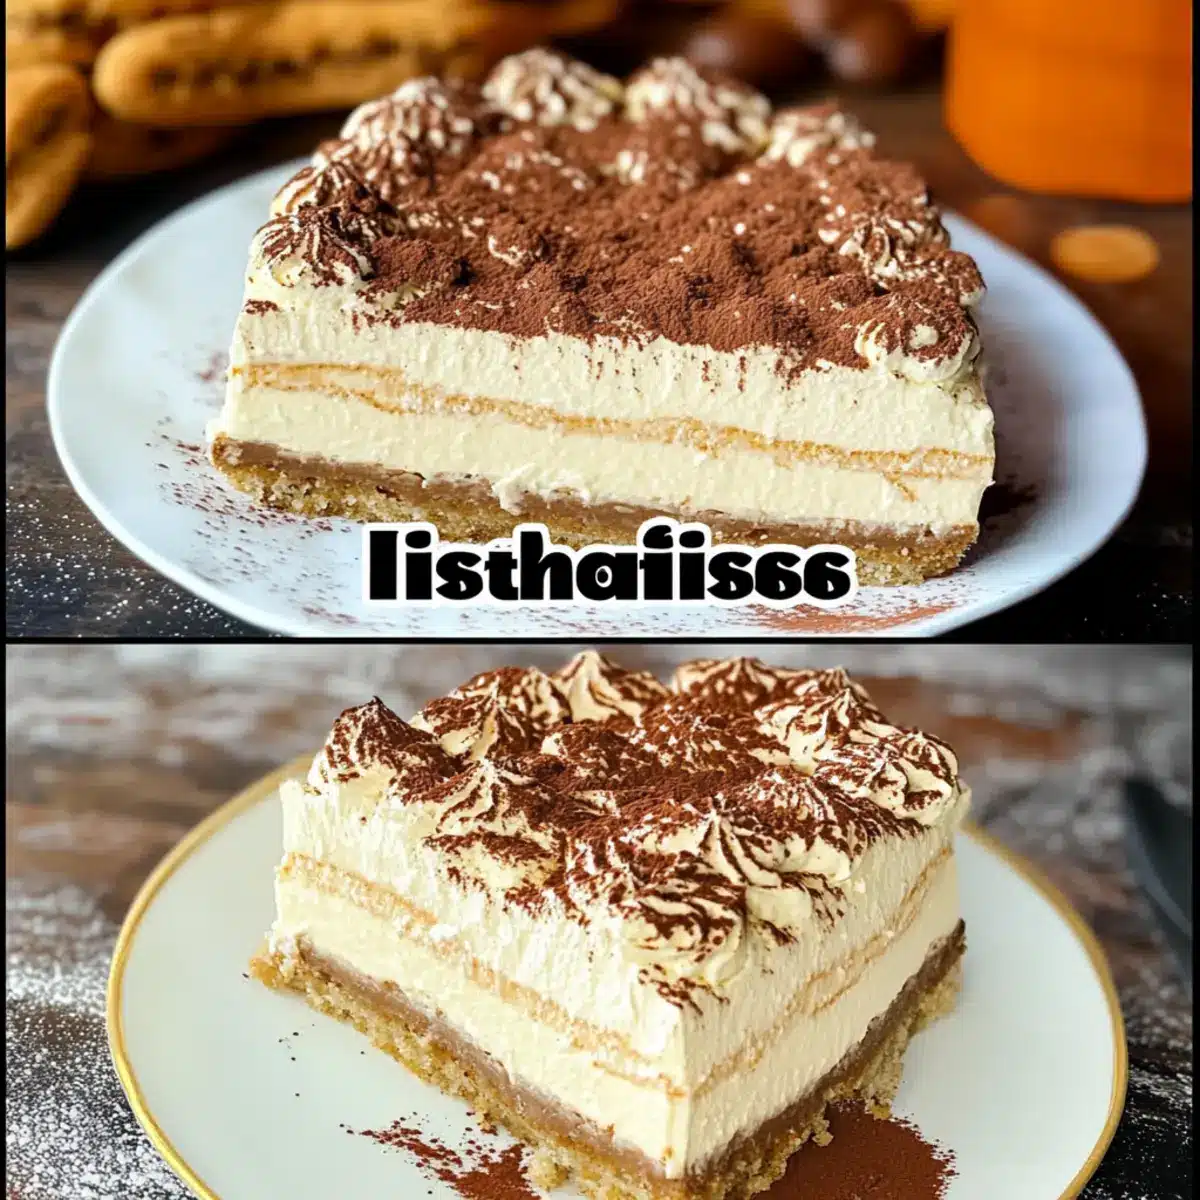
Strolling through the heart of Rome, I stumbled upon a charming little café, the air thick with the seductive scent of coffee and chocolate. It was there I first tasted Tiramisu, a delightful dessert that inspired me to create my own spin: a No-Bake Tiramisu Cheesecake. This recipe effortlessly marries the luxurious layers of creamy mascarpone with coffee-soaked ladyfingers, all without the fuss of baking. Not only is it a crowd-pleaser, but it’s also a breeze to whip up—perfect for those moments when you crave a little indulgence without spending hours in the kitchen. Whether you’re entertaining guests or treating yourself on a quiet night in, this cheesecake promises a sublime experience with each heavenly bite. Curious how to bring this Italian dream to your table? Let’s dive into the deliciousness!
Why is Tiramisu Cheesecake a Must-Try?
Unforgettable Flavors: This no-bake Tiramisu Cheesecake pairs the rich creaminess of mascarpone with the deep notes of espresso, creating a taste sensation that is utterly irresistible.
Quick & Easy: With simple ingredients and minimal prep work, this delight can be ready in no time, letting you spend less time in the kitchen and more time enjoying.
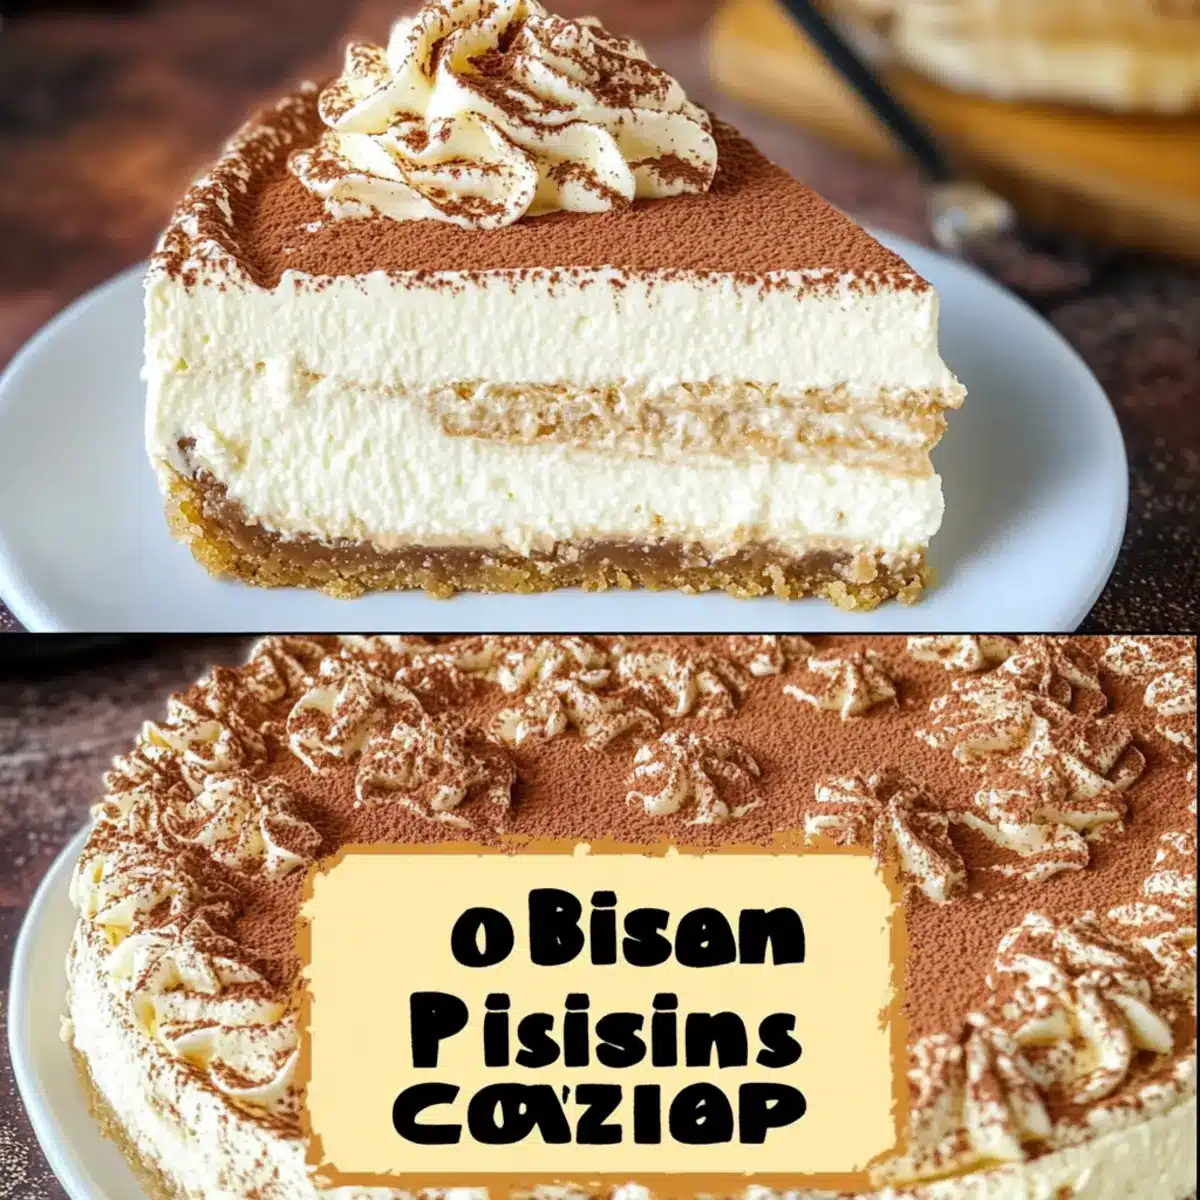
Gorgeous Presentation: Serving this cheesecake garnished with cocoa powder and chocolate shavings elevates it to an impressive centerpiece, sure to wow your guests at any gathering.
Versatile Treat: Want to mix things up? Try substituting Kahlua with Amaretto for a delicious twist, or go vegan with plant-based alternatives for a different take.
Satisfying Yet Light: Each slice is decadent yet airy, offering a perfect balance that feels indulgent without being overly heavy. You may also enjoy a lighter version by serving it alongside fresh berries for a refreshing contrast.
Tiramisu Cheesecake Ingredients
For the Crust
• Vanilla Wafer Crumbs – Provides structure for the crust; graham cracker crumbs can be used for a different flavor.
• Salted Butter – Binds the crust ingredients together; use unsalted butter if preferred, but add a pinch of salt.
• Sugar (1 1/2 tbsp) – Sweetens the crust; can be skipped for a less sweet base.
For the Filling
• Cream Cheese – Adds creaminess to the cheesecake filling; ensure it’s at room temperature for easy blending.
• Mascarpone Cheese – Key ingredient for the cheesecake’s rich texture; cannot be replaced without altering the flavor.
• Granulated Sugar (1/4 cup) – Sweetens the cheesecake filling; can use powdered sugar for a smoother texture.
• Heavy Whipping Cream – Provides lightness to the filling; make sure it’s cold for proper whipping.
• Powdered Sugar (1/2 cup) – Adds sweetness and stabilizes the whipped cream; may use regular sugar, but texture might not be as smooth.
• Vanilla Extract – Enhances flavor; can substitute with almond extract for a different taste.
For the Espresso Mixture
• Warm Water – Helps dissolve the espresso; not necessary if liquid espresso is available.
• Instant Espresso Powder – Provides coffee flavor, essential for Tiramisu cheesecake; substitute with strong brewed coffee if needed.
• Kahlua – Adds depth with coffee liqueur flavor; omit for non-alcoholic versions or substitute with additional coffee.
For the Assembly
• Ladyfingers – Essential for the Tiramisu element; sponge cake can be used as an alternative if ladyfingers are not available.
• Cocoa Powder – For dusting; optional garnish adds a beautiful touch to the finished cheesecake.
Step‑by‑Step Instructions for TIRAMISU CHEESECAKE
Step 1: Prepare the Pan
Start by lining a 9-inch springform pan with parchment paper, ensuring it covers the bottom perfectly. Grease the sides with a little butter to prevent sticking. Preheat your oven to 325°F (163°C) while you prepare the crust, as a heated oven helps with baking at any later phase.
Step 2: Make the Crust
In a medium bowl, combine vanilla wafer crumbs with melted salted butter and sugar until evenly moistened. Using your fingers or the bottom of a glass, press the mixture firmly into the bottom of the prepared pan, creating a solid base for your no-bake Tiramisu Cheesecake.
Step 3: Mix the Cream Filling
In a large mixing bowl, beat softened cream cheese and mascarpone together until impeccably smooth, which takes about 2-3 minutes at medium speed. Gradually add in granulated sugar, continuing to blend until thoroughly incorporated—this creates the rich, creamy filling that defines your Tiramisu Cheesecake.
Step 4: Whip the Heavy Cream
In another chilled bowl, whip the heavy cream with powdered sugar and vanilla extract until you achieve stiff peaks, usually around 3-5 minutes. This step is crucial for adding airiness to your cheesecake filling. Gently fold the whipped cream into the mascarpone mixture until well combined, preserving the light texture.
Step 5: Prepare the Kahlua Mixture
In a small bowl, combine warm water and instant espresso powder. Stir until the powder is completely dissolved, then mix in the Kahlua if using. This flavorful liquid infuses your cheesecake with the traditional coffee essence of Tiramisu, and it’s essential for the next step.
Step 6: Layer the Ladyfingers
Quickly dip each ladyfinger into the Kahlua mixture, making sure to coat them without soaking, as they can become too soggy. Layer the dipped ladyfingers evenly over the crust in the springform pan, forming a delightful coffee-soaked foundation to balance your creamy filling.
Step 7: Assemble the Cheesecake
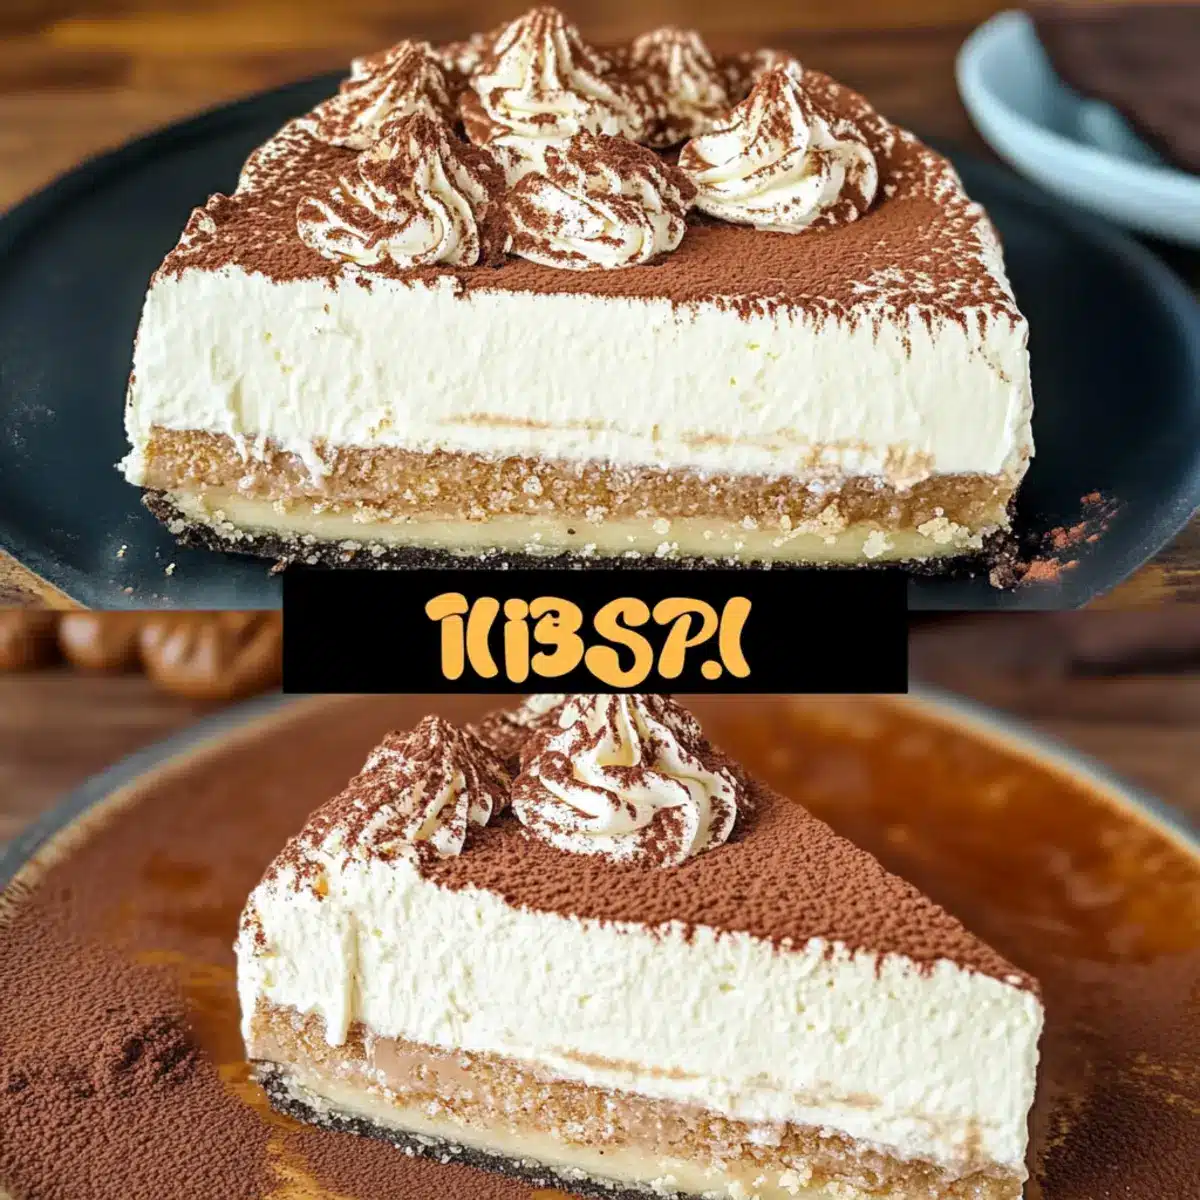
Spread half of the cheesecake mixture gently over the layer of ladyfingers, smoothing the top with a spatula. Add another layer of dipped ladyfingers, followed by the remaining cheesecake filling. Smooth the final layer, creating a beautiful and enticing top for your Tiramisu Cheesecake.
Step 8: Chill Until Set
Cover the cheesecake loosely with plastic wrap and refrigerate for at least 4 hours, allowing it to set perfectly. The chilling process solidifies the flavors and texture, transforming it into the indulgent dessert that everyone will adore.
Step 9: Serve and Garnish
Before serving, carefully remove the sides of the springform pan. Dust the top generously with cocoa powder for an elegant finish. Slice your no-bake Tiramisu Cheesecake into delightful pieces, and watch your guests’ faces light up with every heavenly bite!
Storage Tips for Tiramisu Cheesecake
Fridge: Store leftovers in an airtight container in the refrigerator for up to 5 days. Ensure the cheesecake is well-wrapped to prevent it from drying out.
Freezer: For longer preservation, Tiramisu Cheesecake can be frozen for up to 2 months. Wrap individual slices in plastic wrap, then place them in a freezer-safe bag or container.
Thawing: To enjoy frozen slices, transfer them to the fridge the night before serving. This gradual thawing helps maintain the cheesecake’s creamy texture.
Reheating: Tiramisu Cheesecake is best served cold, so there’s no need to reheat. Just let it sit at room temperature for about 10 minutes before serving for optimal texture and flavor.
TIRAMISU CHEESECAKE Variations & Substitutions
Feel free to customize your Tiramisu Cheesecake with these delightful twists that will inspire your culinary creativity!
- Flavored Liqueur: Swap Kahlua for Amaretto or Frangelico for a unique flavor. Each liqueur brings its own aromatic notes that can enhance the dessert beautifully.
- Dairy-Free: Use vegan cream cheese and coconut cream as a substitute for heavy cream to enjoy a dairy-free delight. The richness remains, but it caters to those with dairy sensitivities.
- Sugar-Free: Substitute granulated sugar with a sugar alternative like erythritol or stevia for a low-sugar version. This keeps your cheesecake sweet without the calories, perfect for health-conscious guests!
- Chocolate Twist: Incorporate whipped chocolate frosting into your filling for a rich chocolatey flavor. It adds depth and indulgence, making every bite a true treat.
- Fruit Infusion: Add fresh berries or a layer of raspberry puree between the cheesecake layers for a fruity burst. This unexpected addition brightens up the classic flavors wonderfully.
- Nutty Crunch: Fold crushed nuts like hazelnuts or almonds into the crust for added texture. The nutty crunch balances the creamy cheesecake, offering a delightful contrast with each bite.
- Layered Wonder: For a gorgeous presentation, alternate layers of your cheesecake filling with layers of chocolate mousse. Your guests won’t be able to resist this showstopper!
- Sponge Cake Alternative: If ladyfingers aren’t available, use vanilla sponge cake as a base layer instead. This alternative will still provide a delightful coffee-soaked texture.
For more indulgent options, check out our delicious Chocolate Orange Cheesecake or try the elegant Velvet Oreo Cheesecake for a twist on the classic!
Make Ahead Options
This No-Bake Tiramisu Cheesecake is perfect for meal prep enthusiasts! You can prepare the crust and filling up to 24 hours in advance, ensuring a stress-free experience on the day you plan to serve it. Simply make the crust and refrigerate it, then prepare the cheesecake filling and set it aside in the fridge until you’re ready to assemble. When it’s time to enjoy, dip the ladyfingers in the coffee mixture, layer them, and add the cheesecake filling. After assembling, allow it to chill for another 4 hours or overnight for the best flavors to meld. This way, you’ll have a restaurant-quality dessert ready in no time, and it will be just as delicious!
Expert Tips for Tiramisu Cheesecake
-
Softened Cream Cheese: Ensure the cream cheese is at room temperature to prevent lumps in the filling, resulting in a silky-smooth Tiramisu Cheesecake.
-
Quick Dipping: Avoid soaking the ladyfingers for too long in the Kahlua mixture—just a quick dip will keep them from becoming soggy.
-
Chill Time: Be patient! Refrigerating the cheesecake for at least 4 hours allows it to set properly, enhancing flavors and perfecting the texture.
-
Light Whipped Cream: Gently fold the whipped cream into the cheese mixture to maintain airiness, ensuring your cheesecake has a light and fluffy texture.
-
Customization Ideas: Experiment with different liqueurs like Amaretto instead of Kahlua for an exciting twist on the classic Tiramisu Cheesecake.
What to Serve with No-Bake Tiramisu Cheesecake
Elevate your dessert experience by pairing this luscious cheesecake with delightful side dishes and beverages that enhance its exquisite flavors.
-
Rich Espresso: A freshly brewed shot of espresso will complement the coffee notes in the cheesecake, providing a delightful contrast to its creamy texture. The warmth and bold flavor also create a perfect balance that brings out the dessert’s sophistication.
-
Chocolate Shavings: Sprinkle some dark chocolate shavings atop each slice for an added layer of indulgence. The bittersweet chocolate enhances the cocoa flavors while adding a crunchy texture that’s simply irresistible.
-
Fresh Berries: Raspberries or strawberries add a pop of freshness that cuts through the richness of the cheesecake. Their tartness brightens each bite, making the dessert feel lighter and more refreshing.
-
Homemade Whipped Cream: A dollop of lightly sweetened whipped cream adds a dreamy texture. It serves as a lovely cooling counterpart to the rich layers of mascarpone and coffee, enhancing the overall experience.
-
Mint Leaves: Garnishing with fresh mint leaves not only adds a touch of color but also brings a refreshing and aromatic flair to every slice. The mint’s coolness pairs beautifully with the warm flavors of the cheesecake.
-
Sweet Dessert Wine: A glass of dessert wine, such as Moscato, pairs sweetly with your no-bake Tiramisu Cheesecake. The fruity notes in the wine enhance the dessert’s creamy sweetness, resulting in a beautifully balanced sip.
-
Chocolate-Covered Espresso Beans: For a fun, crunchy treat, serve a small bowl of chocolate-covered espresso beans. They echo the cheesecake’s coffee flavor and give a satisfying crunch that diners will love.
-
Nutty Biscotti: These crunchy Italian cookies are perfect for dipping and pair wonderfully with the cheesecake’s coffee flavor. Their delightful crunch and nuttiness provide an engaging textural contrast.
-
Vanilla Ice Cream: A scoop of creamy vanilla ice cream alongside the cheesecake can elevate your dessert to new heights. The cold, smooth ice cream complements the cheesecake’s richness while adding a luscious creaminess that everyone adores.
Tiramisu Cheesecake Recipe FAQs
What type of ladyfingers should I use for Tiramisu Cheesecake?
Absolutely! Traditional Tiramisu uses Italian ladyfingers, also known as savoiardi, which are light and airy. If you can’t find them, you can substitute with sponge cake; just ensure to slice it thinly to maintain a similar texture and absorb the coffee mixture effectively.
How should I store leftovers of Tiramisu Cheesecake?
It’s best to store leftovers in an airtight container in the fridge for up to 5 days. Cover the cheesecake tightly with plastic wrap to prevent any drying out or absorption of other odors from the fridge. Enjoy your creamy dessert well-preserved!
Can I freeze Tiramisu Cheesecake?
Yes, you can freeze Tiramisu Cheesecake for up to 2 months! Just wrap individual slices in plastic wrap, then place them in a freezer-safe bag or container to prevent freezer burn. To thaw, simply move them to the refrigerator a day before serving to retain that luscious, creamy texture.
Why is my Tiramisu Cheesecake not setting properly?
Very! If your cheesecake isn’t setting, it could be due to insufficient chilling time—make sure to refrigerate it for at least 4 hours or, preferably, overnight. Alternatively, if you’ve added too much liquid to your filling, you may want to consider incorporating more whipped cream to stabilize the texture before layering.
Are there any dietary considerations I should be aware of with this cheesecake?
Absolutely! If you’re making this dessert for someone with dairy allergies, you can use vegan cream cheese and plant-based heavy cream for a dairy-free version. Also, ensure to verify that the ladyfingers or sponge cake are dairy-free if those are used in the recipe.
How do I know if my mascarpone cheese is fresh?
Check for any off odors or a discolored appearance, such as dark spots all over. Fresh mascarpone should have a smooth texture and a neutral cream smell. If in doubt, consult the expiration date and any visual cues indicating spoilage.

No-Bake Tiramisu Cheesecake That Will Wow Your Guests
Ingredients
Equipment
Method
- Prepare the pan by lining a 9-inch springform pan with parchment paper and greasing the sides with butter.
- In a medium bowl, combine vanilla wafer crumbs with melted salted butter and sugar, then press into the bottom of the prepared pan.
- Mix cream cheese and mascarpone until smooth, then add granulated sugar and blend until incorporated.
- Whip heavy cream with powdered sugar and vanilla extract until stiff peaks form, then fold into the cheese mixture.
- Dissolve instant espresso powder in warm water, mix with Kahlua, then dip ladyfingers briefly in this mixture.
- Layer dipped ladyfingers over the crust, then spread half of the cheesecake mixture over them.
- Add another layer of dipped ladyfingers and top with the remaining cheesecake mixture.
- Cover loosely with plastic wrap and refrigerate for at least 4 hours to set.
- Dust with cocoa powder before serving and slice into pieces.
Leave a Reply